Follow Me On Pinterest!
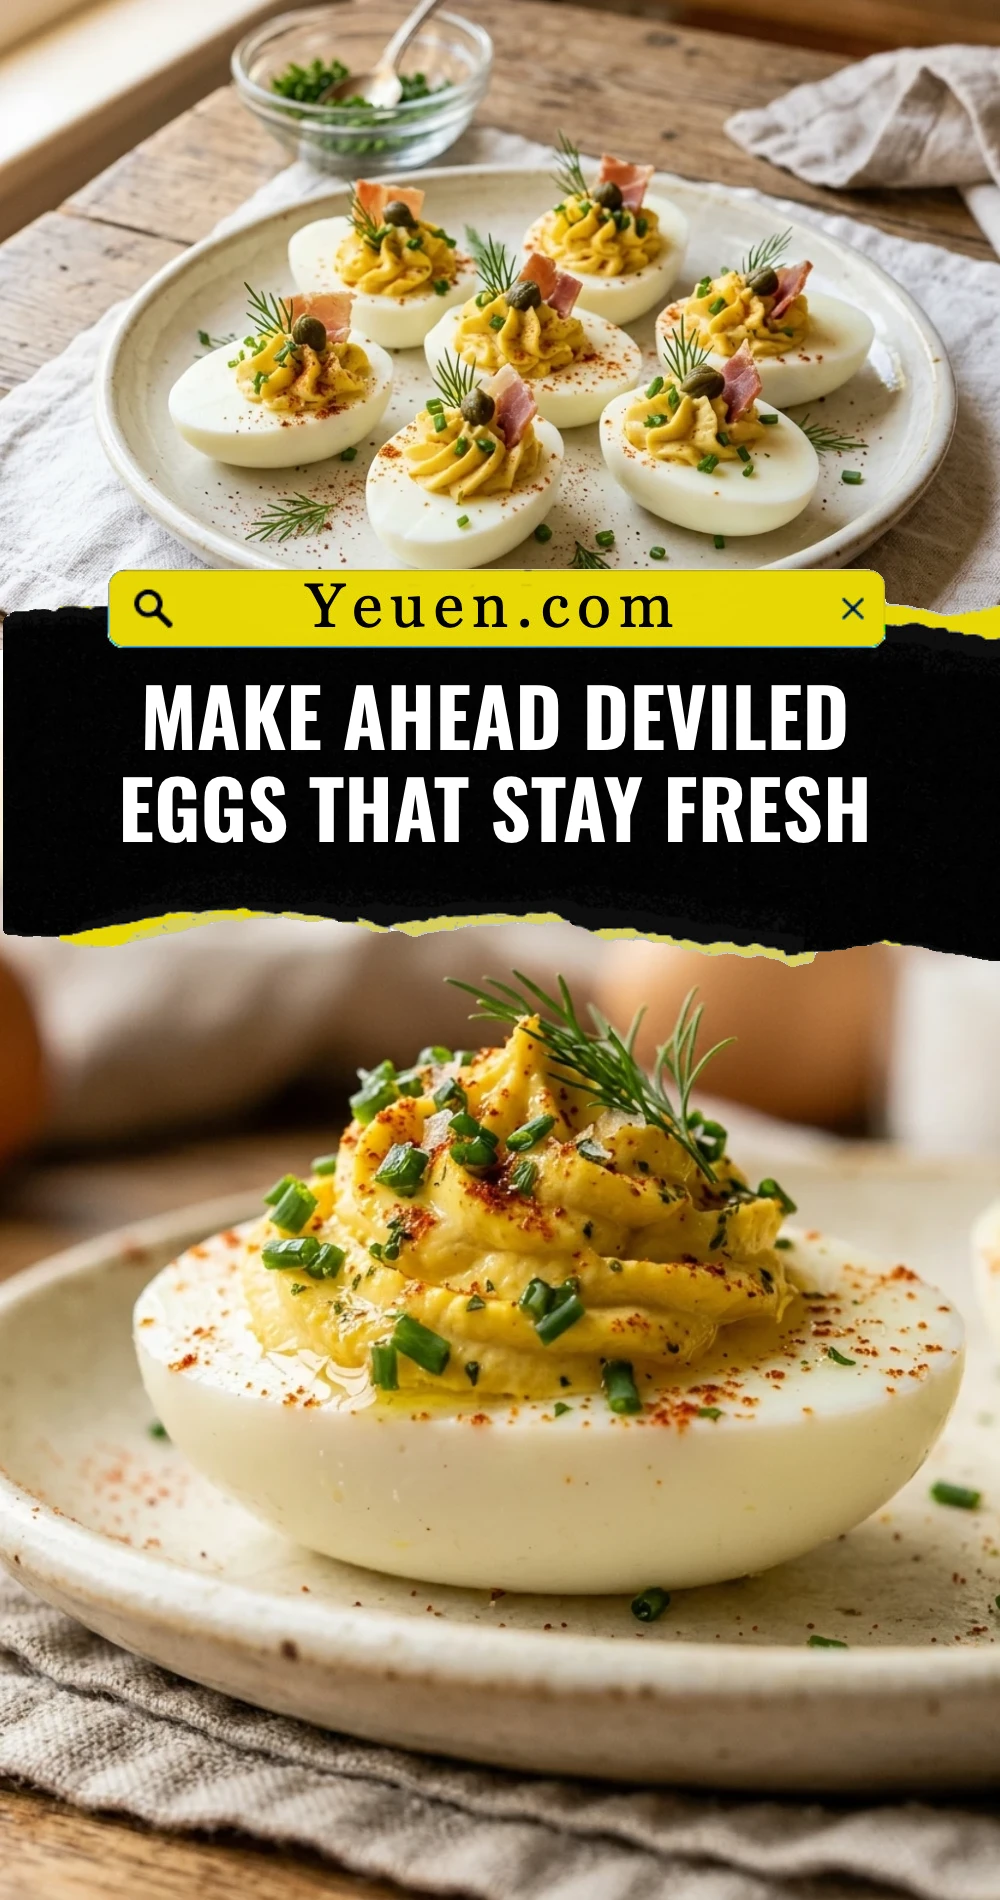
Make Ahead Deviled Eggs That Stay Fresh
Deviled eggs are the ultimate party appetizer, but they often come with a stressful countdown. We have all been there: rushing to peel eggs and pipe filling while guests are already knocking at the door. If you try to make them too early, the whites often get rubbery and the filling develops a crust. However, with a few professional storage secrets, you can prep these crowd-pleasers up to two days in advance. These make-ahead deviled eggs stay incredibly creamy, vibrant, and fresh, allowing you to actually enjoy your own party instead of hovering over the kitchen counter.
Recipe Information
- Prep Time: 20 minutes
- Cook Time: 12 minutes
- Total Time: 32 minutes
- Servings: 12 servings (24 halves)
- Difficulty: Easy
Nutrition values
- Calories: 72 kcal
- Protein: 6g
- Carbs: 1g
Why Make This Make Ahead Deviled Eggs That Stay Fresh
This recipe solves the biggest problem with traditional deviled eggs: the “weeping” effect. By storing the components separately, you prevent the whites from becoming soggy and the filling from oxidizing. This method ensures the eggs taste like they were just assembled minutes ago. It is the perfect solution for Thanksgiving, Easter, or any busy potluck where kitchen space is at a premium. Plus, the flavors in the yolk mixture actually deepen and improve when they have a few hours to meld together in the refrigerator.
Ingredients
- 12 large eggs (preferably 1-2 weeks old for easier peeling)
- 1/2 cup high-quality mayonnaise
- 1 tablespoon Dijon mustard
- 1 teaspoon apple cider vinegar or pickle juice
- 1/4 teaspoon salt
- 1/4 teaspoon black pepper
- 1/8 teaspoon garlic powder
- Smoked paprika for garnish
- Fresh chives or parsley for garnish
Directions
Step 1: Boil the Eggs Perfectly
Place the eggs in a large saucepan and cover them with cold water by at least an inch. Bring the water to a rolling boil over high heat. As soon as the water boils, turn off the heat, cover the pan with a lid, and let the eggs sit for exactly 12 minutes. This “carry-over” cooking method prevents the unsightly green ring around the yolk.
Step 2: The Ice Bath and Peeling
While the eggs sit, prepare a large bowl with ice and water. Once the 12 minutes are up, immediately transfer the eggs to the ice bath using a slotted spoon. Let them chill for at least 10 minutes. Crack the shells gently all over and peel them under cool running water. Pat the peeled eggs completely dry with paper towels.
Step 3: Separate and Mash
Slice each egg in half lengthwise. Pop the yolks into a medium mixing bowl and set the whites aside. Use a fork or a potato masher to crumble the yolks until no large chunks remain. For an ultra-smooth texture, you can press the yolks through a fine-mesh sieve.
Step 4: Mix the Filling
Add the mayonnaise, Dijon mustard, vinegar, salt, pepper, and garlic powder to the yolks. Stir vigorously until the mixture is creamy and pale yellow. Taste the filling and adjust the salt or mustard if necessary. If the mixture feels too dry, add an extra tablespoon of mayonnaise.
Step 5: Storage for Maximum Freshness
This is the secret to making them ahead. Do not fill the eggs yet. Transfer the yolk mixture into a heavy-duty gallon-sized zip-top bag and squeeze out all the air before sealing. Place the egg white halves in an airtight container. Line the container with a slightly damp paper towel, then place the whites on top, and cover with another damp paper towel. Refrigerate both components for up to 48 hours.
Step 6: Assembly and Serving
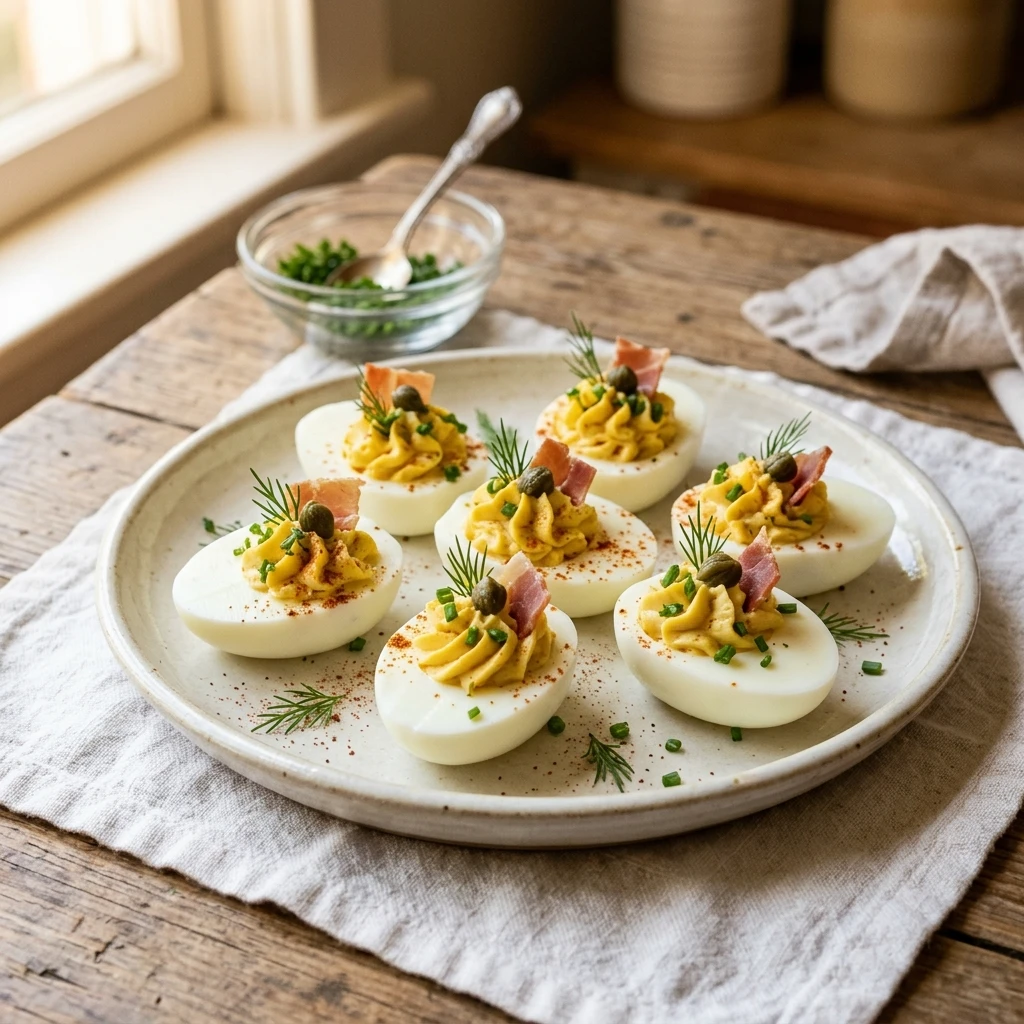
When you are ready to serve, remove the whites from the fridge and arrange them on a platter. Snip off one corner of the yolk-filled bag to create a makeshift piping bag. Pipe the filling generously into each egg white cavity. Sprinkle with smoked paprika and fresh herbs just before the guests arrive.
Expert Tips for Perfect Make Ahead Deviled Eggs That Stay Fresh
- Use Older Eggs: Fresh-from-the-farm eggs are delicious, but they are a nightmare to peel. Eggs from the grocery store that have sat in your fridge for a week will peel much cleaner.
- The Damp Paper Towel Trick: When storing egg whites, the damp paper towel prevents them from drying out and becoming rubbery or “leathery” in the fridge.
- Avoid the Green Ring: Never boil the eggs vigorously for the full duration. The “off-heat” method ensures a creamy, bright yellow yolk every time.
- Wait to Season: Do not add the paprika garnish until the very last second. If you add it too early, the spice will absorb moisture from the filling and look “blotchy.”
Delicious Variations
- Bacon and Jalapeño: Fold in finely minced crispy bacon and diced pickled jalapeños for a smoky, spicy kick.
- Everything Bagel: Garnish the finished eggs with a heavy sprinkle of everything bagel seasoning instead of paprika.
- Herbaceous Green: Add a tablespoon of pesto or finely minced fresh dill to the yolk mixture for a vibrant color and fresh taste.
- Sriracha Lime: Replace the vinegar with lime juice and add a teaspoon of Sriracha to the filling for a zesty, modern twist.
Frequently Asked Questions
How long can I keep the filling and whites separate?
You can keep the yolk filling in a sealed bag and the whites in an airtight container for up to 2 days. For the best quality, we recommend assembling them within 24 to 48 hours of boiling the eggs.
Can I freeze deviled eggs?
No, you should never freeze deviled eggs. The whites become extremely watery and tough upon thawing, and the mayo-based filling will likely separate and lose its creamy texture.
Why do my deviled eggs slide around the plate?
If you are transporting them, slice a tiny sliver off the bottom of each egg white half. This creates a flat “base” that keeps the egg stable on the serving platter.
What is the best way to fill the eggs without a piping bag?
A zip-top bag with the corner cut off works better than a spoon. It gives you more control and results in a much cleaner, more professional look with less mess.
How do I keep the filling from getting a “skin” on it?
The key is eliminating air. If you store the filling in a bowl, press plastic wrap directly onto the surface of the yolk mixture. However, the zip-top bag method is superior because you can squeeze out every bit of air.
Conclusion
Making deviled eggs ahead of time doesn’t have to mean sacrificing quality. By storing your creamy yolk filling and your tender egg whites separately, you bypass the common pitfalls of soggy whites and crusty fillings. This method gives you the freedom to prepare for your event in advance while still serving a stunning, fresh appetizer. Try this technique for your next gathering, and you will never go back to the last-minute scramble again!