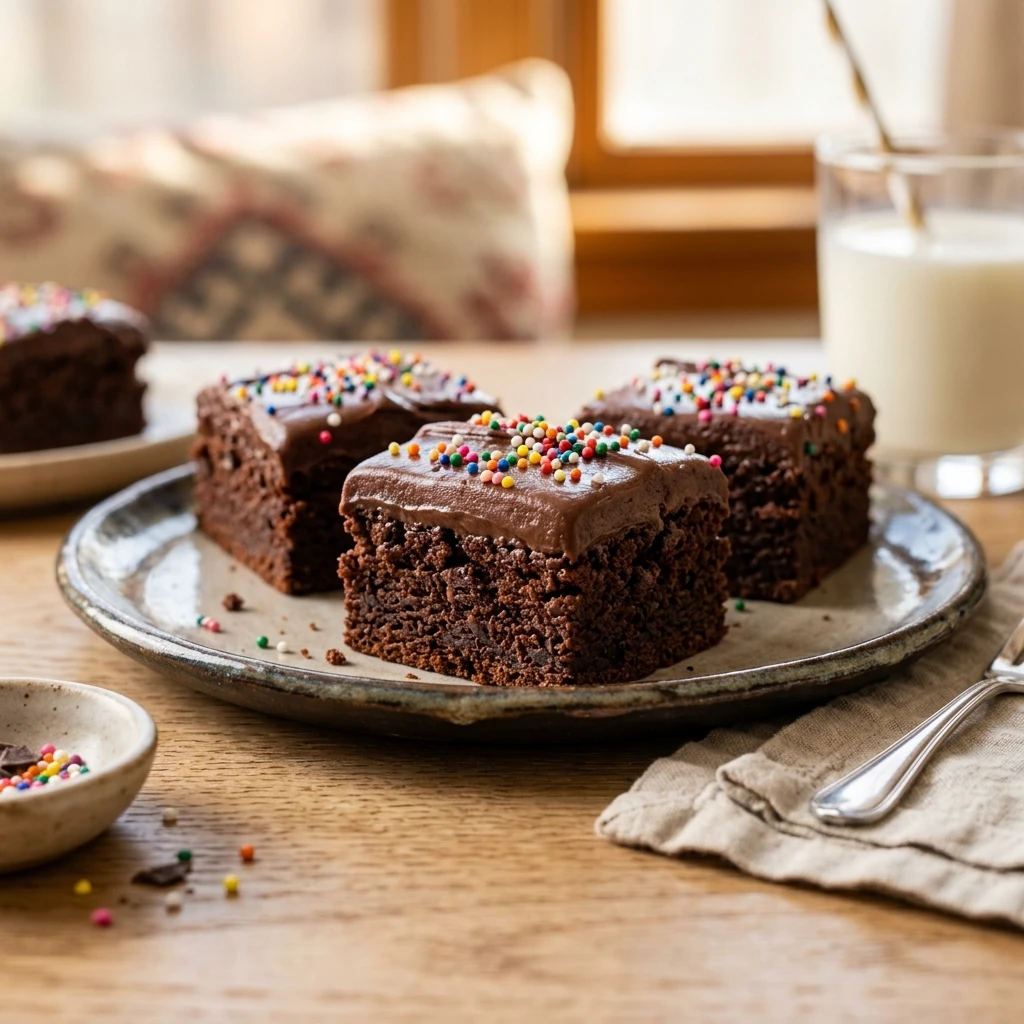
There is something undeniably nostalgic about peeling back that clear plastic wrapper to reveal a dense, fudgy brownie topped with thick chocolate icing and those iconic colorful candy bits. We all remember the Little Debbie Cosmic Brownie from our childhood lunchboxes. This homemade version captures that exact chewy texture and rich chocolate flavor but elevates it with high-quality ingredients. These brownies are remarkably dense, skip the cakey crumb entirely, and deliver that signature “fudge-like” bite that fans of the original crave. Whether you are making these for a nostalgic treat or a weekend bake with the kids, this recipe hits every nostalgic note perfectly.
Recipe Information
Prep Time: 15 minutes
Cook Time: 25 minutes
Total Time: 40 minutes
Servings: 16 brownies
Difficulty: Easy
Nutrition values
Calories: 340 kcal
Protein: 4g
Carbs: 48g
Why Make This Little Debbie Brownies With Fudge Frosting
Making these at home allows you to control the quality of the chocolate and skip the preservatives found in the boxed version. You get that specific, dense, fudgy texture by using a higher ratio of fat and sugar to flour. The addition of corn syrup in the batter is the “secret” to achieving the chewy, candy-like consistency that defines the Little Debbie experience. Plus, the homemade fudge ganache on top is far superior to any store-bought frosting, offering a deep cocoa richness that melts in your mouth.
Ingredients
For the Brownies:
3/4 cup unsalted butter, melted
1 cup granulated sugar
2/3 cup light brown sugar, packed
2 large eggs plus 1 egg yolk, room temperature
2 teaspoons vanilla extract
1/2 cup light corn syrup
3/4 cup unsweetened cocoa powder
1 cup all-purpose flour
1/2 teaspoon salt
For the Fudge Frosting:
1 1/2 cups semi-sweet chocolate chips
1/2 cup heavy cream
2 tablespoons unsalted butter, softened
1/4 cup rainbow candy-coated chocolate chips (Cosmic sprinkles)
Directions
Step 1: Preparation
Preheat your oven to 350°F (175°C). Line an 8×8-inch square baking pan with parchment paper, leaving an overhang on the sides to easily lift the brownies out later. Lightly grease the parchment with non-stick spray or butter.
Step 2: Mix the Wet Ingredients
In a large mixing bowl, whisk together the melted butter, granulated sugar, and brown sugar until well combined. Add the eggs, egg yolk, vanilla extract, and corn syrup. Whisk vigorously for about one minute until the mixture is smooth and slightly pale.
Step 3: Add Dry Ingredients
Sift the cocoa powder into the wet mixture to remove any lumps. Add the flour and salt. Use a rubber spatula to gently fold the ingredients together until just combined. Do not overmix, as this will introduce too much air and create a cakey texture instead of a dense one.
Step 4: Bake the Brownies
Pour the batter into the prepared pan and smooth the top with a spatula. Bake for 22–25 minutes. A toothpick inserted into the center should come out with a few moist crumbs attached, but not raw batter. Remove from the oven and let the brownies cool completely in the pan.
Step 5: Prepare the Fudge Frosting
Place the chocolate chips in a heat-proof bowl. In a small saucepan or microwave-safe dish, heat the heavy cream until it just begins to simmer. Pour the hot cream over the chocolate chips and let it sit for 5 minutes. Stir gently until smooth, then whisk in the softened butter until the frosting is glossy.
Step 6: Frost and Set
Pour the warm frosting over the cooled brownies, spreading it evenly to the edges. Immediately sprinkle the rainbow candy chips over the top. Place the pan in the refrigerator for at least 1 hour to allow the fudge frosting to set firmly before slicing.
Expert Tips for Perfect Little Debbie Brownies With Fudge Frosting
Use Room Temperature Eggs: Cold eggs can shock the melted butter and cause the batter to seize. Room temperature eggs emulsify better for a smoother batter.
Don’t Skip the Corn Syrup: This is the essential ingredient for that specific chewy, “commercial” brownie texture. It prevents sugar crystallization and keeps them moist.
Measure Flour Correctly: Use the “spoon and level” method. Packing flour into a measuring cup leads to dry, crumbly brownies.
Chill for Clean Cuts: To get those perfect, sharp squares, ensure the frosting is completely set in the fridge. Use a large, sharp knife and wipe it clean between every cut.
Avoid Overbaking: Brownies continue to cook as they cool in the pan. Pull them out when they still look slightly underdone in the center.
Delicious Variations
Double Chocolate Bliss: Fold half a cup of mini chocolate chips into the batter before baking for extra pockets of chocolate.
Peanut Butter Swirl: Drop dollops of warmed peanut butter onto the frosting before it sets and swirl with a toothpick.
Minty Fresh: Add 1/2 teaspoon of peppermint extract to the frosting and use crushed candy canes instead of rainbow chips for a holiday twist.
Dark Chocolate Style: Swap the semi-sweet chips in the frosting for 70% dark chocolate for a less sweet, more sophisticated flavor profile.
Frequently Asked Questions
Can I make these brownies without corn syrup?
While you can substitute honey or maple syrup, the texture will change. Corn syrup provides the specific chewy, fudgy bite that mimics the original Little Debbie snack. Without it, the brownies may be more traditional and less “candy-like.”
How should I store these brownies?
Store the brownies in an airtight container at room temperature for up to 3 days. For a firmer texture and longer shelf life, keep them in the refrigerator for up to a week. They are actually delicious when eaten cold!
What are the colorful chips called?
The specific toppings are often sold as “Rainbow Crunch Chips” or “Candy Coated Chocolate Chips.” You can find them at specialty baking stores or online. If you can’t find them, mini M&Ms work as a great substitute.
Can I freeze Little Debbie style brownies?
Yes! These freeze beautifully. Wrap individual squares in plastic wrap and place them in a freezer-safe bag. They will stay fresh for up to 3 months. Thaw at room temperature or in the fridge before eating.
Why did my frosting turn out grainy?
Grainy frosting usually happens if the chocolate is overheated or if water gets into the mixture (seizing). Ensure your bowl is completely dry and let the hot cream do the work of melting the chocolate rather than using direct high heat.
Conclusion
These homemade Little Debbie Brownies with Fudge Frosting are the ultimate tribute to a childhood classic. By using real butter, rich cocoa, and a silky ganache, you create a treat that is even better than the original. They are dense, chewy, and decadently chocolatey. Once you see how easy they are to make at home, you may never go back to the boxed version again. Slice them into perfect squares, share them with friends, and enjoy a delicious trip down memory lane!