Follow Me On Pinterest!
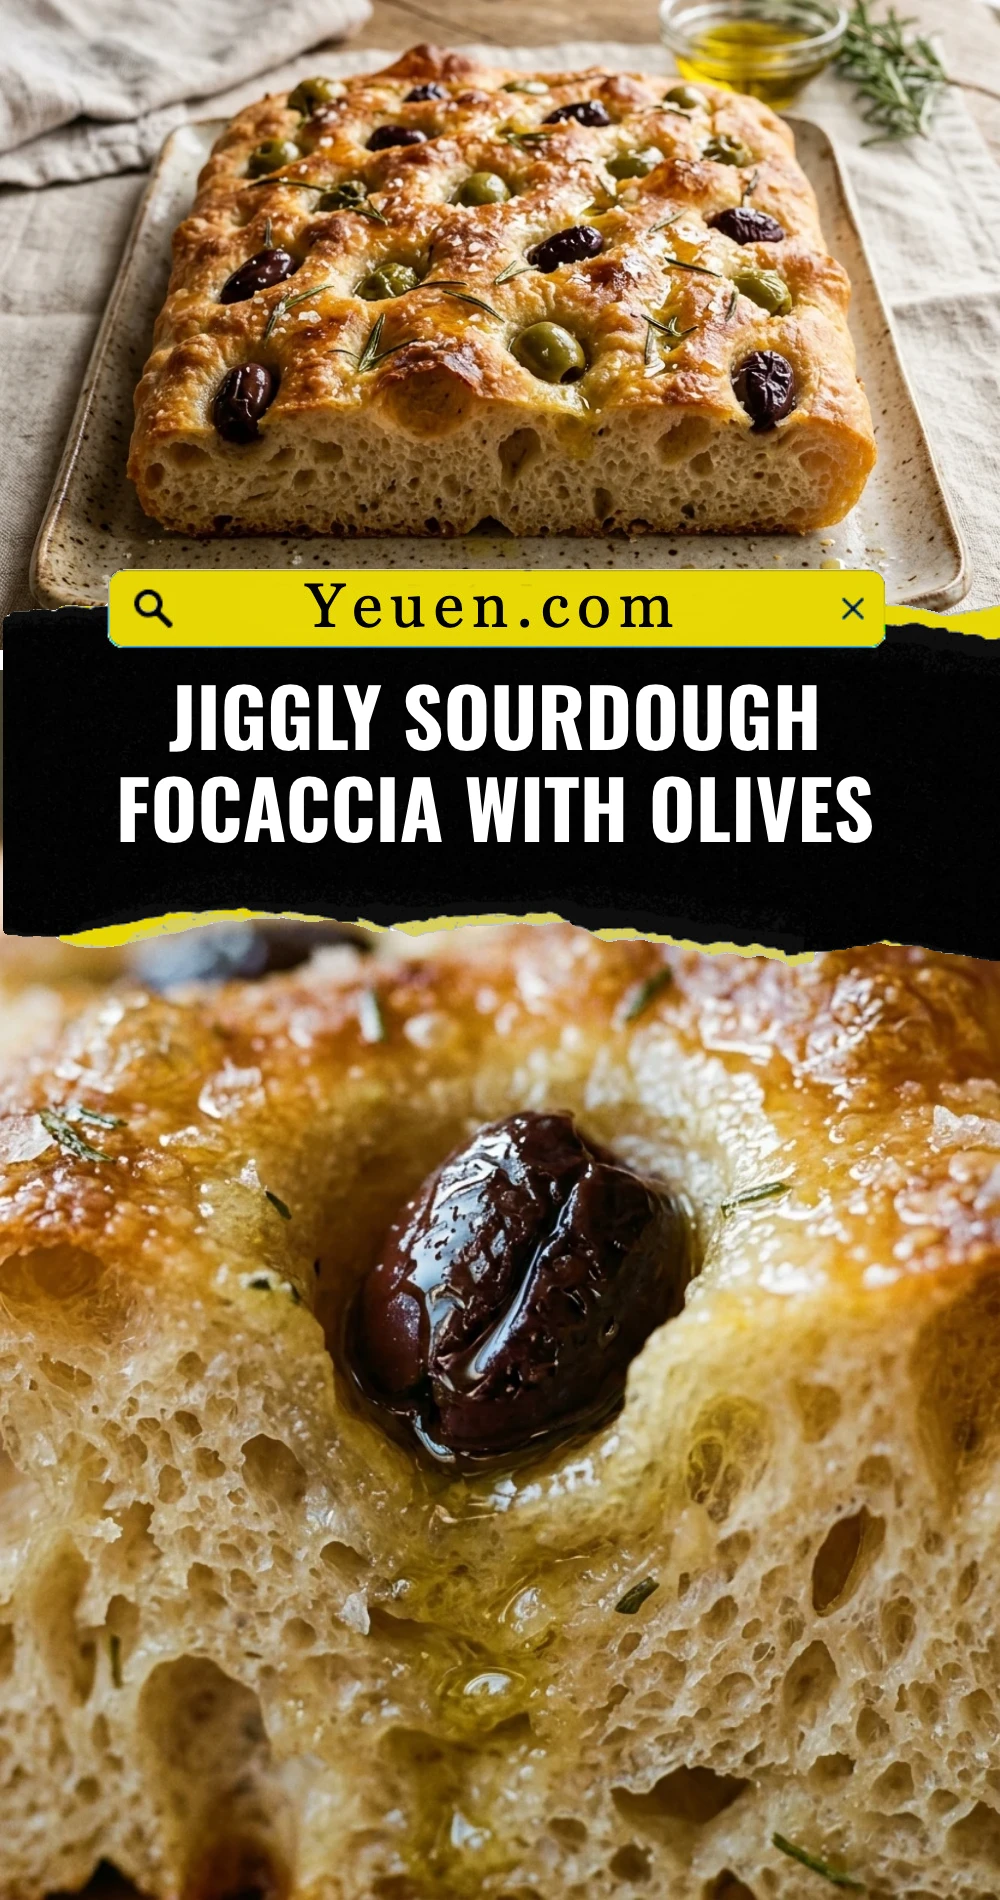
Jiggly Sourdough Focaccia With Olives
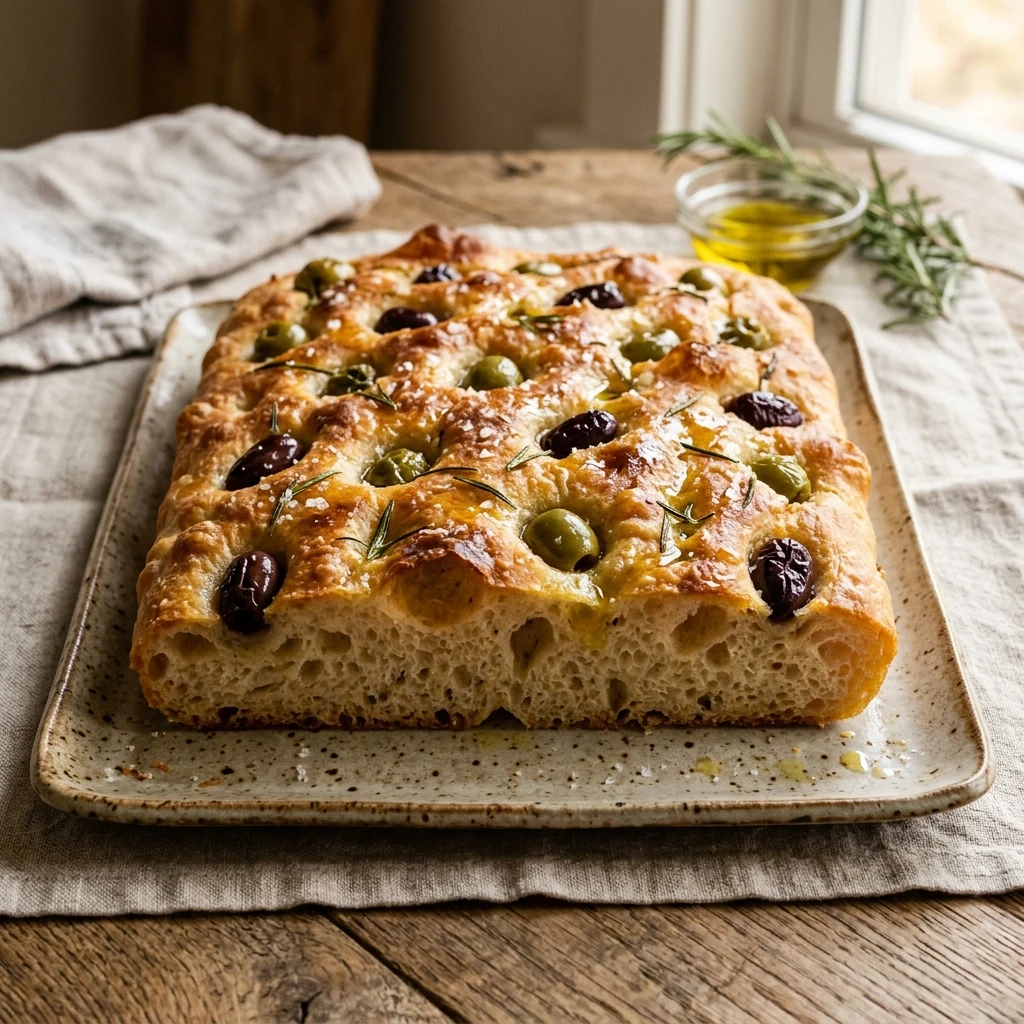
Imagine a bread so light it practically bounces when you touch it. That is the magic of jiggly sourdough focaccia. By combining the deep, complex tang of a long-fermented sourdough starter with a high-hydration dough, you create a crumb that is both airy and incredibly soft. Studded with salty, briny olives and drenched in high-quality olive oil, this focaccia is the ultimate crowd-pleaser. Whether you are a seasoned sourdough pro or a curious beginner, this recipe guides you toward that elusive, bubbly texture every home baker dreams of. Get ready to transform flour, water, and salt into a golden, olive-topped masterpiece.
Recipe Information
- Prep Time: 30 minutes (active work)
- Cook Time: 25 minutes
- Total Time: 18 hours 55 minutes (includes long fermentation)
- Servings: 10 servings
- Difficulty: Medium
Nutrition values
- Calories: 285 kcal
- Protein: 7g
- Carbs: 42g
Why Make This Jiggly Sourdough Focaccia With Olives
This recipe stands out because it prioritizes texture and flavor depth. Unlike quick-yeasted breads, the sourdough fermentation process breaks down gluten and sugars, making the bread easier to digest and far more flavorful. The “jiggly” nature comes from a high water-to-flour ratio, which creates massive air bubbles and a marshmallow-like interior. Adding olives provides a burst of acidity and saltiness that perfectly balances the rich olive oil and the mild sourness of the dough. It is an impressive center-piece for any dinner party or a perfect companion for your morning coffee.
Ingredients
- 100g active sourdough starter (fed and bubbly)
- 400g warm water
- 500g bread flour (high protein is best)
- 10g fine sea salt
- 20g extra virgin olive oil (for the dough)
- Extra olive oil for the pan and drizzling
- 1 cup pitted olives (Castelvetrano or Kalamata)
- 1 tablespoon fresh rosemary needles
- Flaky sea salt for finishing
Directions
Step 1: Mixing the Initial Dough
In a large glass bowl, whisk together your active sourdough starter and warm water until the starter mostly dissolves. Add the bread flour and 10g of sea salt. Use a sturdy spatula or your hands to mix until no dry flour remains. Cover the bowl with a damp cloth or plastic wrap and let it rest for 30 minutes. This rest period, known as autolyse, allows the flour to fully hydrate and makes the dough easier to work with later.
Step 2: Strengthening the Dough (Stretch and Folds)
Over the next 2 hours, perform four sets of “stretch and folds” every 30 minutes. To do this, wet your hand, grab one side of the dough, pull it upward, and fold it over the center. Rotate the bowl and repeat this four times. After the final set of folds, drizzle 20g of olive oil over the dough and tuck the edges under to form a smooth ball. This process builds the structure necessary to trap those beautiful air bubbles.
Step 3: Cold Fermentation
Cover the bowl tightly and place it in the refrigerator for 12 to 16 hours. Cold fermentation slows down the yeast activity but allows the bacteria to produce complex acids, giving the focaccia its signature sourdough tang. This step also firms up the dough, making it easier to handle during the shaping phase the next day.
Step 4: Pan Proofing
Generously coat a 9×13 inch metal baking pan with olive oil. Gently transfer the cold dough into the pan. Do not force it to the corners yet. Flip the dough once so it is fully coated in oil. Cover the pan and let the dough rise at room temperature for 2 to 4 hours. The dough is ready when it has doubled in size, looks jiggly when you shake the pan, and naturally fills most of the corners.
Step 5: Dimpling and Topping
Preheat your oven to 425°F (220°C). Drizzle another tablespoon of olive oil over the top of the dough. Using all your fingertips, press straight down into the dough to create deep dimples, touching the bottom of the pan. You should see large bubbles surfacing. Gently press the olives into the dimples and sprinkle the fresh rosemary and flaky sea salt over the entire surface.
Step 6: Baking and Cooling
Place the pan on the middle rack of the oven. Bake for 20 to 25 minutes, or until the top is deeply golden brown and the edges are crispy. If you prefer an extra-crunchy bottom, place the pan on the lowest rack for the last 5 minutes. Remove from the oven and let the focaccia rest in the pan for 5 minutes before transferring it to a wire rack. This prevents the bottom from becoming soggy. Slice and serve warm.
Expert Tips for Perfect Jiggly Sourdough Focaccia With Olives
- Use a Metal Pan: Metal conducts heat better than glass or ceramic, ensuring a crispier bottom crust.
- Don’t Skimp on Oil: The olive oil essentially “fries” the bottom of the bread, creating that coveted golden crunch.
- Wet Your Hands: When dimpling the dough, keep your fingers oily or wet to prevent the dough from sticking to you and popping the bubbles.
- Check Starter Strength: Ensure your starter is at its peak (doubled or tripled in size) before mixing the dough for the best rise.
- Temperature Matters: If your kitchen is cold, the final proof in the pan may take longer. Look for the “jiggle” rather than watching the clock.
Delicious Variations
- Garlic and Herb: Add roasted garlic cloves and dried oregano alongside the olives.
- Tomato and Pesto: Halve cherry tomatoes and swirl in dollops of basil pesto before baking.
- Cheese Lover’s: Sprinkle shredded parmesan or drop small chunks of goat cheese into the dimples.
- Spicy Olive: Use olives stuffed with pimentos or add sliced jalapeños for a spicy kick.
- Caramelized Onion: Top with balsamic caramelized onions for a sweet and savory contrast.
Frequently Asked Questions
Can I use sourdough discard for this recipe?
This recipe relies on the lifting power of an active, bubbly starter. If you want to use discard, you should add about 1/2 teaspoon of commercial instant yeast to ensure the dough rises sufficiently and achieves that jiggly texture.
Why did my focaccia turn out flat?
A flat focaccia usually means the dough was under-proofed or the starter wasn’t active enough. Make sure the dough looks very bubbly and jiggly in the pan before you put it in the oven. If it hasn’t risen significantly in the pan, give it more time.
How do I store leftover focaccia?
Store leftovers in an airtight container at room temperature for up to two days. For longer storage, freeze slices in a freezer-safe bag. To refresh, toast the slices or place them in a 350°F oven for a few minutes until crisp.
What are the best olives to use?
Castelvetrano olives are a favorite for their buttery, mild flavor and bright green color. However, Kalamata olives offer a more intense, salty punch. Always ensure the olives are pitted to make eating easier.
Can I make this dough in one day?
Yes, you can skip the cold fermentation in the fridge. Instead, let the dough rise at room temperature for 4-6 hours after the stretch and folds, then move it to the pan for the final proof. However, the flavor will be less developed.
Conclusion
Baking this jiggly sourdough focaccia with olives is a rewarding experience that fills your kitchen with an incredible aroma. The contrast between the crunchy, oily exterior and the soft, cloud-like interior is truly unmatched. By following the slow fermentation process and being gentle with those precious air bubbles, you will create a professional-quality loaf right in your own kitchen. Slice it up, share it with friends, and enjoy the perfect harmony of sourdough tang and salty olives.