Follow Me On Pinterest!
Hot Chocolate Bombs – Winter Season Trend
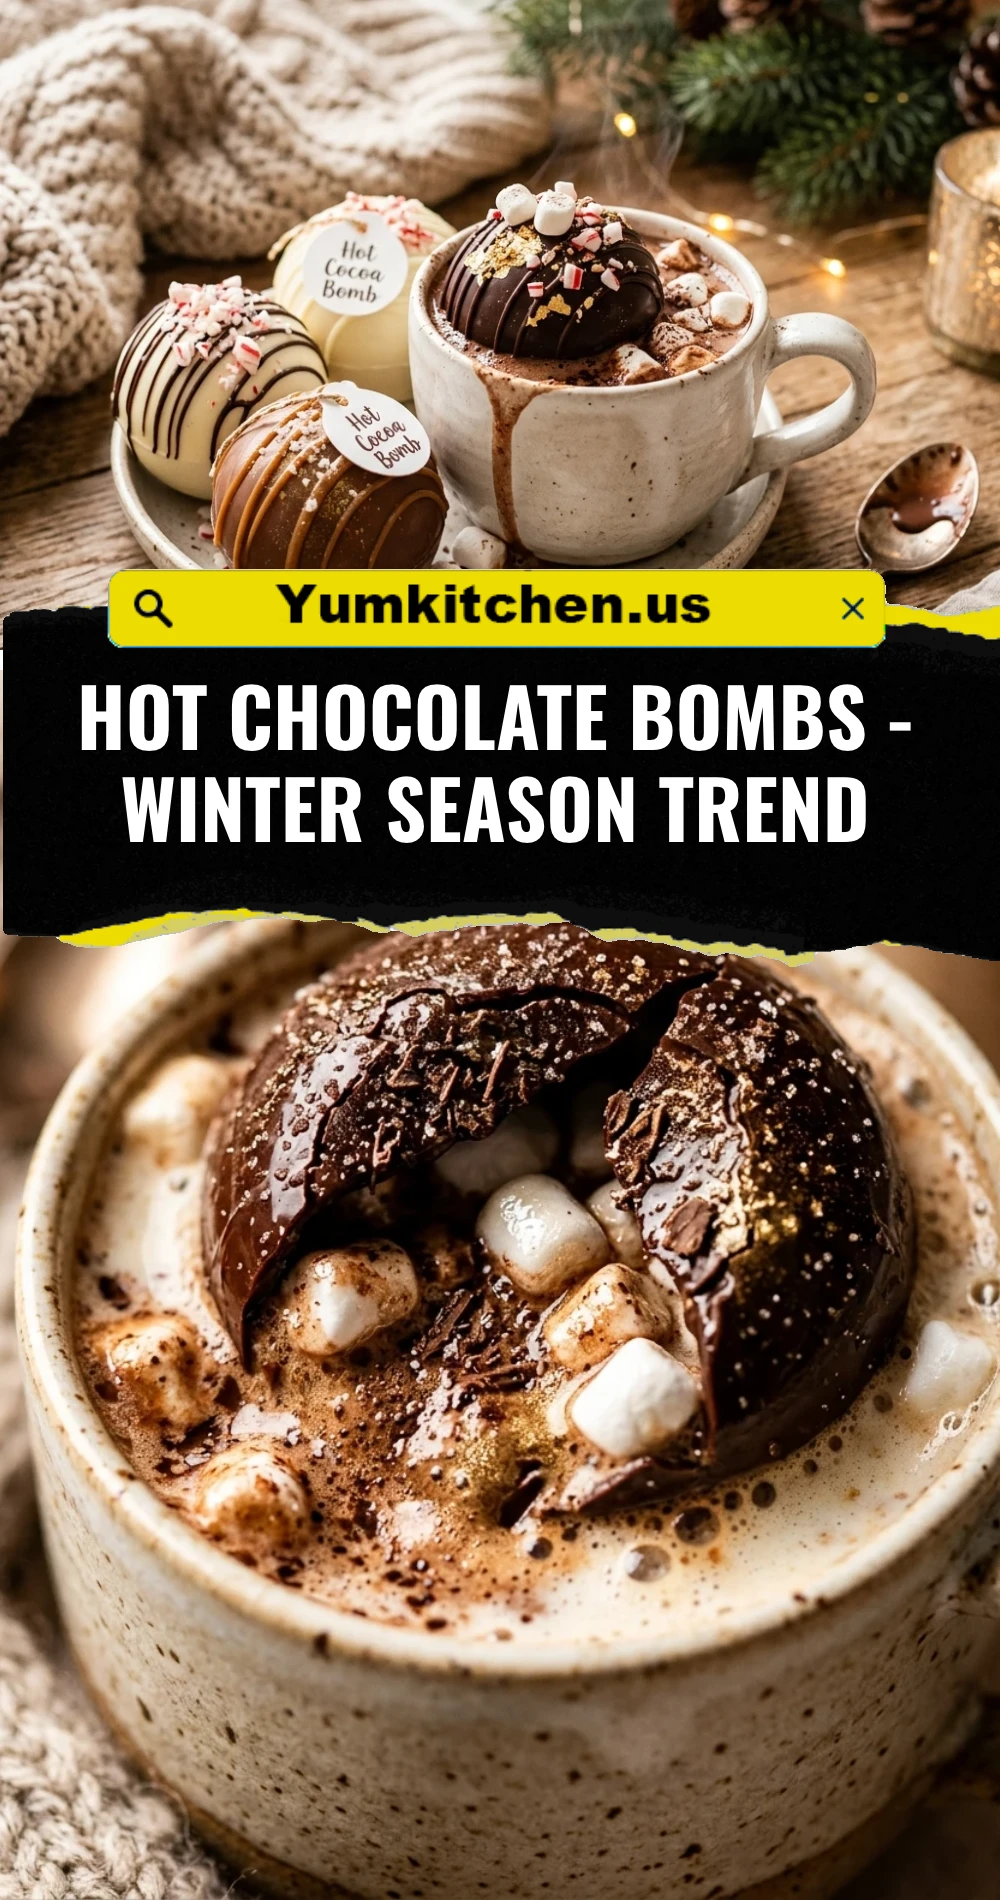
There is nothing quite as magical as watching a glossy chocolate sphere dissolve into a mug of steaming milk, releasing a hidden treasure of marshmallows and cocoa powder. Hot chocolate bombs have taken the winter season by storm, transforming a simple beverage into an interactive, cozy experience. Whether you are looking for the perfect DIY holiday gift or a fun weekend project with the kids, these chocolate treats are the ultimate way to level up your winter routine. They are surprisingly easy to make at home once you master a few simple techniques, and the result is a rich, decadent cup of cocoa that tastes far better than any store-bought packet.
Recipe Information
- Prep Time: 30 minutes
- Cook Time: 10 minutes
- Total Time: 40 minutes
- Servings: 6 bombs
- Difficulty: Medium
Nutrition values
- Calories: 245 kcal
- Protein: 3g
- Carbs: 32g
Why Make This Hot Chocolate Bombs – Winter Season Trend
This trend is more than just a viral social media moment; it is a creative outlet that brings joy to any cold afternoon. Making your own hot chocolate bombs allows you to control the quality of the chocolate, ensuring a premium taste without the waxy texture found in mass-produced versions. They serve as incredible personalized gifts for friends and family, and the “explosion” effect never fails to impress guests. Plus, it is a fantastic way to customize flavors to your exact preference, from spicy Mexican chocolate to sweet peppermint crunch.
Ingredients
- 12 oz high-quality semi-sweet chocolate melting wafers or chopped couverture chocolate
- 6 tablespoons premium hot cocoa mix
- 1/2 cup mini marshmallows
- Optional: Sprinkles, edible glitter, or crushed candy canes for decoration
- Optional: White chocolate drizzle for contrast
- Equipment: Silicone half-sphere mold (approx. 2.5 inches in diameter)
Directions
Step 1: Melting the Chocolate
Place your chocolate wafers in a microwave-safe bowl. Heat the chocolate in 30-second intervals, stirring thoroughly between each burst. Once the chocolate is mostly melted with a few small chunks remaining, stop heating and stir until completely smooth. This prevents the chocolate from overheating and losing its shine.
Step 2: Coating the Molds
Place a large spoonful of melted chocolate into each cavity of the silicone mold. Use the back of the spoon or a small pastry brush to spread the chocolate up the sides of the mold, ensuring the top edges are thick enough to prevent breakage. Flip the mold over a piece of parchment paper to let excess chocolate drip out, then scrape the surface clean.
Step 3: Chilling the Shells
Place the silicone mold in the refrigerator for at least 10 to 15 minutes, or until the chocolate is completely firm. If the shells look thin or translucent, apply a second coat of chocolate and chill again. Gently peel the silicone away from the chocolate spheres to pop them out without cracking the edges.
Step 4: Filling the Spheres
Take six of the chocolate half-spheres and place them open-side up. Fill each one with one tablespoon of hot cocoa mix and a handful of mini marshmallows. You can also add any extra mix-ins like crushed peppermint or cinnamon at this stage.
Step 5: Sealing the Bombs
Heat a small plate in the microwave for about 45 seconds until it is warm to the touch. Take an empty chocolate half-sphere and press the open edge onto the warm plate for a couple of seconds to melt the rim. Quickly press the melted edge onto a filled half-sphere to seal them together. Use a clean finger to smooth out the seam if necessary.
Step 6: Decorating and Serving
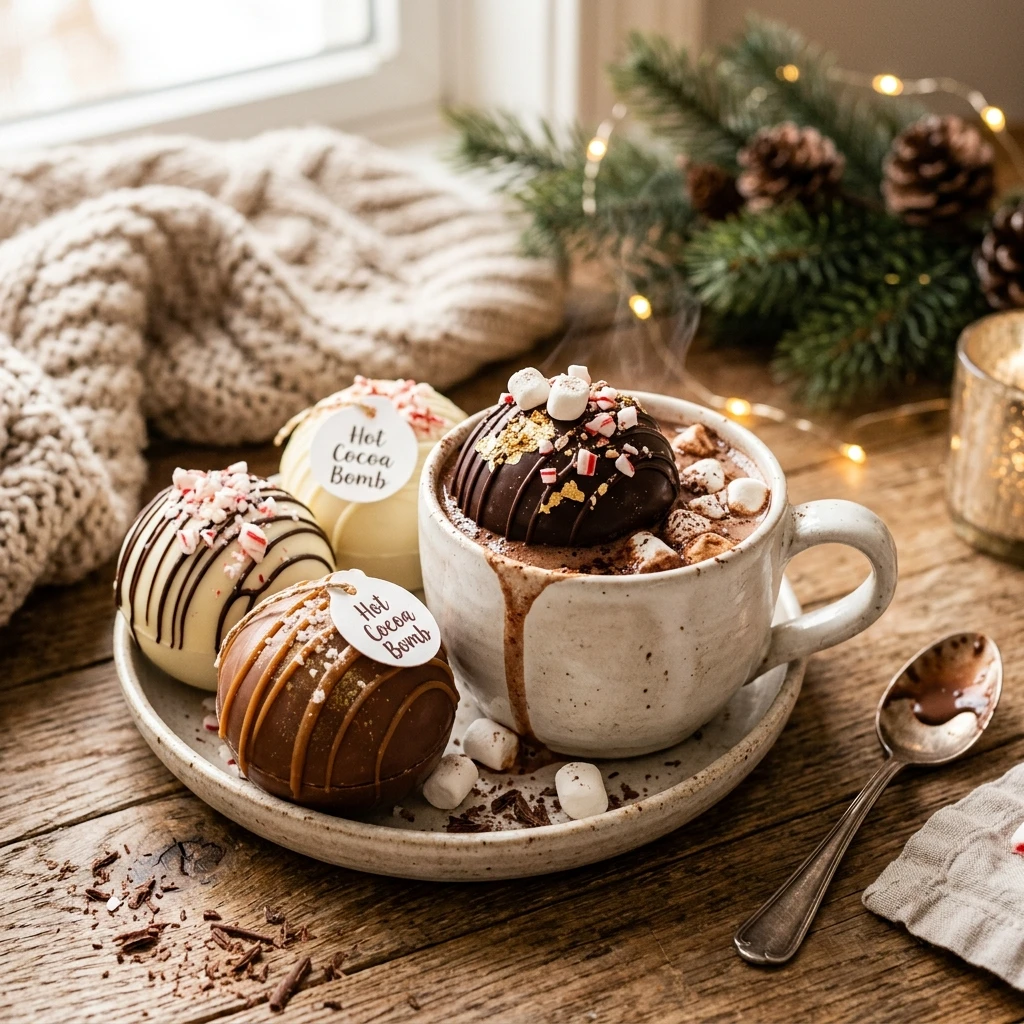
Drizzle melted white chocolate over the top of the sealed bombs and immediately top with sprinkles or crushed candies. To serve, place one bomb in a large mug. Pour 8 to 10 ounces of very hot milk directly over the center of the bomb. Watch it pop open, stir well to combine, and enjoy!
Expert Tips for Perfect Hot Chocolate Bombs – Winter Season Trend
To achieve a professional finish, wear food-safe gloves while handling the chocolate shells; this prevents unsightly fingerprints from marring the glossy surface. If your chocolate isn’t melting smoothly, add a teaspoon of coconut oil to help it flow better. For the best “explosion,” ensure your milk is steaming hot—if the milk is only lukewarm, the shell won’t melt fast enough to create the desired effect. Always use high-quality chocolate with a high cocoa butter content for the best snap and flavor.
Delicious Variations
- Peppermint Bark: Use white chocolate shells and fill with cocoa mix and crushed candy canes.
- Salted Caramel: Add a teaspoon of caramel sauce or a soft caramel candy inside the bomb along with a pinch of sea salt.
- Mexican Hot Cocoa: Add a pinch of cinnamon and a tiny dash of cayenne pepper to the cocoa mix for a spicy kick.
- Mocha Bomb: Add a teaspoon of instant espresso powder to the cocoa mix for a caffeine boost.
- White Chocolate Matcha: Swap the cocoa mix for matcha powder and use white chocolate for the shell.
Frequently Asked Questions
What is the best chocolate to use?
Couverture chocolate or high-quality melting wafers work best because they have a high cocoa butter content, which gives the shells a beautiful shine and a clean snap.
How should I store the finished bombs?
Store them in an airtight container in a cool, dry place. Avoid the refrigerator if possible, as the moisture can cause the chocolate to “bloom” or develop white spots.
Can I use water instead of milk?
While you can use water, milk (or a dairy-free alternative like oat or almond milk) provides a much creamier and richer flavor that complements the chocolate shell.
Why did my chocolate shells crack?
The shells are likely too thin. Ensure you coat the sides of the mold thoroughly, paying extra attention to the top rim where the two halves will join.
How long do hot chocolate bombs last?
If stored properly in a cool environment, they can last for up to two months, though the marshmallows may start to get slightly stale after the first few weeks.
Conclusion
Hot chocolate bombs are more than just a drink; they are a delightful winter ritual that brings a bit of theatre to your kitchen. By following these steps, you can create professional-looking treats that taste even better than they look. Whether you’re snuggling up by the fire or sharing them as a thoughtful gift, these chocolate spheres are sure to make your winter season a little brighter and much more delicious. Grab your molds and start experimenting with flavors today!