Follow Me On Pinterest!
Halloween Rice Krispie Treats – Monster Brains
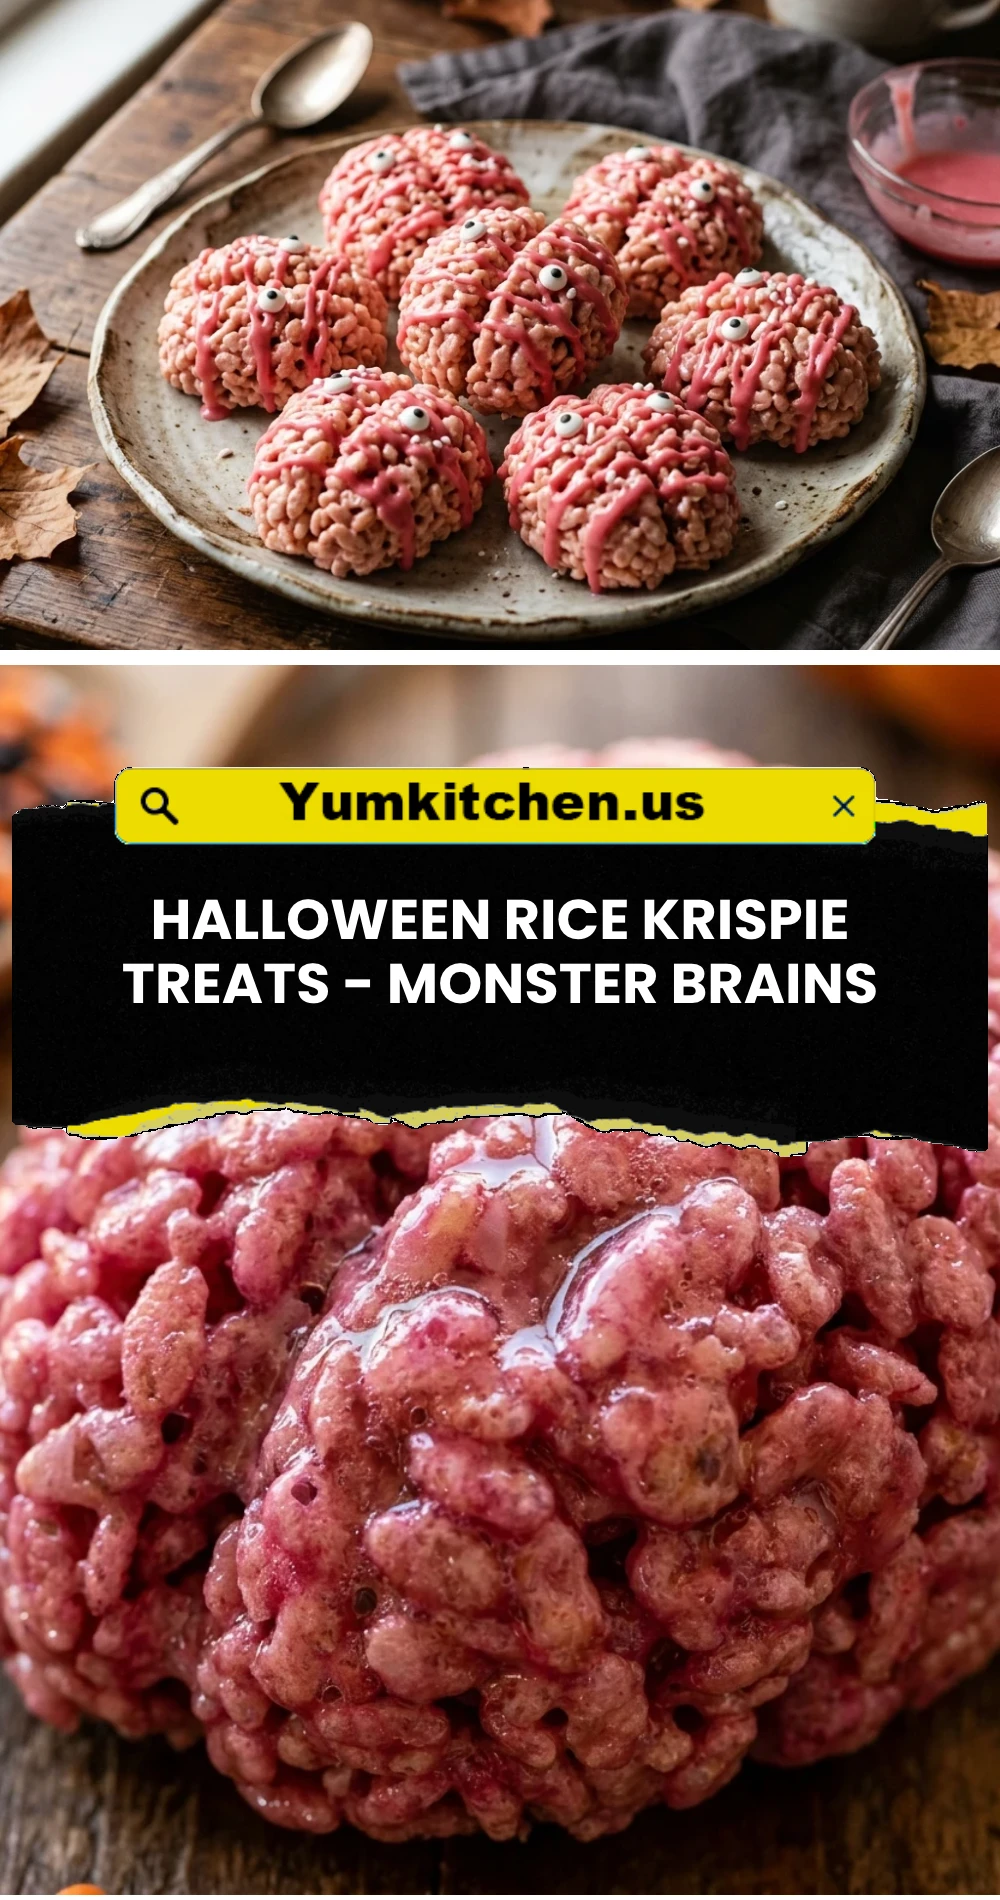
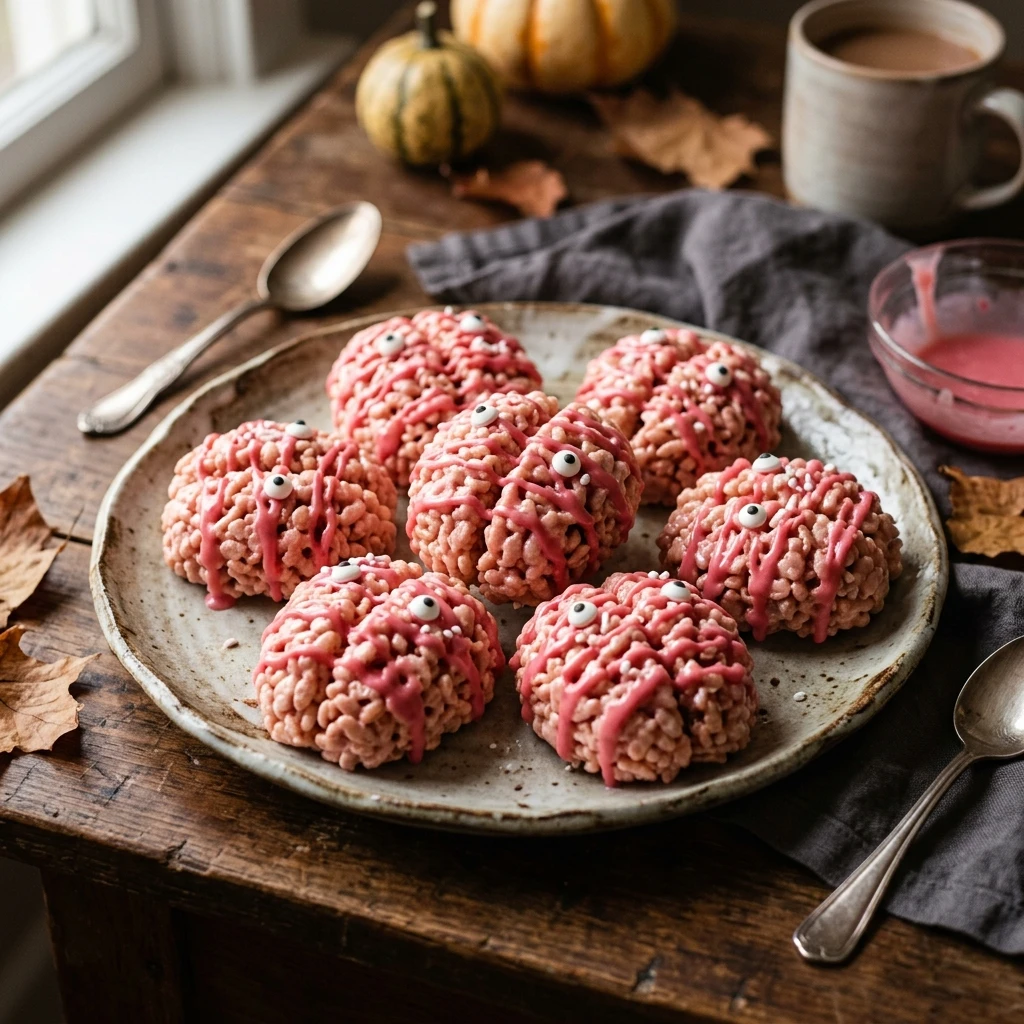
Get ready to spook your guests with a treat that is as creepy as it is delicious! These Halloween Rice Krispie Treats – Monster Brains are the perfect addition to any haunted house party or school snack tray. By taking a nostalgic childhood favorite and giving it a ghoulish makeover, you create a dessert that is visually striking and incredibly easy to make. The combination of gooey marshmallows, crunchy cereal, and a vivid pink hue makes these “brains” the star of the dessert table. Best of all, there is no baking required, so you can spend more time on your costume and less time in front of the oven.
Recipe Information
- Prep Time: 15 minutes
- Cook Time: 10 minutes
- Total Time: 25 minutes
- Servings: 12 brains
- Difficulty: Easy
Nutrition values
- Calories: 175 kcal
- Protein: 1.2g
- Carbs: 36g
Why Make This Halloween Rice Krispie Treats – Monster Brains
These monster brains are the ultimate crowd-pleaser for several reasons. First, they offer a high visual impact with very little effort. The natural texture of the puffed rice cereal mimics the look of a brain perfectly when shaped correctly. Second, they are incredibly kid-friendly; children love helping to mold the sticky mixture into “scary” shapes. Third, they are budget-friendly and use simple pantry staples. Finally, the sweet, buttery flavor is a guaranteed hit for both kids and adults who want a festive treat without the hassle of a complex recipe.
Ingredients
- 6 cups Rice Krispies cereal
- 10 oz bag of mini marshmallows (about 5-6 cups)
- 1/4 cup unsalted butter
- 1/2 teaspoon vanilla extract
- Pink or red gel food coloring
- Red decorating gel or strawberry jam (for “blood” effect)
- Non-stick cooking spray or extra butter for your hands
Directions
Step 1: Melt the Butter and Marshmallows
In a large pot or Dutch oven, melt the butter over low heat. Once the butter is completely melted, add the mini marshmallows. Stir continuously with a heat-resistant spatula until the marshmallows are completely melted and smooth. Be careful not to burn the mixture; low heat is key to keeping the treats soft and chewy.
Step 2: Add Color and Flavor
Remove the pot from the heat. Stir in the vanilla extract. Add a few drops of pink gel food coloring to the marshmallow mixture. Mix well until the color is uniform. If you want a deeper “flesh” tone, add a tiny drop of red or orange coloring. Remember that the color will lighten slightly once you add the white cereal.
Step 3: Incorporate the Cereal
Pour the Rice Krispies cereal into the pink marshmallow mixture. Use a spatula to fold the cereal gently into the marshmallow until every piece is evenly coated. Work quickly while the mixture is still warm, as it becomes harder to manage as it cools down.
Step 4: Shape the Brains
Grease your hands generously with butter or non-stick spray to prevent sticking. Take a handful of the mixture (about 1/2 cup) and form it into an oval or egg shape. Use the side of a butter knife or your finger to press a deep vertical line down the center of the oval to create the left and right hemispheres of the brain. Place the shaped brains on a sheet of parchment paper to set.
Step 5: Add Finishing Touches
For an extra “gory” effect, drizzle red decorating gel or warmed strawberry jam into the center crevice of each brain. You can also use a toothpick to create small “veins” on the sides of the treats. Let the treats cool completely at room temperature for about 30 minutes before serving.
Expert Tips for Perfect Halloween Rice Krispie Treats – Monster Brains
- Use Fresh Marshmallows: Always use a fresh bag of marshmallows. Older marshmallows can result in hard, tooth-shattering treats.
- Don’t Pack Too Tightly: When shaping the brains, use a light touch. If you compress the cereal too much, the treats will lose their airy, crunchy texture.
- Gel vs. Liquid Coloring: Use gel food coloring rather than liquid drops. Gel provides a much more vibrant color without changing the consistency of the marshmallow mix.
- Keep Hands Greased: Re-apply butter or cooking spray to your hands every two or three brains to keep the shaping process mess-free.
- Low Heat Only: Never rush the melting process by turning up the heat. High heat makes the sugar in the marshmallows brittle.
Delicious Variations
- Zombie Green Brains: Switch out the pink food coloring for neon green or lime green to create toxic zombie brains.
- Chocolate Center: Hide a small chocolate truffle or a piece of candy in the center of the brain for a sweet surprise.
- Peanut Butter Flavor: Stir in a tablespoon of peanut butter into the melted marshmallows for a salty-sweet twist.
- White Chocolate Drizzle: Drizzle melted white chocolate over the finished brains to mimic “nerves.”
- Gluten-Free Option: Use a certified gluten-free puffed rice cereal to make this treat safe for everyone.
Frequently Asked Questions
How should I store these treats?
Store the monster brains in an airtight container at room temperature for up to 3 days. To keep them from sticking together, place layers of parchment paper between them.
Can I make these in the microwave?
Yes. Place the butter and marshmallows in a large microwave-safe bowl. Heat on high for 1 minute, stir, and then heat in 30-second increments until melted. Follow the rest of the steps as written.
Can I make these ahead of time?
You can make these 24 hours in advance. They are best when fresh, but they will still be delicious and soft if stored properly in an airtight container.
Can I use large marshmallows instead of mini?
Yes, you can use large marshmallows. You will need about 40 large marshmallows to equal one 10 oz bag of minis. They take a bit longer to melt, so keep stirring.
Do I need to refrigerate them?
No, do not refrigerate Rice Krispie treats. Refrigeration can make the marshmallows hard and the cereal soggy. Room temperature is best for maintaining the perfect texture.
Conclusion
These Halloween Rice Krispie Treats – Monster Brains are the ultimate spooky snack that balances creepiness with classic sweetness. They are easy to assemble, fun to look at, and even more fun to eat. Whether you are hosting a large party or just looking for a festive weekend activity with your kids, this recipe is sure to deliver smiles and maybe a few “eeks!” Enjoy your spooky season with this delightfully brainy dessert.