Follow Me On Pinterest!
Halloween Finger Foods – Cheese Stick Broomsticks
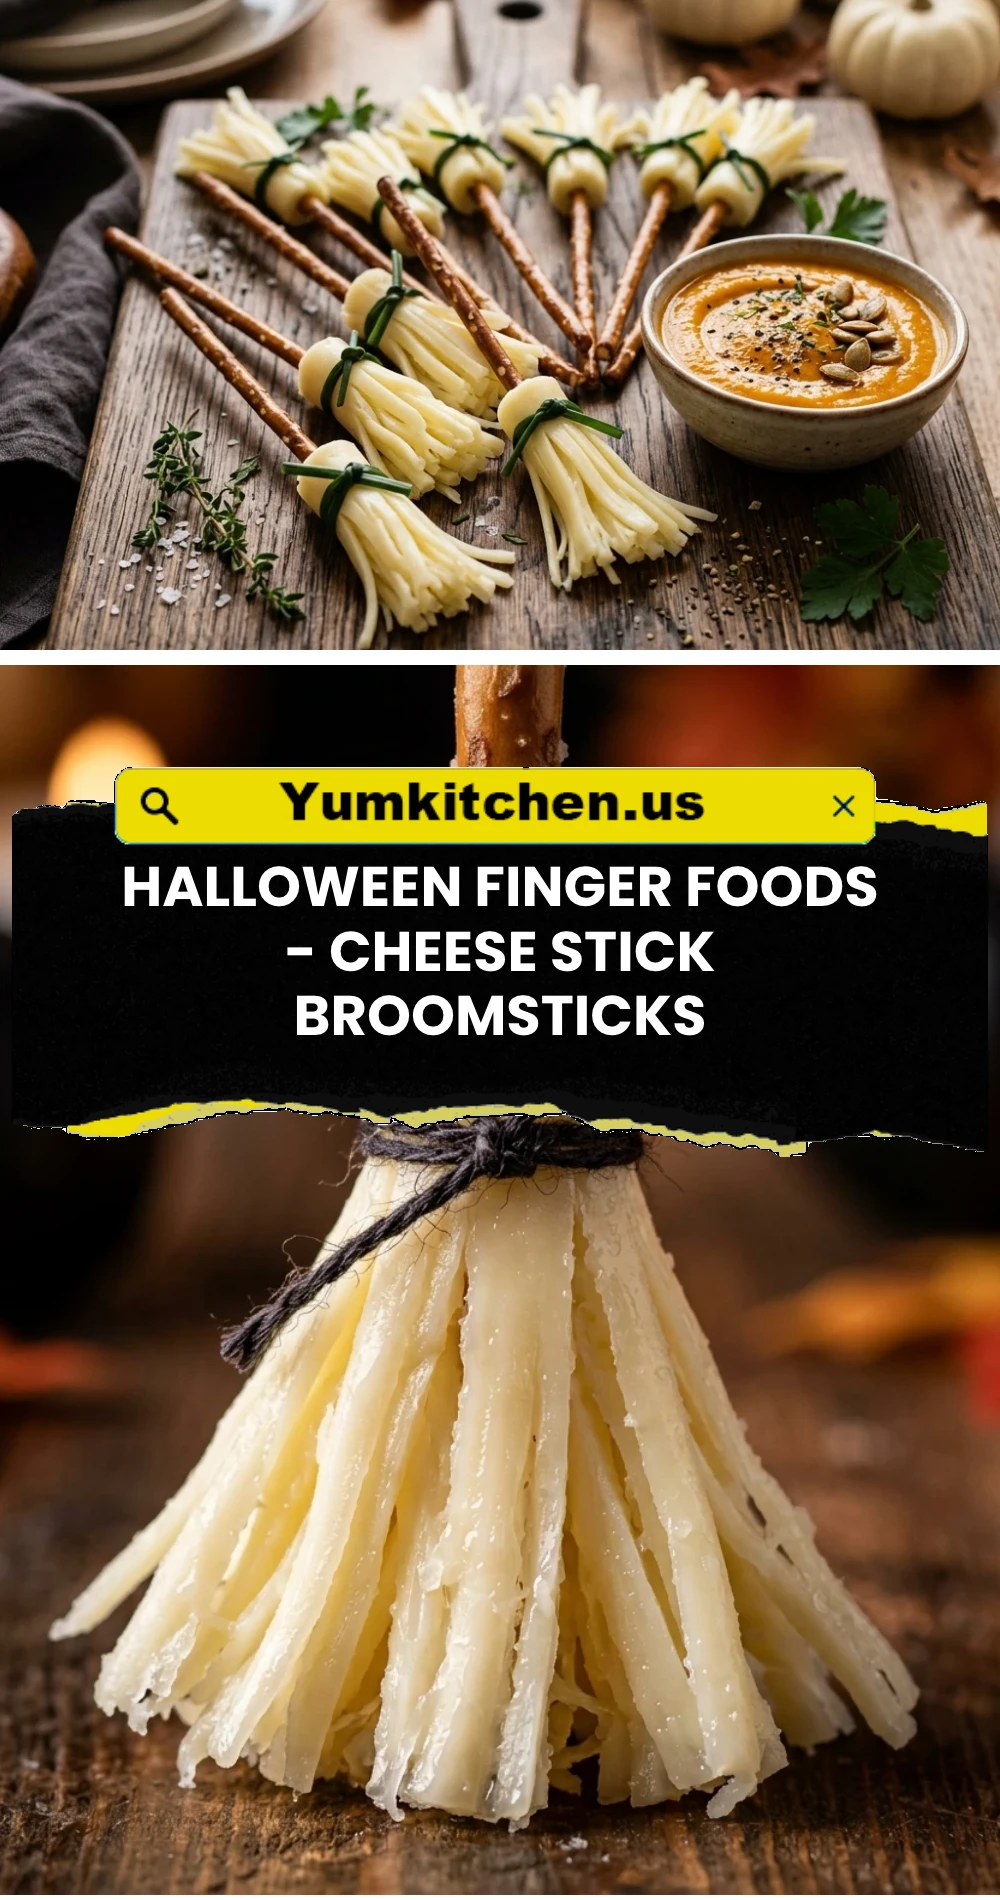
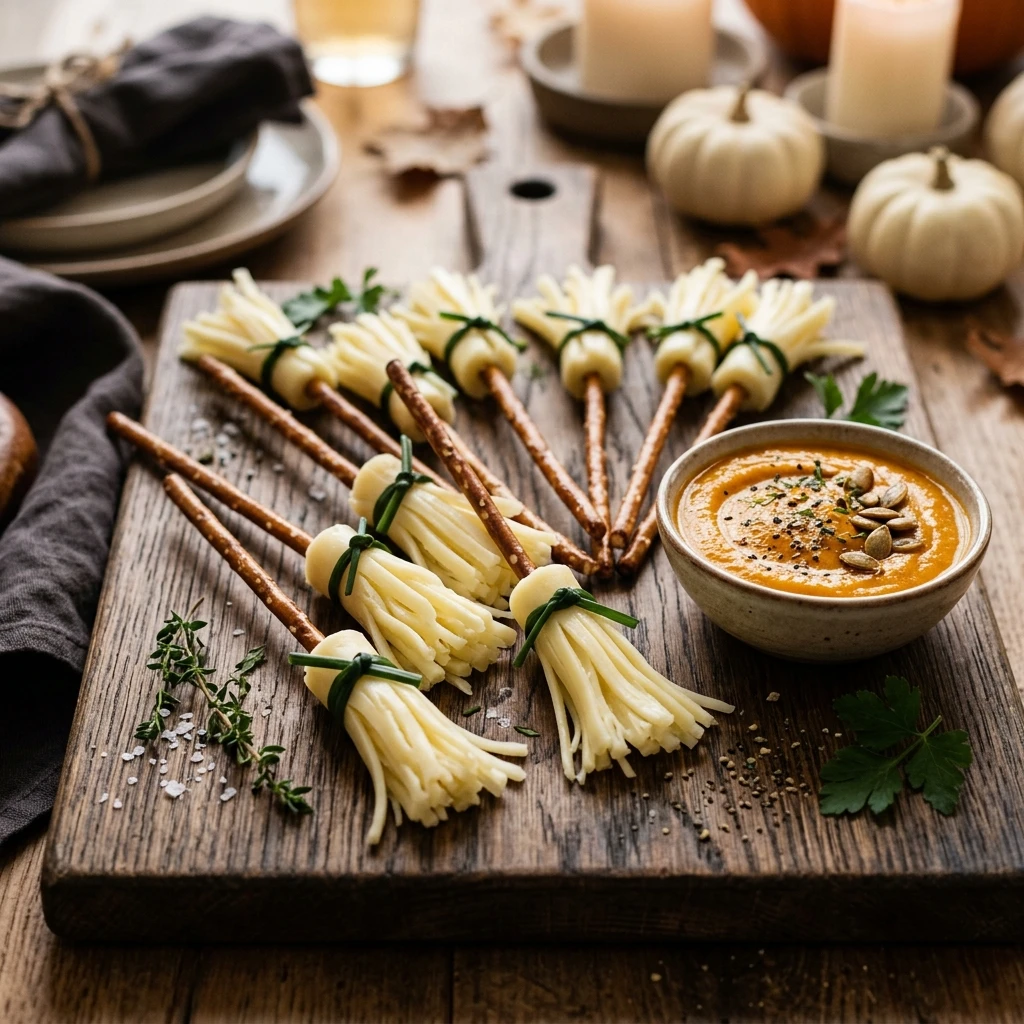
Get ready to cast a spell on your guests with the most adorable snack of the spooky season! These Halloween Finger Foods – Cheese Stick Broomsticks are the ultimate combination of salty, savory, and downright whimsical. Whether you are hosting a haunted house bash or looking for a fun after-school snack for the kids, these little broomsticks deliver maximum “wow” factor with minimal effort. You don’t need any magic or expert culinary skills to pull these off—just a few simple ingredients and a little bit of creativity. Let’s dive into how you can whip up these magical treats in minutes!
Recipe Information
- Prep Time: 15 minutes
- Cook Time: 0 minutes
- Total Time: 15 minutes
- Servings: 12 broomsticks
- Difficulty: Easy
Nutrition values
- Calories: 85 kcal
- Protein: 6g
- Carbs: 2g
Why Make This Halloween Finger Foods – Cheese Stick Broomsticks
These broomsticks are a lifesaver for busy hosts because they require absolutely no cooking. In a season filled with sugary candy and chocolate, these cheese and pretzel snacks offer a much-needed savory alternative that still fits the festive theme perfectly. They are naturally vegetarian and can easily be made gluten-free by using gluten-free pretzel sticks. Plus, kids love helping to “shred” the cheese bristles, making it a fantastic family activity. They are visually striking on a platter and provide a great balance of protein and crunch.
Ingredients
- 6 Mozzarella string cheese sticks
- 12 Straight pretzel sticks
- 12 Fresh chives (or thin strips of green onion)
- Optional: Fresh parsley for garnish
Directions
Step 1: Prepare the Cheese Bases
Take your string cheese sticks out of their wrappers. Use a sharp knife to cut each cheese stick in half crosswise. This will give you 12 short cylinders that will serve as the base of your broomsticks.
Step 2: Shred the Broom Bristles
Stand one cheese piece upright on your cutting board. Use your fingers or a small knife to gently peel the bottom half of the cheese into thin strips. Be careful not to peel them all the way to the top; stop about halfway up to keep the “handle” area solid. These strips will look like the straw bristles of a broom.
Step 3: Insert the Pretzel Handles
Take a pretzel stick and gently press it into the solid (uncut) top end of the cheese cylinder. Push it in about half an inch to ensure it stays secure. If the cheese starts to split, try rotating the pretzel slightly as you push it in.
Step 4: Tie the Decorative Binding
Take a single fresh chive and wrap it around the top part of the cheese, just above where the bristles start. Tie a simple knot and trim the excess with scissors. This adds a realistic “tied broom” look and a nice pop of green color.
Step 5: Plating and Serving
Arrange the finished broomsticks on a dark platter to make the white cheese pop. You can stand them upright or lay them flat. Serve immediately or store them in an airtight container in the fridge until your party starts.
Expert Tips for Perfect Halloween Finger Foods – Cheese Stick Broomsticks
To get the best results, make sure your string cheese is cold right out of the fridge; warm cheese becomes too soft to shred cleanly. If you find the chives are snapping when you try to tie them, soak them in warm water for 30 seconds to make them more pliable. For the best “bristle” look, make several small shreds rather than a few thick ones. If you are making these ahead of time, keep them covered with a damp paper towel in the fridge so the pretzels don’t get soggy and the cheese doesn’t dry out.
Delicious Variations
You can easily customize these broomsticks to suit your taste. Try using “swirl” string cheese (mozzarella and cheddar mix) for a two-toned broomstick look. For a spicy kick, use pepper jack string cheese. If you don’t like chives, you can use a thin strip of fruit leather or even a piece of beef jerky to tie the broom. For a “Witch’s Flight” platter, serve these alongside a bowl of dark purple grape jelly or a savory balsamic glaze dip.
Frequently Asked Questions
Can I make these the night before?
It is best to make these no more than a few hours in advance. Pretzels tend to absorb moisture from the cheese and can become soft or “stale” if left in the fridge overnight. If you must prep ahead, prepare the cheese bases and tie the chives, then insert the pretzels right before serving.
What can I use instead of chives?
If you can’t find fresh chives, use the green part of a green onion sliced into very thin ribbons. You can also use a small piece of blanched spinach or even a tiny strip of ham or prosciutto tied around the cheese.
Are these suitable for toddlers?
Yes, but always supervise young children as the pretzel sticks can be crunchy and the small chive tie might be a minor choking hazard for very small kids. You can always omit the chive tie for younger children.
My cheese is splitting when I insert the pretzel. What do I do?
This usually happens if the cheese is too cold or the pretzel is too thick. Let the cheese sit at room temperature for 5 minutes, or use a toothpick to poke a “pilot hole” in the cheese before inserting the pretzel stick.
How many should I make per person?
Since these are light finger foods, plan for about 2 to 3 broomsticks per guest. They disappear quickly because they are so easy to grab and eat!
Conclusion
These Halloween Finger Foods – Cheese Stick Broomsticks are a guaranteed hit for any October gathering. They bring a touch of whimsy and a lot of flavor to your snack table without requiring hours in the kitchen. Simple, healthy, and incredibly festive, they prove that you don’t need complicated ingredients to make a lasting impression. Happy haunting and happy snacking!