Follow Me On Pinterest!
Gluten Free Easy Pie Recipes That Actually Work
Finding a gluten-free pie recipe that doesn’t crumble into a million pieces the moment you touch it feels like a kitchen miracle. Most store-bought crusts are dry and tasteless, but you don’t have to settle for sub-par desserts anymore. This guide focuses on a master gluten-free pie crust and filling technique that delivers a flaky, buttery result every single time. Whether you are craving a classic apple pie or a silky chocolate cream, these methods ensure your crust stays together and your fillings shine. Let’s get baking and reclaim the joy of a perfect slice of pie.
Recipe Information
- Prep Time: 20 minutes
- Cook Time: 45 minutes
- Total Time: 65 minutes
- Servings: 8
- Difficulty: Easy
Nutrition values
- Calories: 310 kcal
- Protein: 4g
- Carbs: 38g
Why Make This Gluten Free Easy Pie Recipes That Actually Work
This approach removes the guesswork from gluten-free baking. Many recipes fail because they lack the right binding agents or moisture balance. This recipe uses a high-quality 1-to-1 flour blend and a specific chilling technique to mimic the elasticity of gluten. You get a crust that rolls out smoothly, browns beautifully in the oven, and tastes just like the traditional version. It is versatile enough for fruit, custard, or even savory pot pies, making it the only gluten-free pie resource you will ever need.
Ingredients
- 2 ½ cups gluten-free all-purpose flour blend (must include xanthan gum)
- 1 cup unsalted butter, chilled and cut into small cubes
- 1 teaspoon salt
- 1 tablespoon granulated sugar (omit for savory pies)
- 6 to 8 tablespoons ice-cold water
- 1 teaspoon apple cider vinegar (the secret for a tender crust)
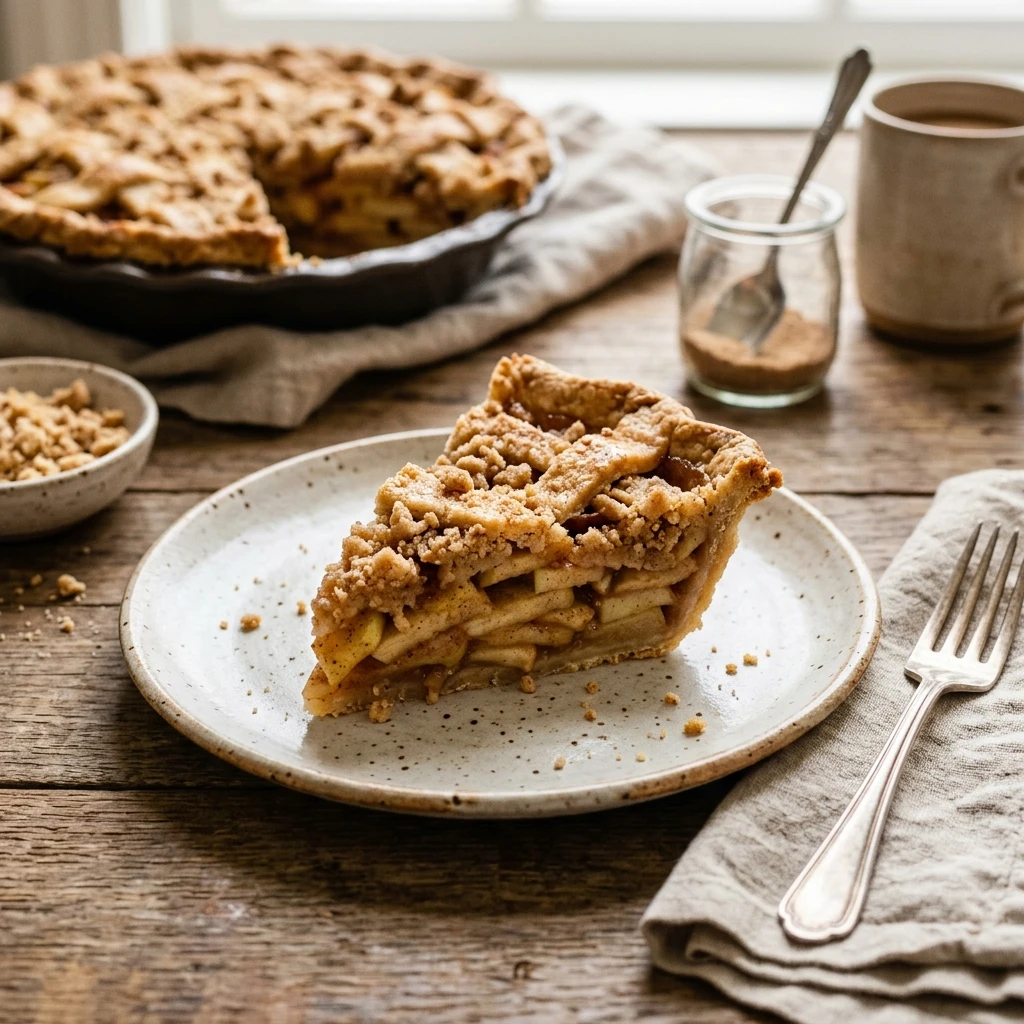
- 4 cups of your preferred fruit filling (e.g., sliced apples with cinnamon and sugar)
- 1 egg (for egg wash)
Directions
Step 1: Mix the Dry Ingredients
Whisk the gluten-free flour, salt, and sugar in a large mixing bowl. Ensure there are no large clumps in the flour blend. If your flour blend does not contain xanthan gum, add 1 teaspoon of it now to ensure the dough holds together properly.
Step 2: Cut in the Cold Butter
Add the chilled, cubed butter to the flour mixture. Use a pastry cutter or two forks to work the butter into the flour until the mixture resembles coarse crumbs with some pea-sized chunks remaining. Keeping the butter cold is essential for creating flaky layers.
Step 3: Incorporate Liquid and Form Dough
Mix the apple cider vinegar into the ice water. Add the water to the flour mixture one tablespoon at a time, tossing gently with a spatula. Stop adding water as soon as the dough begins to clump together. Press the dough into a ball, wrap it in plastic wrap, and refrigerate for at least 30 minutes.
Step 4: Roll and Shape the Crust
Place the chilled dough between two sheets of parchment paper. Roll it out into a circle about 12 inches wide. Carefully peel off the top layer of parchment and flip the dough into a 9-inch pie plate. Trim the edges and crimp them with your fingers or a fork.
Step 5: Fill and Bake
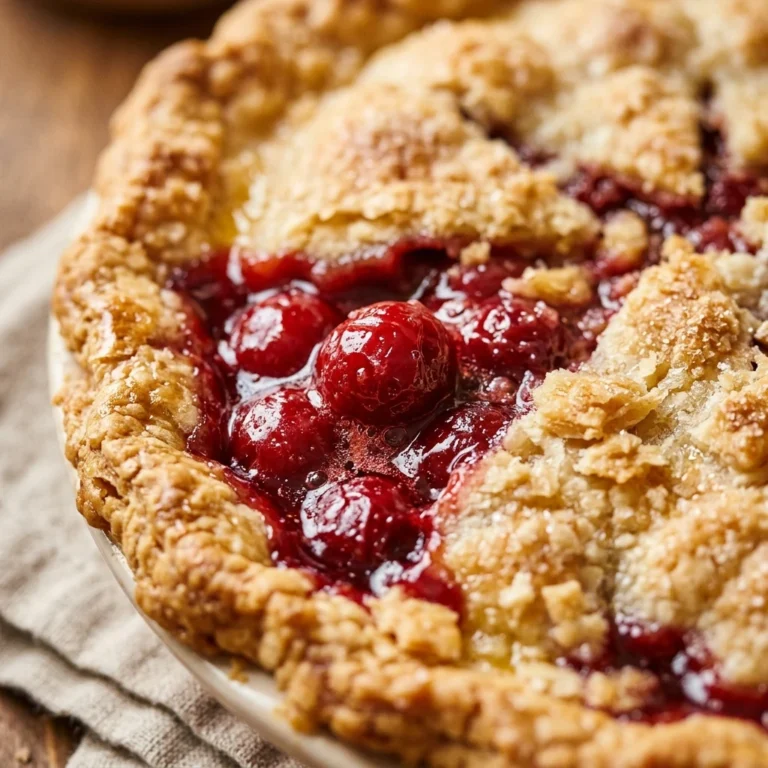
Add your prepared fruit filling into the crust. If you are making a double-crust pie, roll out the second half of the dough and place it on top. Cut small slits for steam to escape. Brush the top with a beaten egg for a golden finish. Bake at 375°F (190°C) for 45 minutes or until the crust is golden brown and the filling is bubbling.
Step 6: Cooling
Remove the pie from the oven and place it on a wire rack. Allow the pie to cool completely for at least 2 hours before slicing. This cooling period is vital for gluten-free pies, as it allows the structure to set so the slices hold their shape.
Expert Tips for Perfect Gluten Free Easy Pie Recipes That Actually Work
Always use “ice-cold” ingredients. If the butter melts before it hits the oven, you lose the flakiness. Additionally, don’t be afraid of the dough looking a little shaggy at first; gluten-free dough requires a bit more moisture than traditional dough, but it shouldn’t be sticky. If the dough cracks while rolling, simply press it back together with your fingers—it is very forgiving! Finally, use a glass pie dish if possible so you can check the bottom of the crust for a perfect golden-brown color.
Delicious Variations
- Dairy-Free Option: Swap the butter for chilled vegan buttery sticks or solid coconut oil.
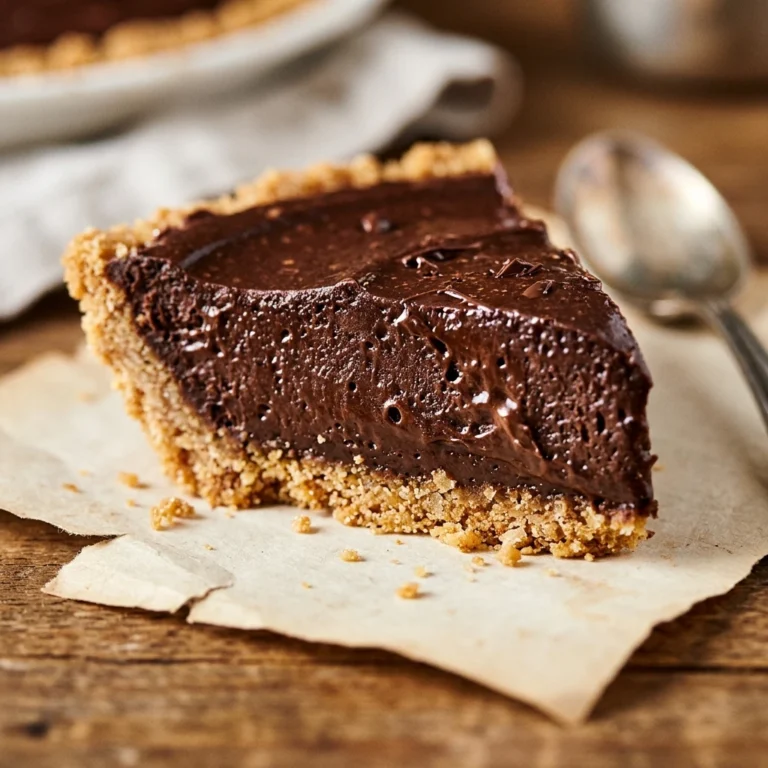
- Chocolate Crust: Replace 1/4 cup of flour with unsweetened cocoa powder and add an extra tablespoon of sugar.
- Savory Herb Crust: Omit the sugar and add 1 teaspoon of dried rosemary or thyme to the flour.
- Hand Pies: Cut the rolled dough into small circles, add a spoonful of jam, fold over, and crimp for easy portable treats.
Frequently Asked Questions
What is the best gluten-free flour for pie crust?
A high-quality 1-to-1 or “measure for measure” flour blend that contains rice flour, potato starch, and xanthan gum works best. Brands like King Arthur or Bob’s Red Mill are reliable choices for consistent results.
Why does my gluten-free crust always crumble?
Crumbling usually happens if the dough is too dry or if it lacks a binder like xanthan gum. Ensure you add enough ice water until the dough holds together and use the apple cider vinegar trick to keep it tender.
Can I make this dough in advance?
Yes! You can store the wrapped dough in the refrigerator for up to 2 days or freeze it for up to 3 months. Thaw frozen dough in the fridge overnight before rolling.
Do I need to blind-bake the crust?
For custard or cream pies, you should blind-bake the crust. Line the raw crust with parchment paper, fill with pie weights or dried beans, and bake at 375°F for 15 minutes before removing the weights and baking for another 10 minutes.
How do I prevent a soggy bottom?
Bake your pie on the lowest rack of the oven. You can also brush the bottom of the raw crust with a thin layer of beaten egg white before adding the filling to create a moisture barrier.
Conclusion
Mastering gluten-free pie doesn’t have to be a source of frustration. By following these simple steps and focusing on cold ingredients and proper hydration, you can create a dessert that rivals any traditional bakery. This easy method provides a reliable foundation for all your favorite flavors. Get your rolling pin ready and enjoy the satisfaction of a flaky, delicious pie that everyone can enjoy, regardless of dietary restrictions!