Follow Me On Pinterest!
Finger Foods Deviled Eggs For Potluck No Fail
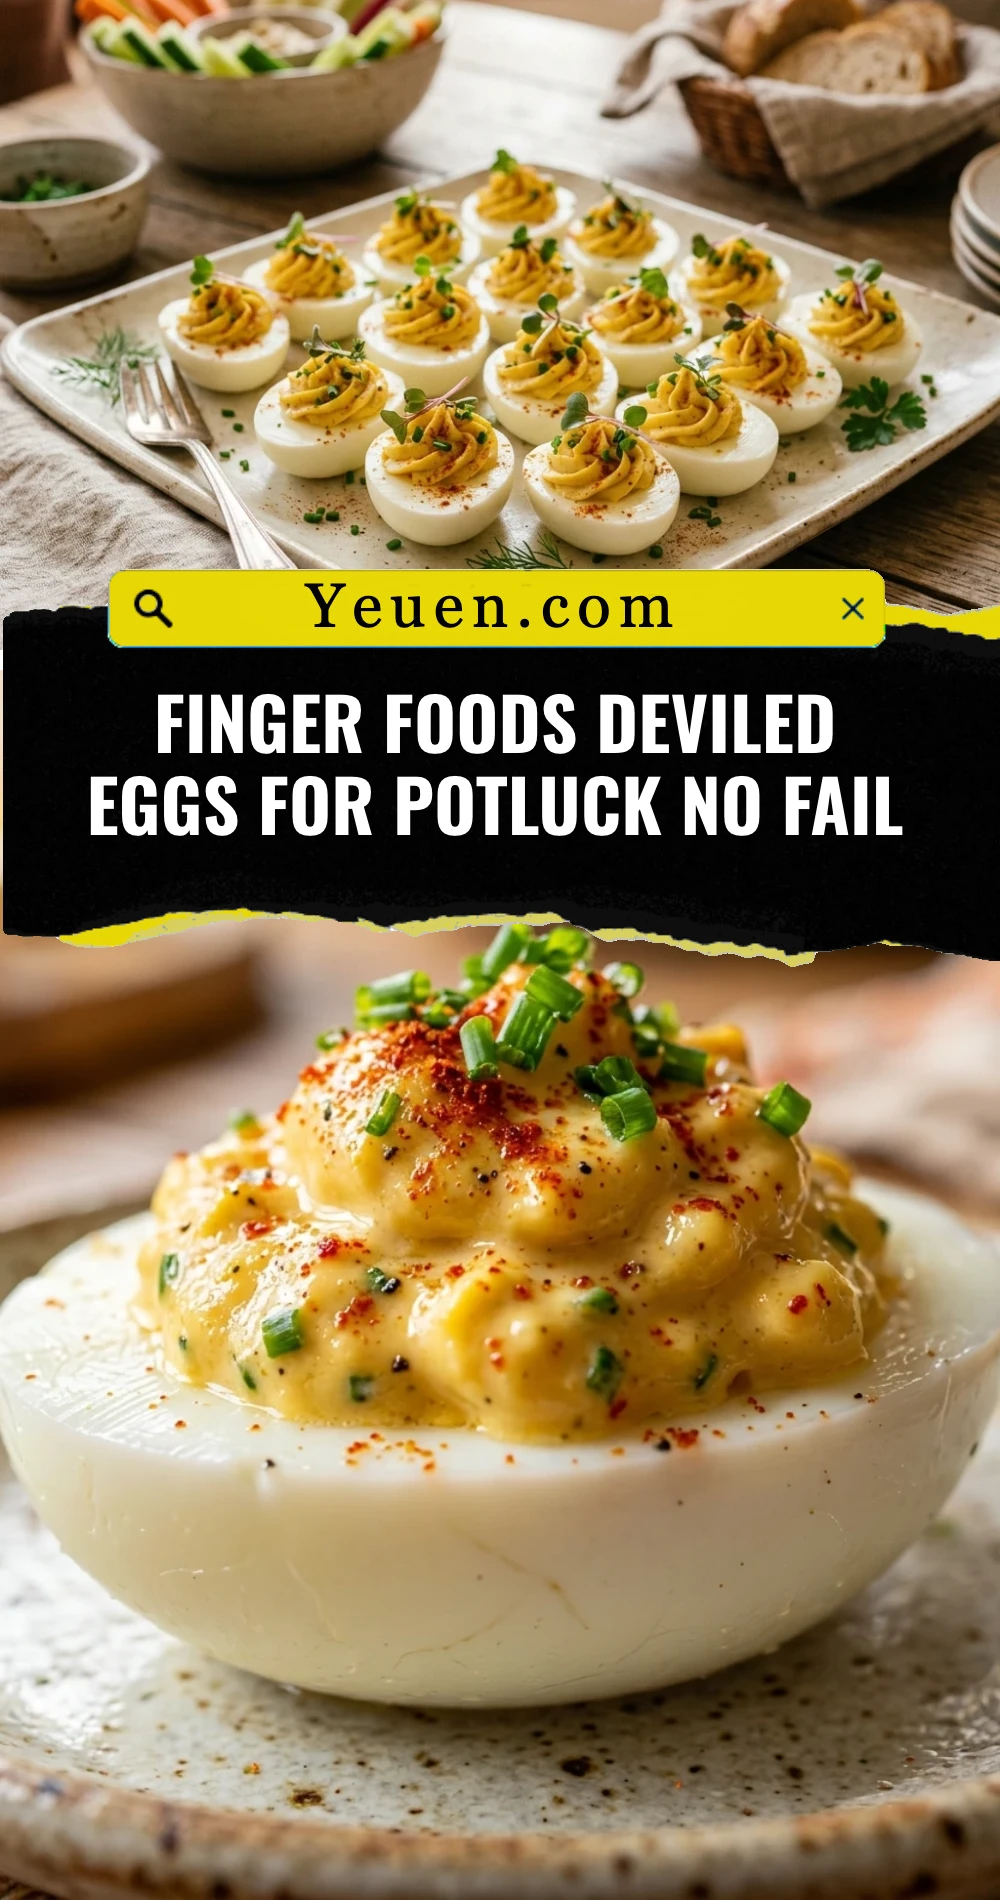
Nothing says “potluck favorite” quite like a platter of perfectly seasoned deviled eggs. They are the ultimate finger food—creamy, tangy, and easy to eat while mingling. While many people feel intimidated by peeling eggs or achieving that silky filling, this no-fail method ensures a smooth process every single time. Whether you are heading to a backyard BBQ, a holiday party, or a neighborhood gathering, these deviled eggs disappear in minutes. Best of all, you likely already have every ingredient in your pantry right now. Let’s dive into how to make the best deviled eggs you’ve ever tasted.
Recipe Information
- Prep Time: 15 minutes
- Cook Time: 12 minutes
- Total Time: 27 minutes
- Servings: 24 halves
- Difficulty: Easy
Nutrition values
- Calories: 62 kcal per serving
- Protein: 3g
- Carbs: 1g
Why Make This Finger Foods Deviled Eggs For Potluck No Fail
This recipe stands out because it focuses on reliability. We use a foolproof boiling technique that ensures the yolks are bright yellow without that unappealing gray-green ring. The flavor profile strikes the perfect balance between the richness of the mayonnaise and the sharp tang of mustard and vinegar. Because they are naturally low-carb and gluten-free, they cater to almost every guest at your potluck. Plus, they are incredibly budget-friendly, making them the perfect choice when you need to feed a large group without breaking the bank.
Ingredients
- 12 large eggs (older eggs peel better!)
- 1/2 cup high-quality mayonnaise
- 1 tablespoon yellow mustard or Dijon mustard
- 1 teaspoon apple cider vinegar or pickle juice
- 1/4 teaspoon salt
- 1/4 teaspoon black pepper
- Smoked paprika for dusting
- Fresh chives, finely chopped (optional garnish)
Directions
Step 1: Hard Boiling the Eggs
Place your eggs in a single layer at the bottom of a large saucepan. Cover them with cold water, ensuring there is at least an inch of water above the eggs. Bring the water to a full rolling boil over high heat. As soon as it boils, turn off the heat, cover the pan with a lid, and let the eggs sit for exactly 12 minutes. While they sit, prepare a large bowl with ice and cold water.
Step 2: The Shock and Peel
Once the timer goes off, immediately transfer the eggs into the ice bath using a slotted spoon. Let them chill for at least 5 to 10 minutes. This “shocks” the egg, stopping the cooking process and pulling the membrane away from the shell. Gently crack the shells all over and peel them under cool running water. Pat the peeled eggs dry with a paper towel.
Step 3: Preparing the Yolks
Slice each egg in half lengthwise using a sharp, clean knife. Gently squeeze the sides of the whites to pop the yolks out into a medium-sized mixing bowl. Set the empty whites aside on a serving platter. Use a fork to mash the yolks into a fine, sandy crumble. This step is crucial for achieving a smooth, lump-free filling later.
Step 4: Mixing the Filling
Add the mayonnaise, mustard, vinegar (or pickle juice), salt, and pepper to the mashed yolks. Stir vigorously with a spoon or whisk until the mixture is completely smooth and creamy. If the filling seems too dry, add an extra tablespoon of mayonnaise. For a professional look, transfer the filling into a piping bag fitted with a large star tip.
Step 5: Filling and Garnishing
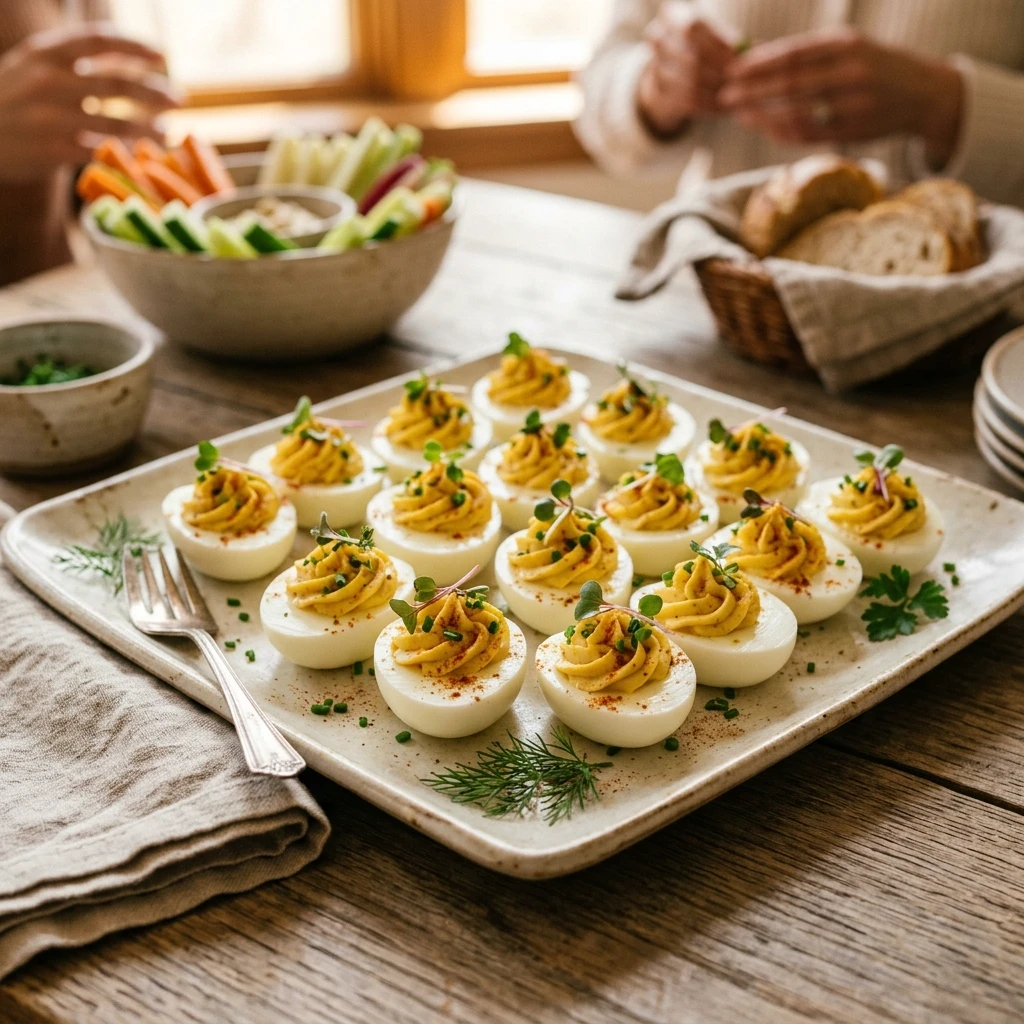
Pipe the yolk mixture generously into the hollow of each egg white. If you don’t have a piping bag, simply use a small spoon to dollop the mixture in. Dust the tops lightly with smoked paprika for color and a hint of woodsy flavor. Sprinkle with fresh chives if desired. Refrigerate for at least 30 minutes before serving to let the flavors marry.
Expert Tips for Perfect Finger Foods Deviled Eggs For Potluck No Fail
For the easiest peeling experience, buy your eggs about a week before you plan to make this recipe. Fresh eggs have a stronger bond between the membrane and the shell, making them harder to peel cleanly. If you want a restaurant-quality finish, use a food processor to blend the yolk mixture; this creates an ultra-velvety texture that is impossible to get by hand. Always transport your eggs in a dedicated egg carrier to prevent them from sliding around and ruining the beautiful piping.
Delicious Variations
- Bacon and Jalapeño: Fold in crispy bacon bits and top with a thin slice of fresh jalapeño for a smoky kick.
- Everything Bagel: Skip the paprika and top the eggs with “Everything Bagel” seasoning for extra crunch.
- Sriracha Spicy: Swap the mustard for a teaspoon of Sriracha and garnish with sliced green onions.
- Avocado Deviled Eggs: Replace half of the mayonnaise with mashed avocado for a boost of healthy fats and a vibrant green color.
Frequently Asked Questions
Can I make these deviled eggs the day before?
Yes! You can boil and peel the eggs and even make the filling a day in advance. Store the whites and the filling separately in airtight containers. Pipe the filling into the whites on the day of the potluck for the freshest look.
How do I prevent the green ring around the yolk?
The green ring is caused by overcooking or high heat. Following the “off-heat” soaking method in Step 1 and immediately using an ice bath prevents this reaction entirely.
How long can deviled eggs sit out at a potluck?
Since they contain mayonnaise and eggs, you should not leave them at room temperature for more than two hours. If the event is outdoors and warm, place the serving platter over a bed of ice.
Why is my filling too runny?
Runny filling usually happens if you add too much liquid (vinegar/mustard) or too much mayo before checking the consistency. To fix it, you can mash an extra hard-boiled yolk and stir it in to thicken the mixture.
Can I freeze deviled eggs?
No, freezing is not recommended. The egg whites become rubbery and watery when thawed, which ruins the texture of this classic appetizer.
Conclusion
With this no-fail guide, you are ready to dominate the next potluck with the perfect finger food. These deviled eggs are simple, elegant, and consistently delicious. By mastering the boil-and-shock technique, you ensure that your eggs are easy to peel and beautiful to look at. Give this recipe a try, and don’t be surprised when you’re asked to bring them to every event from here on out. Happy cooking!