Follow Me On Pinterest!
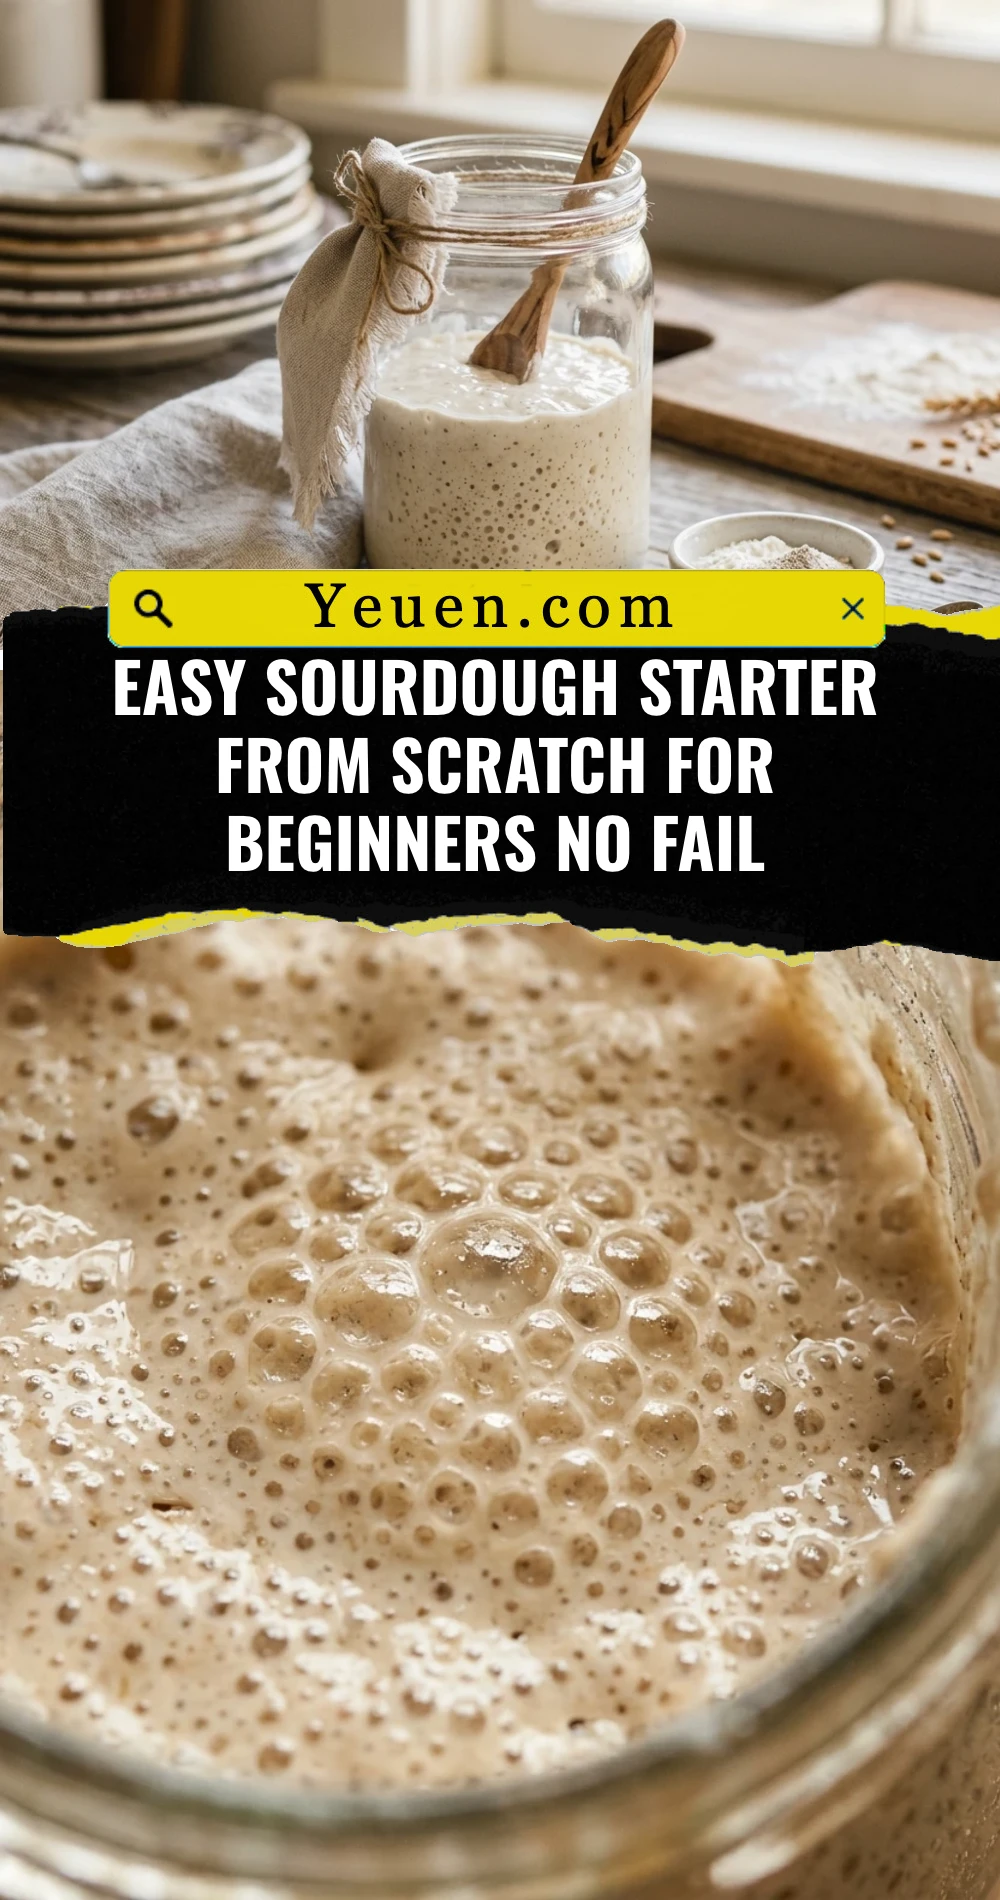
Easy Sourdough Starter From Scratch For Beginners No Fail
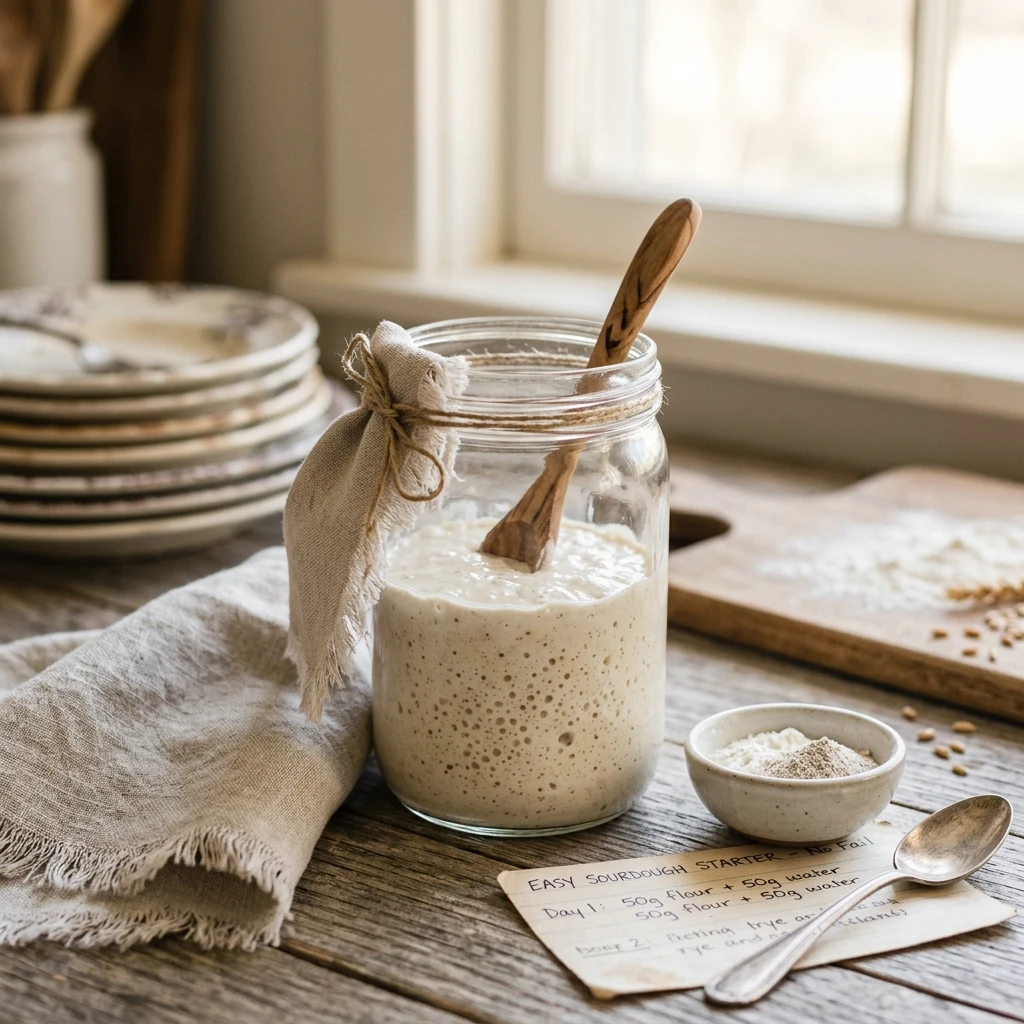
Starting your own sourdough journey feels like a rite of passage for any home baker. There is something incredibly rewarding about capturing wild yeast from the air and turning it into a bubbling, living engine for the best bread you’ve ever tasted. You do not need a lab coat or a degree in chemistry to make this work. With just two simple ingredients and a little bit of patience, you will create a starter that can last a lifetime. This guide strips away the complexity and gives you a clear, foolproof path to success.
Recipe Information
- Prep Time: 35 minutes (5 minutes per day)
- Cook Time: 168 hours (fermentation period)
- Total Time: 168 hours and 35 minutes
- Servings: 1 Sourdough Starter
- Difficulty: Easy
Nutrition values
Note: Values are estimated for 100g of active starter.
- Calories: 185 kcal
- Protein: 6g
- Carbs: 38g
Why Make This Easy Sourdough Starter From Scratch For Beginners No Fail
Making your own starter is the ultimate kitchen DIY project. First, it gives you complete control over your bread. You won’t find any preservatives or commercial yeast here—just natural fermentation. Second, sourdough is much easier on the digestive system because the long fermentation process breaks down gluten and phytic acid. Finally, there is a massive sense of pride in baking a loaf of bread using a “pet” you grew yourself from scratch. It is cost-effective, sustainable, and yields a flavor profile that store-bought bread simply cannot match.
Ingredients
- 1 bag Unbleached All-Purpose Flour (organic preferred)
- 1 bag Whole Wheat Flour or Rye Flour (for the initial boost)
- Filtered Water (chlorine-free is essential)
- A clean glass jar (about 1-quart capacity)
- A digital kitchen scale (highly recommended for accuracy)
Directions
Step 1: Day One – The Initial Mix
In your clean glass jar, combine 60 grams of whole wheat flour and 60 grams of warm filtered water (about 80°F). Stir vigorously until no dry clumps remain. The mixture should look like a thick paste. Scrape down the sides of the jar, cover loosely with a lid or a cloth, and let it sit in a warm spot (70-75°F) for 24 hours.
Step 2: Day Two – Checking for Life
Check your jar. You might see a few tiny bubbles, or it might look exactly the same as yesterday. Both are normal! Do not feed it today. Simply stir the mixture well to aerate it, cover it back up, and let it rest for another 24 hours. This allows the natural bacteria to start winning the battle against the “bad” bacteria.
Step 3: Day Three to Five – Regular Feedings
Now the routine begins. Discard all but 60 grams of your starter. To the remaining 60 grams in the jar, add 60 grams of unbleached all-purpose flour and 60 grams of filtered water. Stir well. Repeat this process every 24 hours. By day five, you should notice a fruity, tangy aroma and significant bubbling. The mixture should start to rise and fall in the jar.
Step 4: Day Six and Seven – Transitioning to Twice-Daily Feeds
Your starter is likely getting very active now. To strengthen it, start feeding it every 12 hours instead of every 24. Use the same ratio: discard down to 60g, then add 60g flour and 60g water. By the end of day seven, the starter should double in size within 4 to 6 hours of feeding. When it consistently doubles and smells like yeasty yogurt, it is ready to bake!
Expert Tips for Perfect Easy Sourdough Starter From Scratch For Beginners No Fail
Consistency is key when you are a beginner. Use a digital scale to measure your ingredients by weight rather than volume; flour can pack down, leading to inaccurate measurements. Always use filtered water, as the chlorine in tap water can kill the delicate wild yeast you are trying to grow. If your kitchen is cold, find a warm micro-climate, like the top of the refrigerator or inside an oven with the light turned on (but the oven turned off). Finally, do not be afraid of the “discard.” You can save the discarded starter in a separate jar in the fridge to make pancakes, waffles, or crackers!
Delicious Variations
Once you master the basic white starter, you can experiment with different grains. A Rye Starter is a popular variation; rye flour contains more nutrients and sugars that yeast loves, often resulting in a more vigorous, “tangy” starter. You can also try a Whole Wheat Starter for a heartier, nuttier flavor profile in your loaves. For those who want a unique twist, some bakers transition their starter to a Chocolate Starter by adding a bit of cocoa powder and sugar during the feeding process specifically for dessert breads.
Frequently Asked Questions
What is the clear liquid on top of my starter?
That liquid is called “hooch.” It is an alcohol byproduct that indicates your starter is hungry. Simply pour it off or stir it back in, and make sure to feed your starter more frequently or with a higher ratio of flour.
My starter smells like vinegar or gym socks. Is it ruined?
Not at all! In the early days, the bacterial balance is shifting, which can cause some funky smells. As long as you don’t see fuzzy mold (black, green, or pink), keep feeding it. The smell will sweeten into a pleasant tang as the yeast becomes dominant.
Can I use bleached flour?
It is not recommended. The bleaching process uses chemicals that can hinder the growth of wild yeast. Stick to unbleached all-purpose, bread flour, or whole-grain flours for the best results.
How do I know if my starter is ready to bake with?
The “Float Test” is a great indicator. Drop a small spoonful of active, bubbly starter into a glass of water. If it floats, it contains enough carbon dioxide to lift bread dough. If it sinks, it needs more time to ferment or another feeding.
What happens if I forget to feed it for a day?
Sourdough starters are surprisingly resilient. If you miss a day, just resume your feeding schedule as soon as possible. If you need to take a break, you can store your starter in the refrigerator for up to a week between feedings.
Conclusion
Creating an Easy Sourdough Starter From Scratch For Beginners No Fail is a journey of patience that pays off in every crunchy, tangy bite of homemade bread. While it might seem intimidating at first, remember that humans have been doing this for thousands of years. Your starter is a living thing that will adapt to your environment and your rhythms. Keep it warm, keep it fed, and soon you will be the neighborhood expert on all things sourdough. Happy baking!