Follow Me On Pinterest!
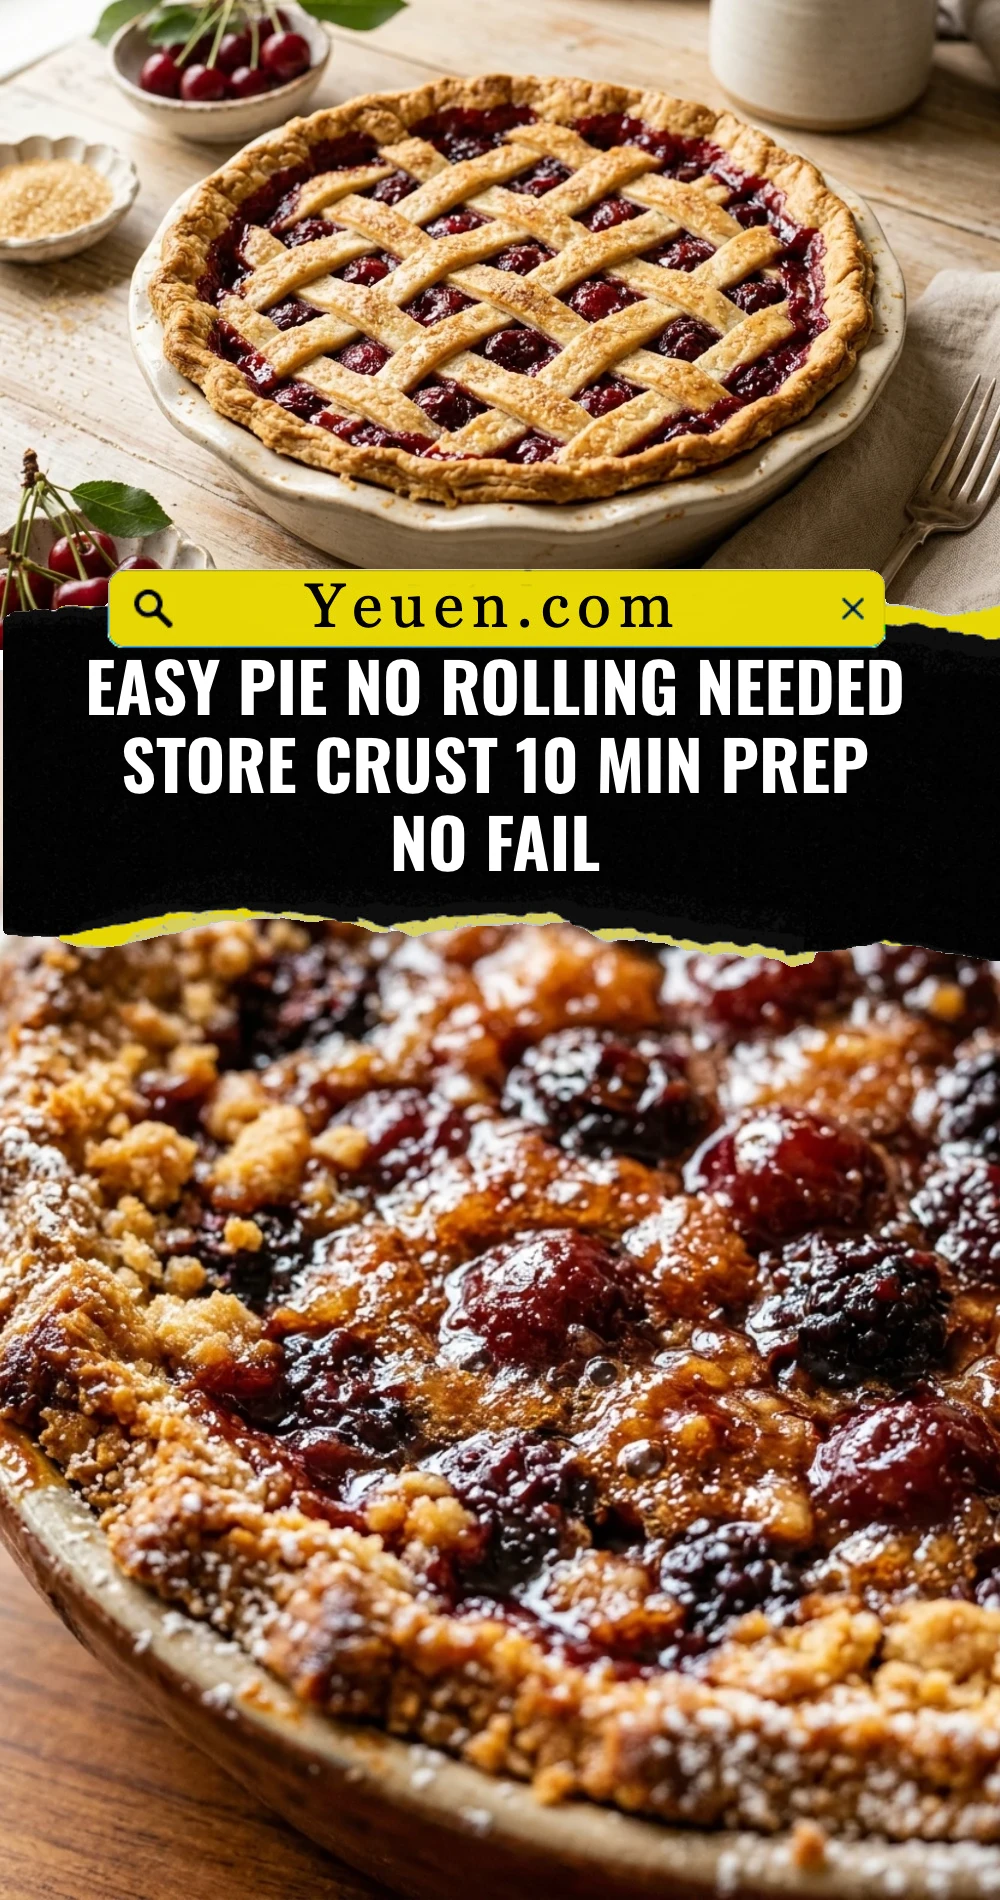
Easy Pie No Rolling Needed Store Crust 10 Min Prep No Fail
Forget the flour-covered countertops and the frustration of a tearing dough. This Easy Pie No Rolling Needed Store Crust 10 Min Prep No Fail recipe is your new secret weapon for dessert success. We are using a high-quality store-bought frozen crust to skip the hardest part of baking while still delivering that warm, homemade flavor everyone craves. Whether you are a beginner baker or a busy parent hosting a last-minute dinner, this recipe guarantees a perfect, golden-brown pie every single time with only ten minutes of active effort. You get all the credit with none of the stress.
Recipe Information
- Prep Time: 10 minutes
- Cook Time: 45 minutes
- Total Time: 55 minutes
- Servings: 8 servings
- Difficulty: Easy
Nutrition values
- Calories: 310 kcal
- Protein: 3g
- Carbs: 42g
Why Make This Easy Pie No Rolling Needed Store Crust 10 Min Prep No Fail
This recipe eliminates the most intimidating part of baking: the crust. By utilizing a pre-made, deep-dish frozen crust, you avoid the common pitfalls of shrinkage, tearing, and tough texture. The filling comes together in one bowl, meaning you spend less time cleaning and more time enjoying your guests. It is a “no-fail” method because the proportions are tested to ensure a thick, bubbly filling that does not turn into a watery mess. It is the fastest way to get a classic American dessert on the table without sacrificing quality.
Ingredients
- 1 9-inch frozen deep-dish pie crust (keep in freezer until ready)
- 6 cups thinly sliced apples (Granny Smith or Honeycrisp work best)
- 3/4 cup granulated sugar
- 1 tablespoon ground cinnamon
- 2 tablespoons all-purpose flour
- 1 tablespoon lemon juice
- 2 tablespoons cold unsalted butter, cut into small cubes
- 1 egg (for optional egg wash)
- 1 tablespoon coarse sugar (for topping)
Directions
Step 1: Preparation
Preheat your oven to 400°F (200°C). Remove the frozen pie crust from the freezer and let it sit on the counter for exactly 10 minutes. This prevents the edges from cracking but keeps the dough cold enough to stay flaky. Peel, core, and slice your apples into thin, uniform pieces to ensure even cooking.
Step 2: Mixing the Filling
Place the sliced apples in a large mixing bowl. Add the granulated sugar, cinnamon, flour, and lemon juice. Toss everything together with a large spoon until every apple slice is evenly coated in the cinnamon-sugar mixture. The flour will act as a thickener for the juices as the pie bakes.
Step 3: Assembling the Pie
Pour the apple mixture into the prepared store-bought crust. Pile the apples high in the center, as they will shrink down during the baking process. Dot the top of the apples with the small cubes of cold butter. This adds a rich, velvety finish to the sauce inside the pie.
Step 4: Baking
Place the pie on a parchment-lined baking sheet to catch any drips. If you want a glossy finish, whisk the egg with a teaspoon of water and lightly brush the exposed edges of the crust, then sprinkle with coarse sugar. Bake for 45 to 50 minutes, or until the crust is deep golden brown and the fruit filling is bubbling in the center.
Step 5: Cooling and Serving
Remove the pie from the oven and place it on a wire rack. You must let the pie cool for at least 2 hours before slicing. This resting period allows the filling to set properly so it doesn’t run out when you cut into it. Serve warm with a scoop of vanilla bean ice cream.
Expert Tips for Perfect Easy Pie No Rolling Needed Store Crust 10 Min Prep No Fail
Always bake your pie on the bottom rack of the oven for the first 20 minutes. This ensures the bottom of the store-bought crust gets crisp and golden, avoiding the dreaded “soggy bottom.” If the edges of the crust are browning too quickly, loosely cover them with a ring of aluminum foil or a pie shield. Also, ensure your apple slices are thin; thick chunks may remain crunchy while the crust overcooks.
Delicious Variations
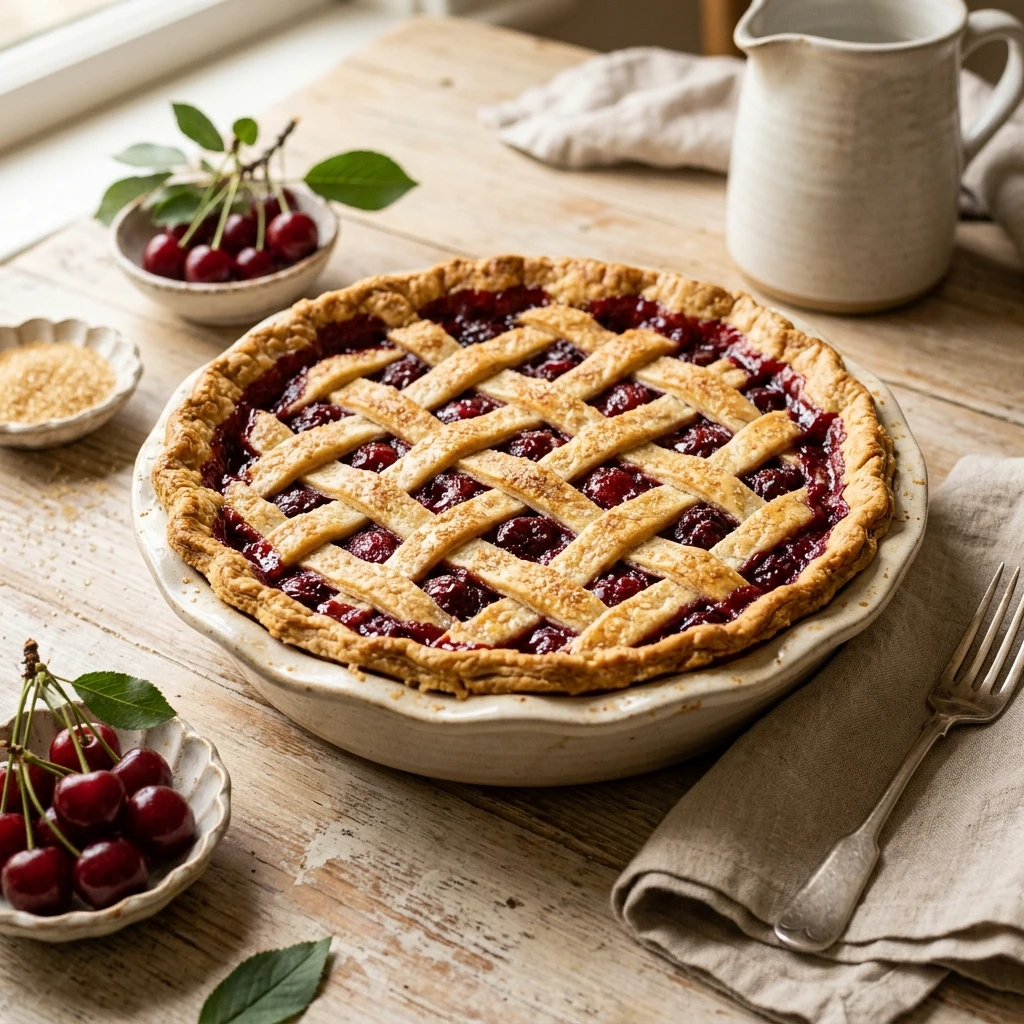
- Berry Twist: Substitute half of the apples with fresh blueberries or raspberries for a tart, colorful filling.
- Caramel Apple: Drizzle 1/4 cup of thick caramel sauce over the apples before adding the butter cubes.
- Dutch Crumble: Instead of a traditional top, mix 1/2 cup flour, 1/2 cup brown sugar, and 4 tablespoons of butter to create a crumble topping to sprinkle over the fruit.
- Peach Ginger: Use fresh peaches instead of apples and add 1/2 teaspoon of ground ginger for a zesty summer version.
Frequently Asked Questions
Can I use frozen fruit for this recipe?
Yes, you can use frozen fruit, but do not thaw it first. Mix the frozen fruit with the sugar and flour as directed, but add an extra tablespoon of flour to absorb the excess moisture. You may also need to increase the baking time by 10-15 minutes.
How do I prevent the bottom crust from getting soggy?
The best way to prevent a soggy bottom is to place the pie on a preheated baking sheet. This immediate hit of heat sears the bottom of the crust. Additionally, coating the fruit thoroughly in flour helps gel the juices so they don’t soak into the dough.
What are the best apples to use for baking?
Granny Smith apples are the gold standard because they hold their shape and offer a tart contrast to the sugar. Honeycrisp or Braeburn apples are also excellent choices because they are firm and do not turn into applesauce in the oven.
Can I make this pie ahead of time?
Absolutely. You can bake the pie a full day in advance. Store it at room temperature covered loosely with a clean kitchen towel. Reheat individual slices in the oven at 350°F for 10 minutes to restore the crust’s crispness.
Should I poke holes in the bottom of the store-bought crust?
No, do not poke holes in the bottom of the crust for a fruit pie. Those holes would allow the fruit juices to seep under the crust, making it soft and preventing it from crisping against the tin.
Conclusion
Baking a delicious, professional-looking dessert does not have to take all afternoon. By using this Easy Pie No Rolling Needed Store Crust 10 Min Prep No Fail method, you can enjoy a warm, comforting treat any night of the week. The combination of a crisp, buttery crust and tender, spiced fruit is a timeless classic that never fails to impress. Give this 10-minute prep method a try and watch how quickly it becomes your go-to recipe for holidays and family gatherings alike!