Follow Me On Pinterest!
Easy Pie No Rolling 10 Min Prep
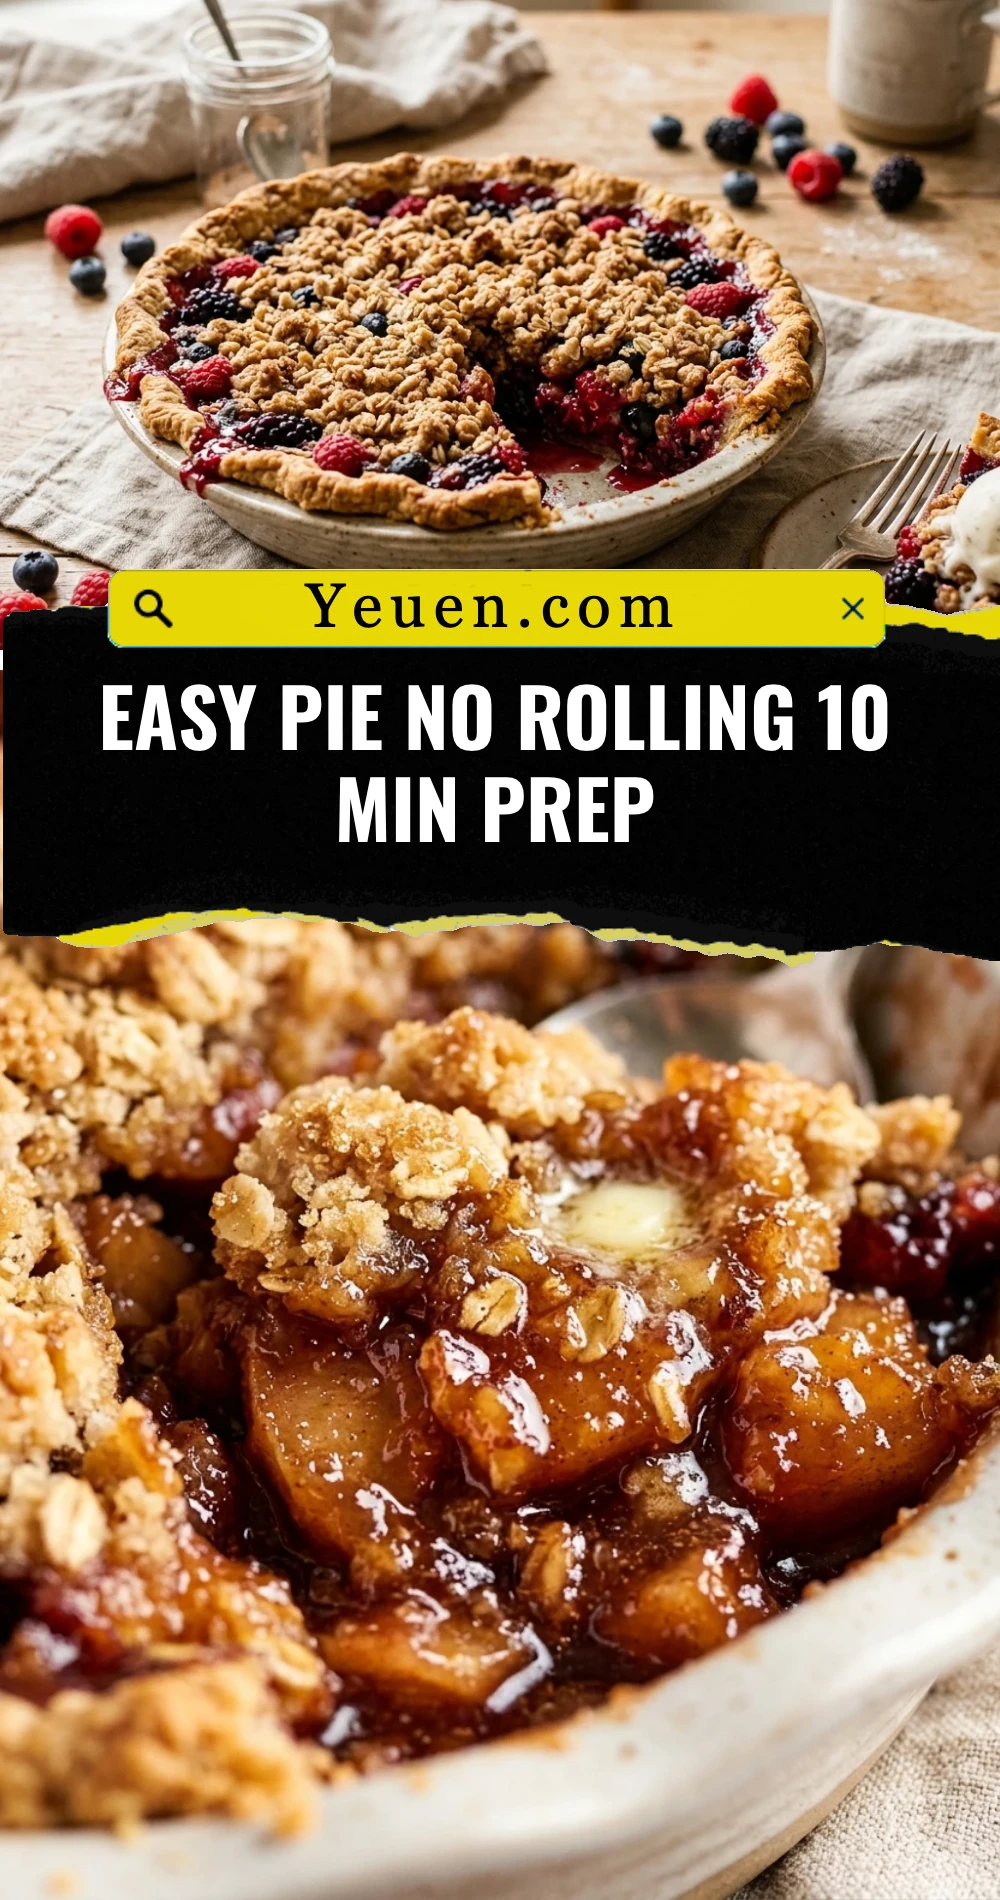
Tired of fighting with sticky dough and flour-covered countertops? You are in the right place. Traditional pie crusts require chilling, rolling, and delicate handling, but this Easy Pie No Rolling 10 Min Prep recipe changes the game completely. It uses a simple press-in method that results in a flaky, tender crust without any of the stress. Whether you are a beginner baker or a seasoned pro looking for a shortcut, this recipe delivers a perfect dessert in record time. You get all the comfort of a homemade pie with none of the hassle of traditional pastry techniques.
Recipe Information
- Prep Time: 10 minutes
- Cook Time: 45 minutes
- Total Time: 55 minutes
- Servings: 8 servings
- Difficulty: Easy
Nutrition values
- Calories: 295 kcal
- Protein: 3g
- Carbs: 42g
Why Make This Easy Pie No Rolling 10 Min Prep
This recipe is a total lifesaver for busy families and last-minute gatherings. Most pie crusts take over an hour when you account for the “resting” period in the fridge, but this version skips all of that. You mix the ingredients directly in the pan or a small bowl and press it into place with your hands. The texture is incredibly short and tender, similar to a high-end shortbread cookie, yet it remains sturdy enough to hold your favorite fruit or custard fillings. Plus, cleaning up is a breeze because you do not have a floured surface to scrub down after you are finished.
Ingredients
- 1.5 cups all-purpose flour
- 1.5 teaspoons granulated sugar
- 1/2 teaspoon salt
- 1/2 cup vegetable oil (or melted butter)
- 2 tablespoons cold milk
- 4 cups fresh fruit (sliced apples, berries, or peaches)
- 3/4 cup granulated sugar (for the filling)
- 2 tablespoons cornstarch
- 1 teaspoon ground cinnamon
- 1 tablespoon lemon juice
Directions
Step 1: Preparation
Preheat your oven to 375°F (190°C). Position your oven rack in the center for even browning. Grab a 9-inch pie plate; you do not need to grease it, as the oil in the crust prevents sticking naturally. Wash and slice your fruit if you are using fresh produce.
Step 2: Mixing the Crust
In a medium mixing bowl, whisk together the flour, 1.5 teaspoons of sugar, and salt. Pour in the vegetable oil and the milk. Use a fork to stir the mixture until it forms a crumbly, moist dough. Ensure no dry streaks of flour remain at the bottom of the bowl.
Step 3: Pressing the Dough
Transfer the dough crumbles into the center of your pie plate. Using your fingers or the flat bottom of a measuring cup, press the dough firmly and evenly across the bottom and up the sides of the dish. Use your thumb to create a simple crimped edge along the rim for a professional look.
Step 4: Creating the Filling
In a separate large bowl, combine your fruit, 3/4 cup sugar, cornstarch, cinnamon, and lemon juice. Toss the mixture gently until the fruit is evenly coated. The cornstarch is vital here because it thickens the fruit juices into a glossy sauce as it bakes.
Step 5: Baking
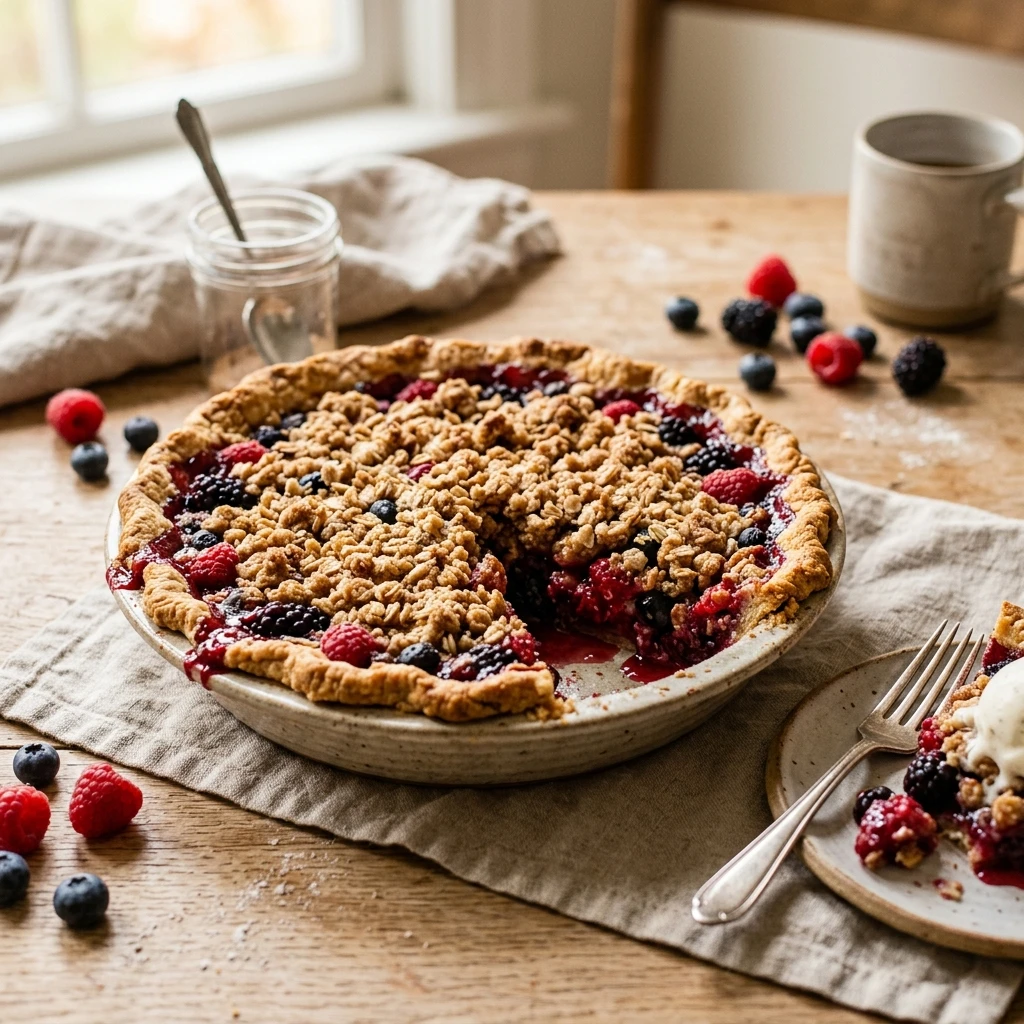
Pour the fruit filling into your prepared crust, spreading it out evenly. Place the pie in the oven and bake for 45 minutes. The crust should look golden brown and the fruit filling should be bubbling thick juices near the center. Remove from the oven and let it cool for at least 20 minutes before slicing.
Expert Tips for Perfect Easy Pie No Rolling 10 Min Prep
For the best results, do not over-mix the dough. You want to stir just until the liquid is absorbed to keep the crust light and flaky. If you prefer a richer flavor, swap the vegetable oil for melted unsalted butter. When pressing the dough into the pan, start from the center and work your way out to ensure the corners aren’t too thick. If you notice the edges of the crust browning too quickly during the last 10 minutes of baking, loosely cover them with a ring of aluminum foil.
Delicious Variations
This recipe is a versatile base for many flavors. For a savory version, omit the sugar in the crust and fill it with a mixture of eggs, heavy cream, and sautéed vegetables to make a quick quiche. If you love a crunchier texture, mix 1/4 cup of chopped pecans into the flour mixture before adding the oil. You can also make a “Galette” style by pressing the dough onto a flat baking sheet, piling the fruit in the center, and folding the edges over slightly for a rustic look.
Frequently Asked Questions
Can I use a gluten-free flour blend for this crust?
Yes, a 1:1 gluten-free baking flour works very well with the press-in method. Since there is no rolling involved, you don’t have to worry about the dough cracking or falling apart.
Do I need to blind-bake the crust first?
For fruit pies, you bake the crust and filling together. However, if you want to use this for a cold cream pie, bake the empty crust at 375°F for 12-15 minutes, let it cool, and then add your cold filling.
Can I use frozen fruit for the filling?
Absolutely. Do not thaw the fruit first; just toss it with the sugar and starch while frozen. Note that you may need to add 5-8 minutes to the total baking time to ensure the center reaches a boil.
Why is my crust crumbly after baking?
A crumbly crust usually means there wasn’t quite enough moisture. Next time, ensure you measure the oil accurately and add an extra teaspoon of milk if the dough feels very dry before pressing.
How should I store leftovers?
Store the pie at room temperature for up to two days, covered with foil or plastic wrap. For longer storage, keep it in the refrigerator for up to five days. You can reheat individual slices in the oven at 350°F to crisp up the crust.
Conclusion
Making a homemade pie does not have to be a stressful, all-day event. This Easy Pie No Rolling 10 Min Prep method proves that you can have a delicious, flaky dessert on the table with minimal effort and zero rolling pins. It is the perfect solution for weeknight treats or holiday baking when you are short on time. Give this simple press-in technique a try, and enjoy a warm, homemade pie that tastes like it took hours to prepare!