Follow Me On Pinterest!
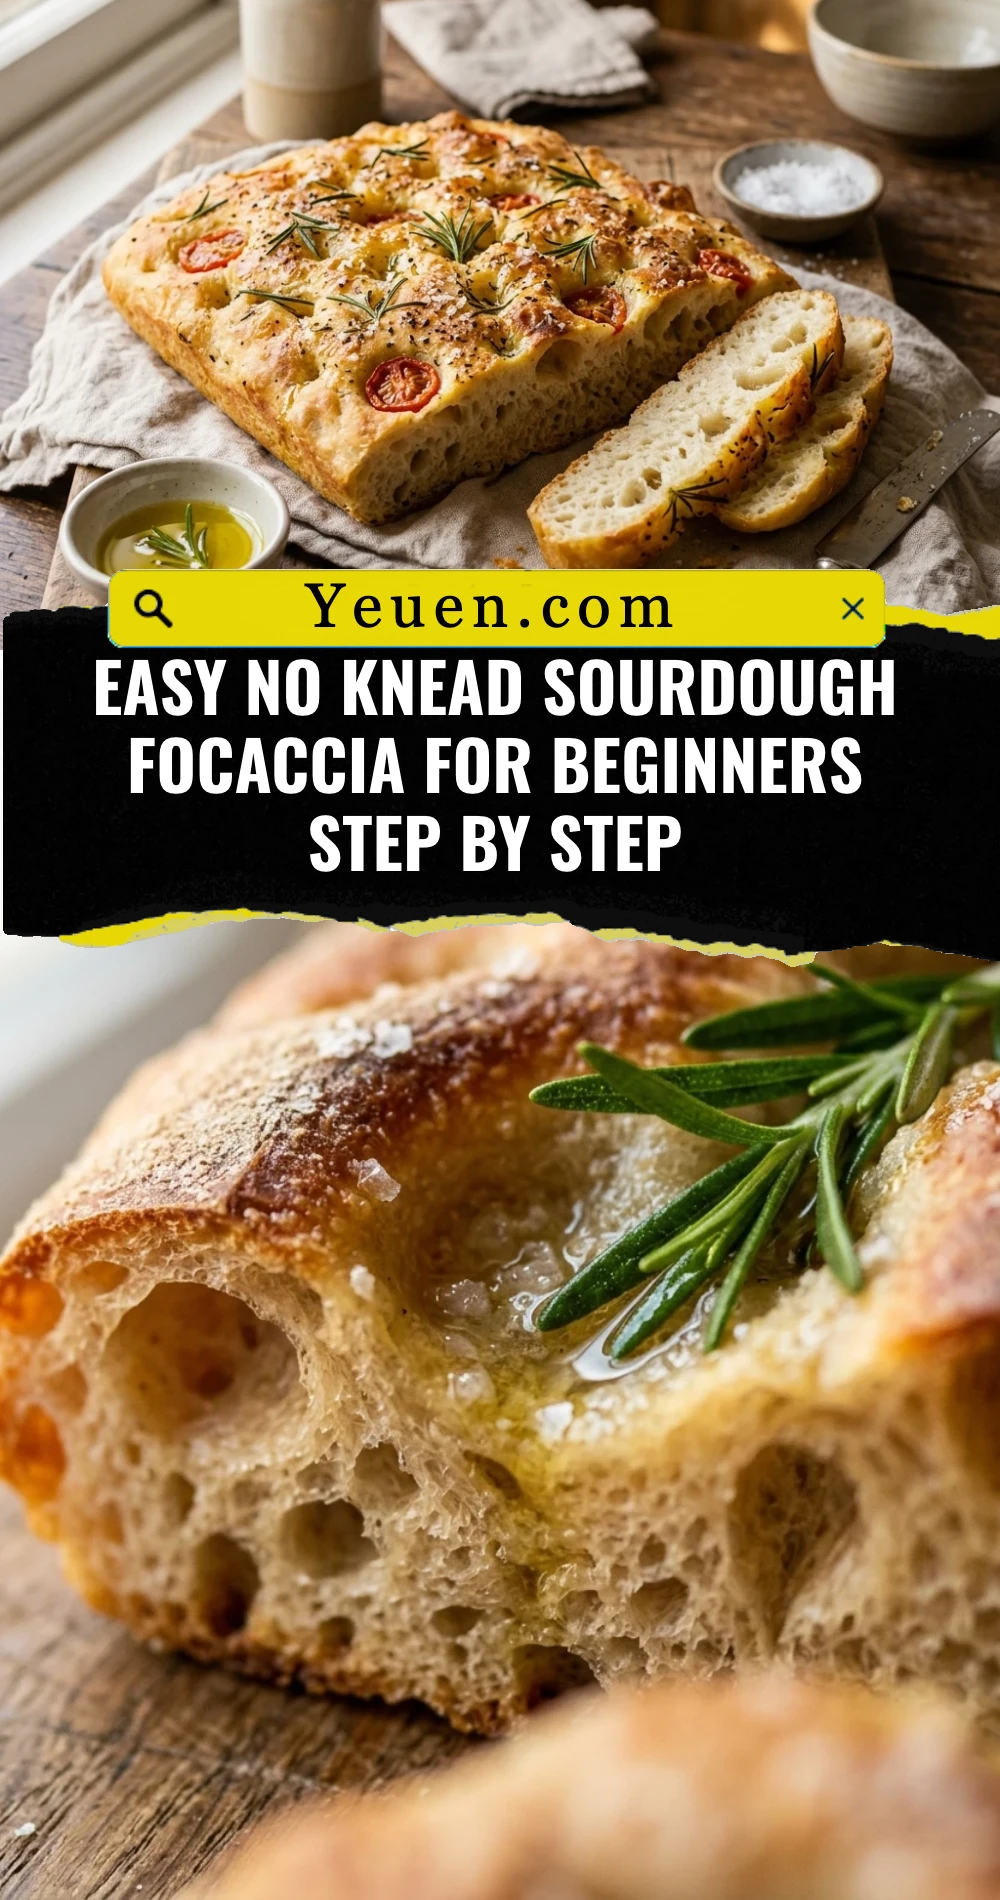
Easy No Knead Sourdough Focaccia For Beginners Step By Step
There is nothing quite like the smell of fresh bread wafting through your kitchen, and this Easy No Knead Sourdough Focaccia is the absolute best way for beginners to start their sourdough journey. If you have been intimidated by complex folding schedules or high-hydration doughs, this recipe is your golden ticket. It features a pillowy, soft interior and a signature golden, crispy crust that shatters with every bite. By using a long, cold fermentation process, the dough does all the heavy lifting for you, developing deep flavor and those iconic air bubbles without a single minute of tiring kneading. Grab your olive oil and let’s get baking!
Recipe Information
Prep Time: 20 minutes (plus 12-24 hours fermenting)
Cook Time: 25 minutes
Total Time: 24 hours 45 minutes
Servings: 8 servings
Difficulty: Easy
Nutrition values
Calories: 245 kcal per serving
Protein: 6g
Carbs: 42g
Why Make This Easy No Knead Sourdough Focaccia For Beginners Step By Step
This recipe removes the stress of traditional bread making. You do not need a stand mixer or strong arm muscles; you simply stir the ingredients together and let time work its magic. It is the perfect way to use your active sourdough starter because the high hydration creates a forgiving dough that is almost impossible to mess up. Plus, focaccia is incredibly versatile. It serves as a side for pasta, a base for gourmet sandwiches, or a standalone snack that everyone will love.
Ingredients
- 100g active sourdough starter (bubbly and fed)
- 375g warm water
- 10g honey or maple syrup
- 500g bread flour (or high-protein all-purpose flour)
- 10g fine sea salt
- 30g extra virgin olive oil (for the dough)
- Extra olive oil for drizzling and greasing the pan
- Flaky sea salt for topping
- Fresh rosemary or desired herbs
Directions
Step 1: Mix the Initial Dough
In a large mixing bowl, whisk together the active sourdough starter, warm water, honey, and 30g of olive oil until the starter is mostly dissolved. Add the flour and salt. Use a sturdy spatula or your hands to mix until no dry flour remains and a shaggy dough forms. Cover the bowl with a damp cloth or plastic wrap and let it rest at room temperature for 30 minutes.
Step 2: Stretch and Fold
Wet your hands with water to prevent sticking. Reach under one side of the dough, pull it upward, and fold it over the center. Rotate the bowl and repeat this 4 times until you have gone all the way around. This replaces kneading by gently building gluten structure. Cover and let the dough sit in a warm spot for about 4 to 6 hours, or until it has increased in volume by about 50% and looks bubbly.
Step 3: Cold Fermentation
Once the dough has puffed up, place the covered bowl in the refrigerator for 12 to 24 hours. This cold ferment is crucial for developing that characteristic sourdough tang and making the dough easy to handle. The long rest also helps create those beautiful large air bubbles in the final bread.
Step 4: The Second Rise in the Pan
Generously grease a 9×13 inch metal baking pan with olive oil. Gently transfer the cold dough into the pan. Do not force it to the corners yet. Flip the dough once to coat both sides in oil. Cover the pan and let the dough rise at room temperature for 2 to 4 hours. During this time, the dough will naturally spread to fill the pan and become very jiggly and full of air.
Step 5: Dimpling and Topping
Preheat your oven to 425°F (220°C). Drizzle a tablespoon of olive oil over the top of the dough. Grease your fingers and press them straight down into the dough to create deep dimples all over the surface. If the dough is fermented correctly, large bubbles will pop up. Sprinkle generously with flaky sea salt and fresh rosemary.
Step 6: Baking
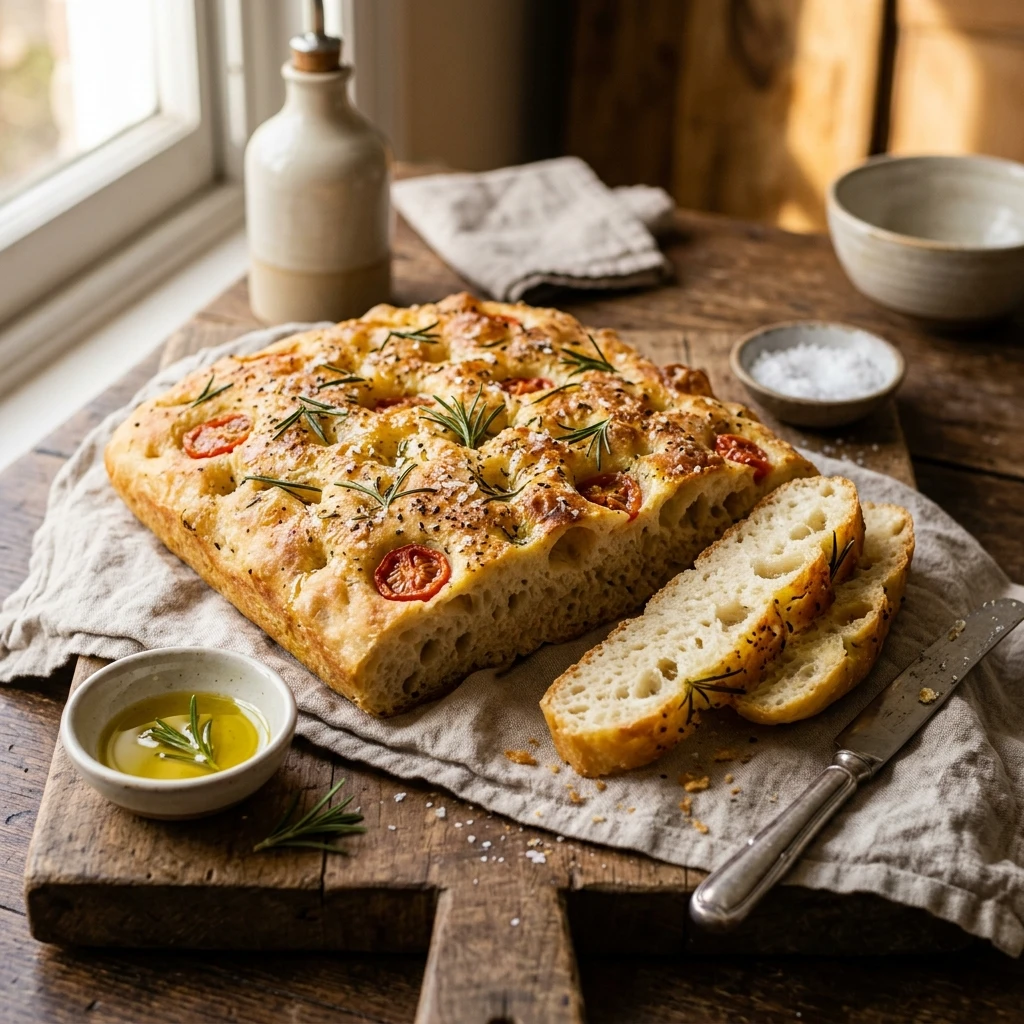
Place the pan on the middle rack of the oven. Bake for 20 to 25 minutes, or until the top is deeply golden brown and the edges are crispy. If you want an extra-crispy bottom, you can bake it for the last 5 minutes on the lowest rack. Remove from the oven and let it cool in the pan for 5 minutes before transferring to a wire rack.
Step 7: Plating
Slide the focaccia onto a cutting board. Use a serrated knife to slice it into squares or rectangles. Serve warm with a side of balsamic vinegar and olive oil for dipping, or use it to build a delicious sandwich.
Expert Tips for Perfect Easy No Knead Sourdough Focaccia For Beginners Step By Step
Always use a metal pan if possible, as it conducts heat better than glass and creates a crispier crust. Ensure your starter is at its peak activity—it should be bubbly and double in size before you use it. If your kitchen is cold, the second rise in the pan might take longer; look for the dough to be level with the top of a shallow pan and very wiggly when shaken. Do not be shy with the olive oil! Focaccia is essentially “fried” in the pan, which is what gives it that amazing texture.
Delicious Variations
- Garlic and Parmesan: Top with minced garlic and grated parmesan cheese during the last 10 minutes of baking.
- Garden Focaccia: Use cherry tomatoes, red onion slices, and bell peppers to create a floral pattern on top.
- Caramelized Onion: Sauté onions until sweet and brown, then press them into the dimples before baking.
- Everything Bagel: Sprinkle everything bagel seasoning over the top instead of just sea salt.
- Pesto Swirl: Dollop small spoonfuls of basil pesto over the dough and swirl with a toothpick before dimpling.
Frequently Asked Questions
Can I use sourdough discard instead of active starter?
For this specific no-knead recipe, an active, bubbly starter is highly recommended to ensure the bread rises properly without commercial yeast. If you use discard, the bread will be much denser and may not have the iconic bubbles.
How do I store leftover focaccia?
Store leftovers in an airtight container at room temperature for up to 2 days. To revive the crispy texture, toast slices in a pan or a toaster oven before eating. You can also freeze it for up to 3 months.
What if my dough is too sticky to handle?
Sourdough focaccia dough is meant to be very high hydration and sticky. Instead of adding flour, keep your hands wet with water or oil when touching the dough. This prevents sticking without changing the dough’s consistency.
Why didn’t my focaccia have big bubbles?
Large bubbles usually come from a combination of a strong active starter, a long fermentation period, and gentle handling. If you press the air out of the dough during the pan transfer or don’t let it rise long enough in the pan, the bubbles will be smaller.
Can I make this in one day?
Yes, you can skip the fridge and do a long room-temperature rise. However, the cold ferment in the fridge improves the flavor and texture significantly. If doing it in one day, expect the total process to take 8-10 hours depending on the temperature of your kitchen.
Conclusion
Mastering this Easy No Knead Sourdough Focaccia For Beginners Step By Step is a rewarding experience that proves you don’t need to be a professional baker to create artisan-quality bread at home. With just a few simple ingredients and a bit of patience, you can produce a loaf that looks and tastes like it came from a high-end Italian bakery. Whether you are serving it at a dinner party or enjoying it as a weekend treat, this focaccia is sure to become a staple in your sourdough rotation. Happy baking!