Follow Me On Pinterest!
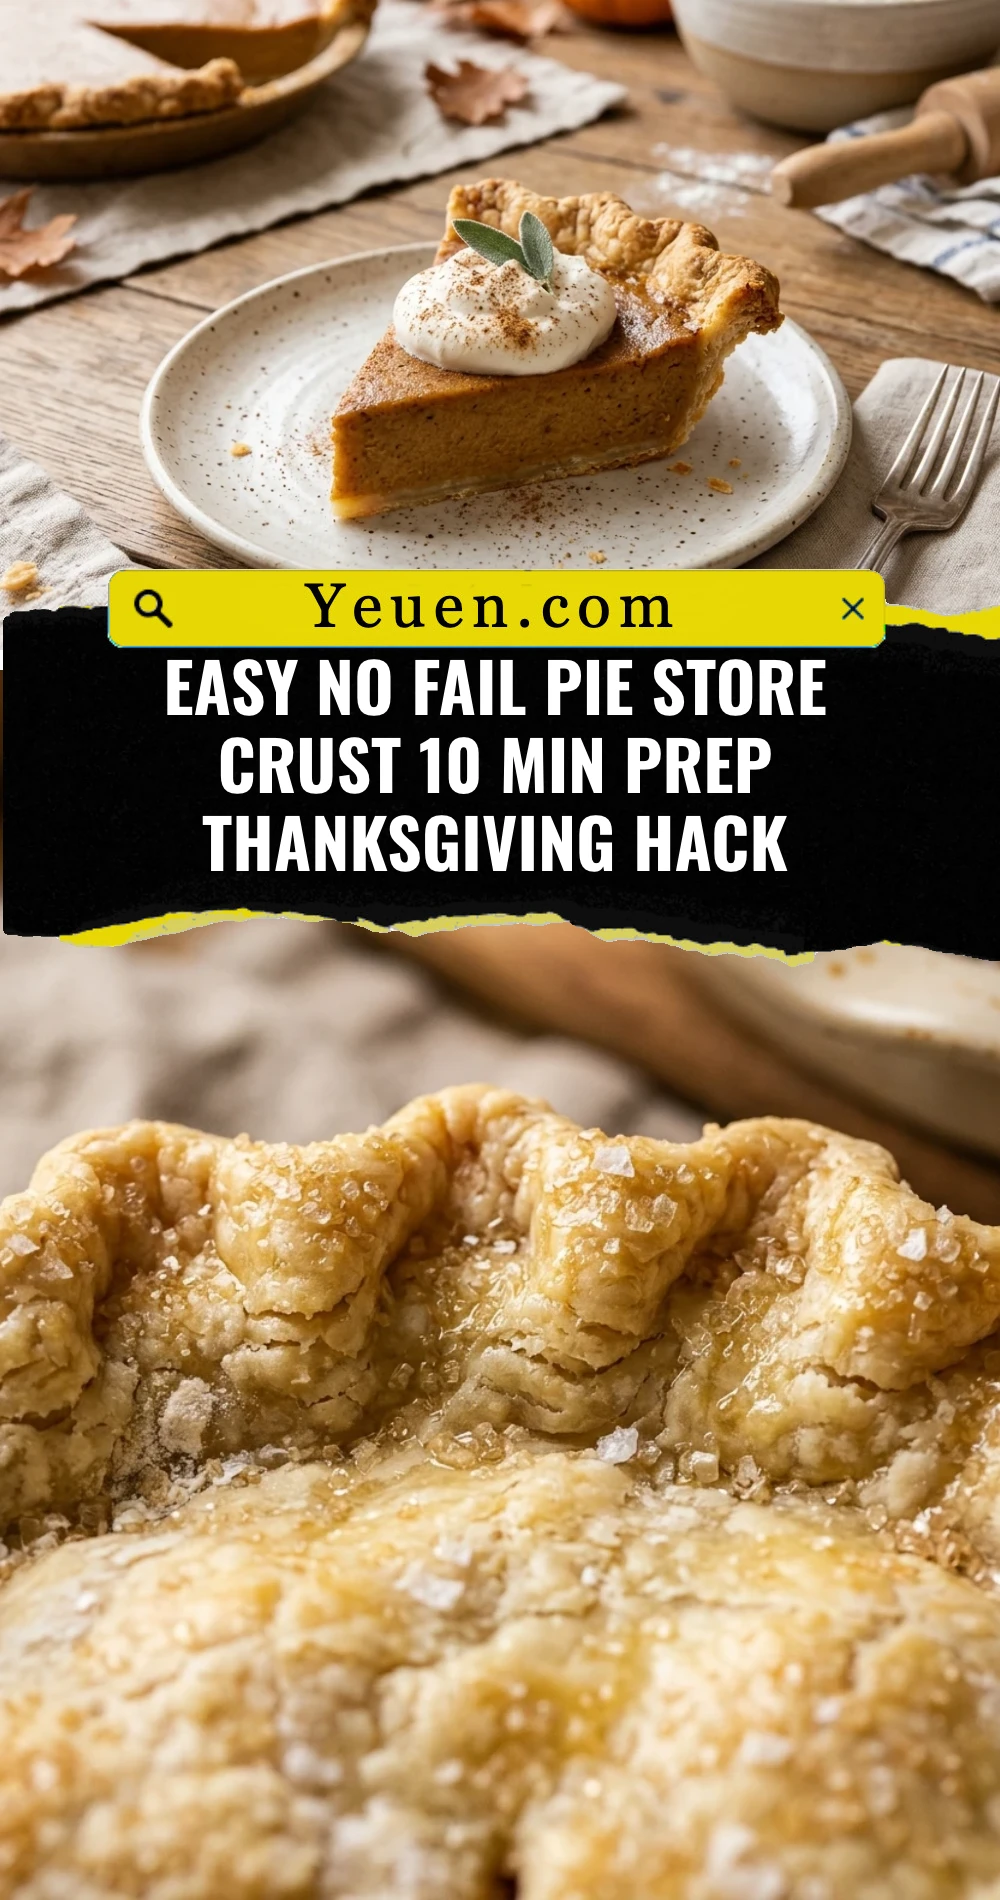
Easy No Fail Pie Store Crust 10 Min Prep Thanksgiving Hack
Thanksgiving is the Olympics of home cooking, and the pressure to produce a flaky, golden-brown pie crust can break even the most seasoned chef. This easy, no-fail pie store crust hack takes the stress out of the holiday rush while delivering professional results. With just 10 minutes of active prep, you can transform a simple refrigerated dough into a “made from scratch” masterpiece that will have your guests asking for your secret recipe. No more worrying about cold butter chunks or tough dough—this is the ultimate shortcut for a seamless and delicious holiday feast.
Recipe Information
- Prep Time: 10 minutes
- Cook Time: 15 minutes (for blind baking)
- Total Time: 25 minutes
- Servings: 8 servings
- Difficulty: Easy
Nutrition values
- Calories: 130 kcal per serving
- Protein: 2g
- Carbs: 16g
Why Make This Easy No Fail Pie Store Crust 10 Min Prep Thanksgiving Hack
The beauty of this hack lies in its consistency. Homemade crusts are notoriously temperamental, reacting to the humidity in the air or the temperature of your hands. This method uses the reliable structure of high-quality store-bought dough but elevates the texture and flavor through specific handling techniques. You save hours of labor and cleanup, allowing you to focus on the turkey and the guest list without sacrificing the aesthetic of a beautiful, crimped crust.
Ingredients
- 1 package (14.1 oz) refrigerated pie crusts (usually contains two rounds)
- 1 large egg
- 1 tablespoon water or heavy cream
- 2 tablespoons all-purpose flour (for dusting)
- 1 tablespoon granulated sugar or coarse sanding sugar (optional, for sweet pies)
- Non-stick cooking spray or softened butter (for the pan)
Directions
Step 1: Tempering and Rolling
Remove the pie crust from the refrigerator about 15 to 20 minutes before you plan to use it. This is the most crucial part of the hack; if the dough is too cold, it will crack when you unroll it. Lightly dust your countertop with flour. Unroll the dough gently and use a rolling pin to lightly roll over the surface. This smooths out the factory-pressed lines and allows you to expand the diameter by about an inch, ensuring it fits perfectly into your deep-dish pie plate without stretching.
Step 2: Shaping and Decorative Crimping
Lightly grease your pie plate. Carefully lift the dough and center it over the plate, letting it slump naturally into the corners—never pull or stretch it, as this causes shrinkage in the oven. Fold the excess overhanging dough under itself to create a thick border that sits on the rim of the plate. Use your thumb and index finger on one hand and the index finger of the other to “pinch” or flute the edges. This thick, double-layered border gives the crust that signature homemade look and provides a sturdy structure for the filling.
Step 3: The Golden Glaze and Finish
In a small bowl, whisk the egg with one tablespoon of water or cream to create an egg wash. Use a pastry brush to apply a thin, even layer of the wash only to the fluted edges. If you are making a sweet pie like pumpkin or apple, sprinkle the damp egg wash with granulated sugar for a bakery-style crunch. If your recipe requires “blind baking” (pre-baking the crust before adding filling), prick the bottom with a fork, line it with parchment paper and pie weights, and bake at 400°F for 10-12 minutes until the edges are just set.
Expert Tips for Perfect Easy No Fail Pie Store Crust 10 Min Prep Thanksgiving Hack
- Don’t skip the rest: Let the dough sit at room temperature for at least 15 minutes so it becomes pliable.
- Use a glass plate: Glass pie plates allow you to see if the bottom of the crust is golden brown and fully cooked.
- Prevent soggy bottoms: Brush a very thin layer of egg white on the bottom of the crust before adding your filling to create a moisture barrier.
- Keep it cool: If your kitchen is very hot from the oven, pop the shaped crust into the freezer for 5 minutes before baking to help the crimped edges hold their shape.
- Hide the cracks: If the dough does tear, simply dip your finger in a little water and “weld” the dough back together with a light press.
Delicious Variations
- The Cinnamon Twist: Dust your work surface with cinnamon sugar instead of flour before rolling out the dough for a fragrant, spiced crust.
- Savory Herb Crust: For pot pies or quiches, press fresh thyme or dried rosemary into the dough before shaping.
- The Lattice Top: Use the second roll of dough to cut even strips and weave them over your fruit filling for a stunning visual effect.
- Citrus Zest Edge: Rub fresh orange or lemon zest into the sugar before sprinkling it on the egg-washed rim.
- Extra Flaky Layering: Brush the dough lightly with melted butter, fold it in half, and roll it out again for a mock-puff pastry texture.
Frequently Asked Questions
Can I use frozen pie crusts for this hack?
Yes, but you must let them thaw completely in the refrigerator overnight. Frozen crusts that are handled while still icy will shatter and lose their structural integrity.
How do I prevent the edges from burning?
If the edges are browning too quickly while the center of the pie is still cooking, wrap the rim loosely with aluminum foil or use a silicone pie shield halfway through the baking process.
Do I need to grease the pie pan?
While pie dough has a high fat content, a light coating of non-stick spray or butter ensures a clean release, especially if any of the filling bubbles over the edge.
Can I make the crust ahead of time?
Absolutely. You can shape and crimp the crust in the pan, cover it tightly with plastic wrap, and keep it in the fridge for up to 24 hours before filling and baking.
Why did my crust shrink down the sides of the pan?
Shrinkage usually happens if the dough was stretched too tightly during placement. Always let the dough “fall” into the pan and press it gently into the corners without pulling on it.
Conclusion
Mastering Thanksgiving doesn’t mean you have to do everything the hard way. This 10-minute store-bought crust hack provides the perfect balance of convenience and quality, ensuring your pies look as good as they taste. By focusing on proper tempering, decorative crimping, and a glossy egg wash finish, you can serve a stunning dessert that looks entirely handcrafted. Give yourself the gift of time this holiday season and use this reliable method for all your festive pies!