Follow Me On Pinterest!
Christmas Party Dump Cake That Feeds 20
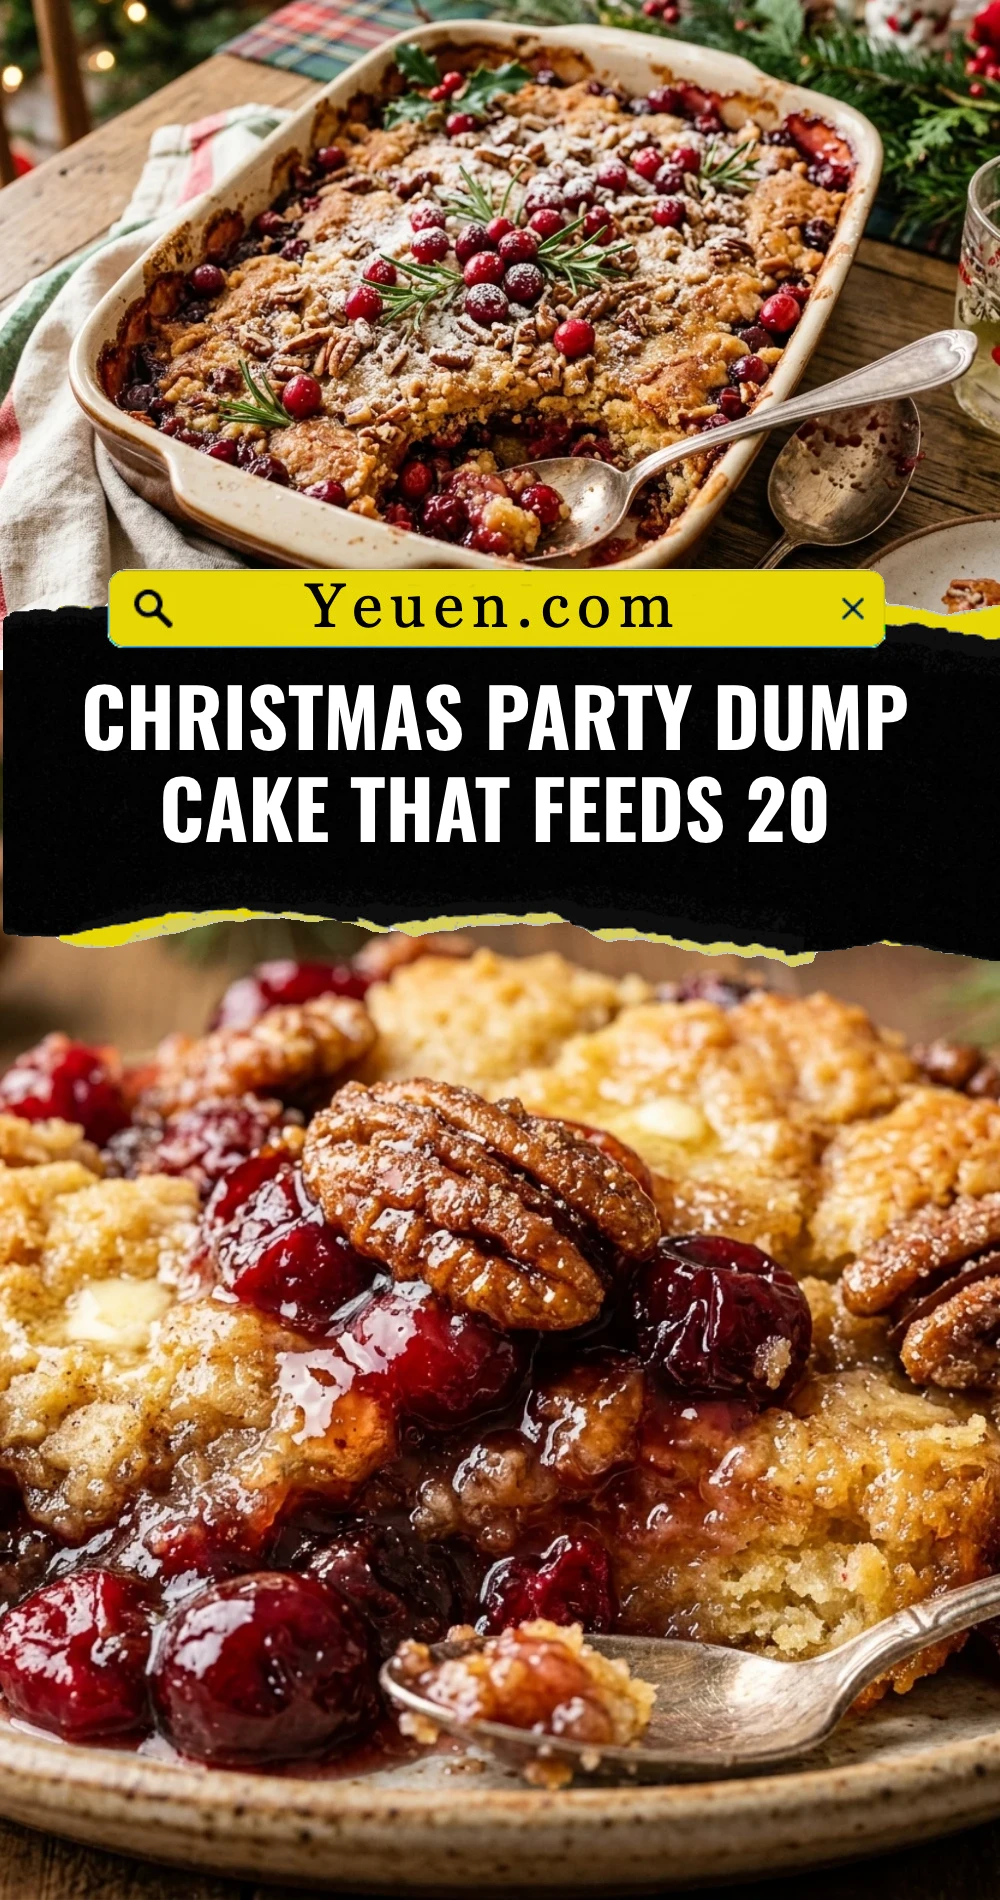
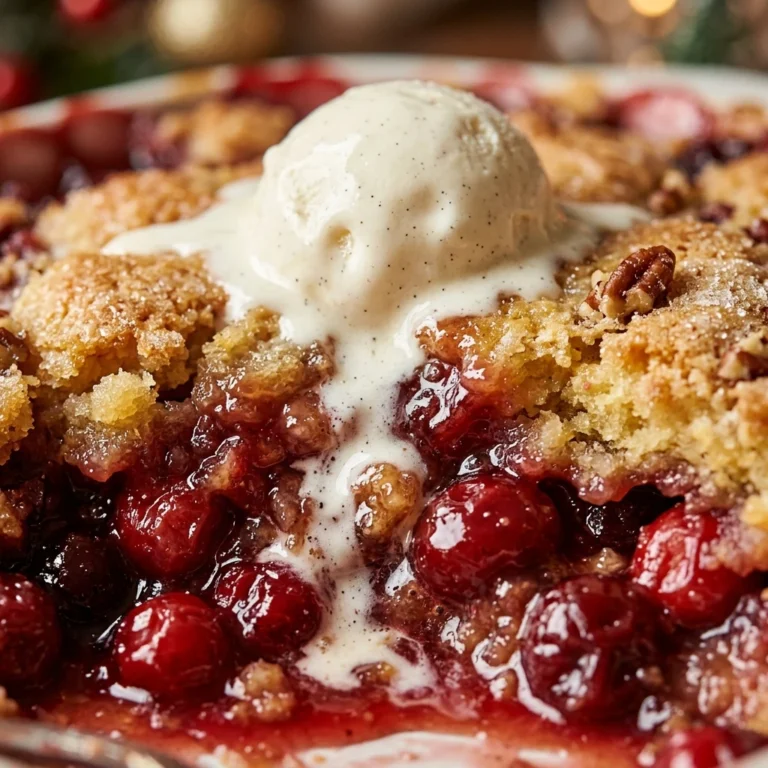
When the holiday season hits, the last thing you want to do is spend hours slaving over a complex dessert while your guests are laughing in the other room. This Christmas Party Dump Cake is the ultimate holiday “cheat code.” It is sweet, buttery, and incredibly festive with its bright red cherries and golden crust. Best of all, it scales perfectly to feed a hungry crowd of 20 people without breaking a sweat. You literally “dump” the ingredients into a pan and let the oven do the magic. It’s the perfect balance of tart fruit and rich, cakey goodness that will have everyone coming back for seconds.
Recipe Information
- Prep Time: 10 minutes
- Cook Time: 50 minutes
- Total Time: 60 minutes
- Servings: 20
- Difficulty: Easy
Nutrition values
- Calories: 345 kcal
- Protein: 3g
- Carbs: 52g
Why Make This Christmas Party Dump Cake That Feeds 20
This recipe is a holiday lifesaver for several reasons. First, it requires zero mixing bowls, which means cleanup is a breeze. Second, it uses pantry staples that you likely already have during the Christmas season. The combination of cherry and pineapple creates a vibrant red hue that looks beautiful on a holiday spread. Most importantly, it is a foolproof recipe. Even if you aren’t a baker, you cannot mess this up. It’s warm, comforting, and feeds a large group for a very low cost per serving.
Ingredients
- 2 cans (21 oz each) Cherry Pie Filling
- 1 can (20 oz) Crushed Pineapple in juice (do not drain)
- 2 boxes (15.25 oz each) Yellow Cake Mix
- 1.5 cups (3 sticks) Unsalted Butter, melted
- 1 cup Chopped Pecans or Walnuts (optional)
- 1/2 cup Red and Green Holiday Sprinkles
- Whipped cream or Vanilla ice cream for serving
Directions
Step 1: Preparation
Preheat your oven to 350°F (175°C). Take a large 12×18 inch rimmed baking sheet or two 9×13 inch baking dishes and lightly grease them with non-stick cooking spray. Ensure your butter is melted and ready to go before you start layering.
Step 2: Layering the Fruit
Spread the crushed pineapple (including the juice) evenly across the bottom of your prepared pan. Next, spoonful the cherry pie filling over the pineapple. Use a spatula to gently spread the fruit so it covers the entire surface. The juices from the pineapple will help moisten the cake mix during the baking process.
Step 3: Adding the Cake Layer
Sprinkle the dry yellow cake mix evenly over the fruit layer. Use your hands or a spoon to break up any large clumps of flour. You want a relatively flat, even layer of dry mix covering all the fruit. If you are using nuts, sprinkle the chopped pecans or walnuts over the cake mix now.
Step 4: Adding the Butter
Carefully pour the melted butter over the entire surface of the cake mix. Try to cover as much of the dry flour as possible. Do not stir the ingredients! The butter will seep down and combine with the fruit juices to create a cobbler-like crust. Top with half of your holiday sprinkles before sliding it into the oven.
Step 5: Baking
Place the pan in the center rack of the oven. Bake for 45 to 55 minutes, or until the top is golden brown and the fruit filling is bubbling around the edges. If you notice any dry flour patches toward the end of baking, you can gently dab them with a little extra melted butter.
Step 6: Plating
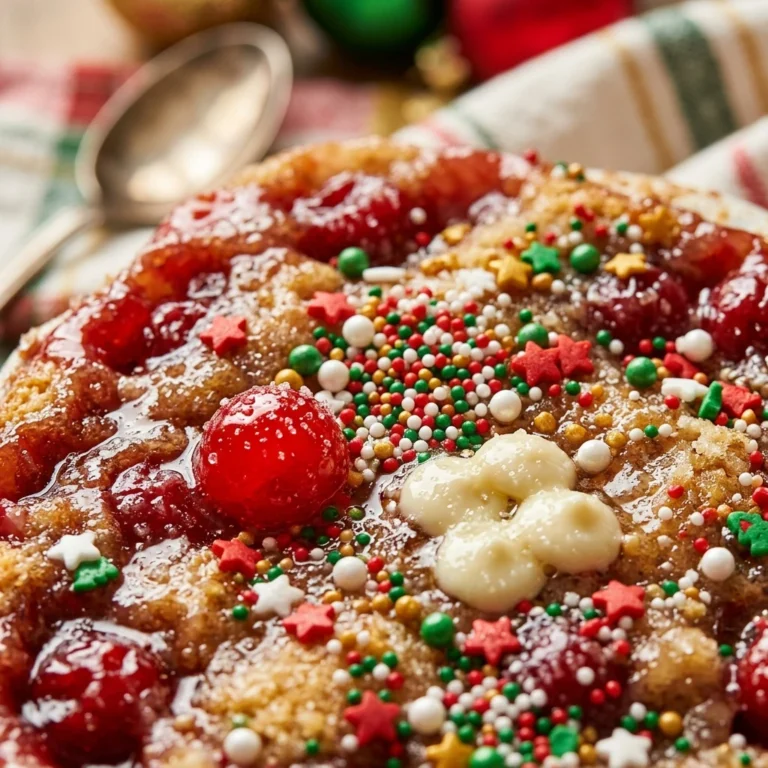
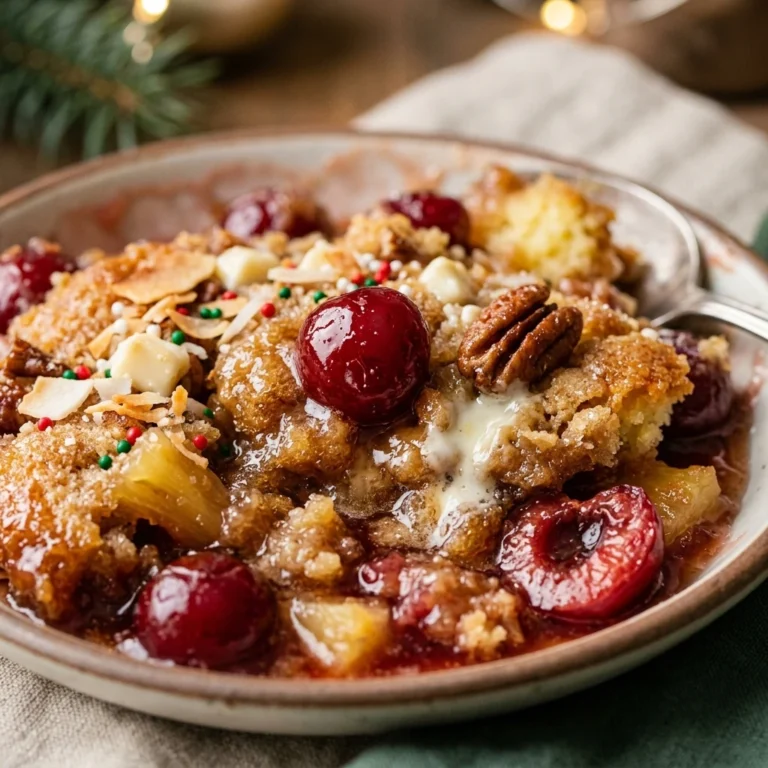
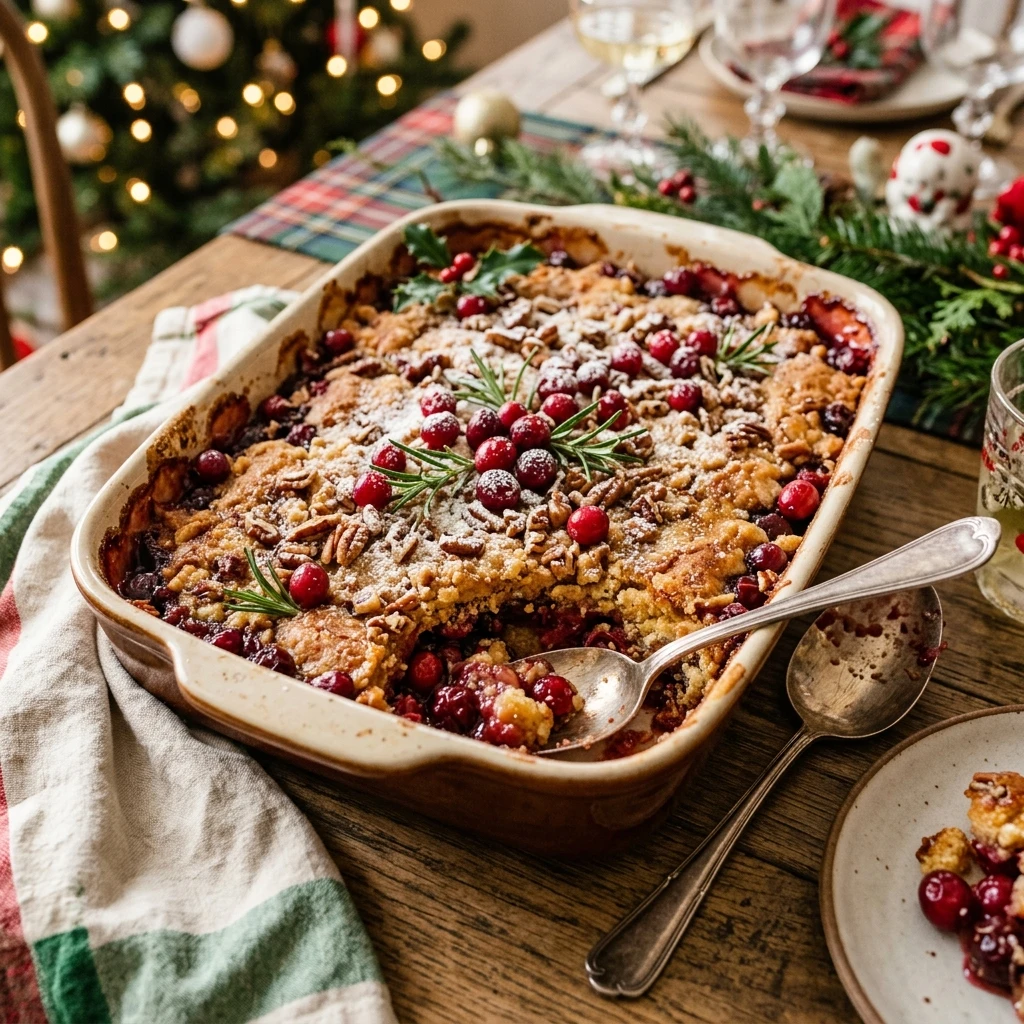
Remove the cake from the oven and let it cool for at least 15 minutes to allow the filling to set. Sprinkle the remaining red and green sprinkles over the top for a fresh pop of color. Serve warm in bowls with a generous dollop of whipped cream or a scoop of vanilla ice cream.
Expert Tips for Perfect Christmas Party Dump Cake That Feeds 20
To ensure the best results, do not drain the pineapple; that juice is essential for hydrating the cake mix. For a more “homemade” flavor, add a teaspoon of almond extract to the cherry filling before spreading it. If you prefer a crunchier topping, you can use cold butter sliced into thin pats and placed in a grid pattern over the cake mix instead of melting it. Always check the corners of the pan, as they tend to brown faster than the center.
Delicious Variations
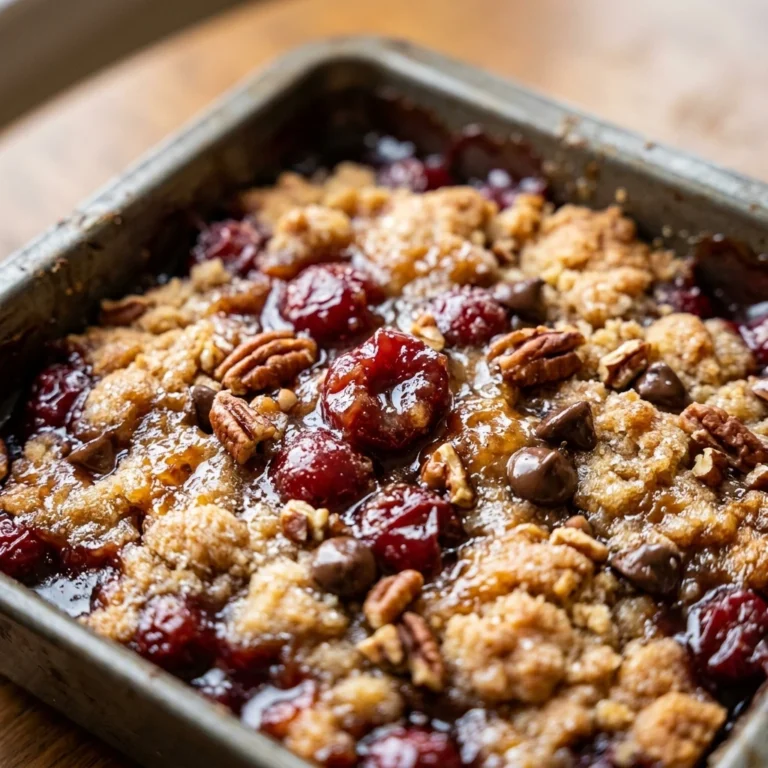
You can easily customize this cake for different tastes. Try a Chocolate Cherry version by swapping the yellow cake mix for a chocolate fudge cake mix. For a Holiday Spice version, use a spice cake mix and add a dash of cinnamon to the fruit layer. If you want a Tropical Christmas theme, add a half-cup of shredded coconut to the top along with the nuts. You can also substitute the cherry filling with cranberry sauce for a tarter, more traditional holiday flavor profile.
Frequently Asked Questions
Can I make this dump cake ahead of time?
Yes, you can bake it a day in advance. Simply cover it and keep it at room temperature. When ready to serve, warm individual portions in the microwave or place the whole pan in a 300°F oven for 10 minutes.
Does dump cake need to be refrigerated?
While it can stay out at room temperature for about two days, it is best to refrigerate any leftovers after that. It will stay fresh in the fridge for up to 5 days in an airtight container.
Can I use fresh fruit instead of canned pie filling?
You can, but you will need to toss the fresh fruit with sugar and a bit of cornstarch first to create that “saucy” consistency. Canned filling is recommended for the traditional “dump cake” texture and ease.
What if I see dry spots of flour after baking?
This happens occasionally. If you see dry spots, you can carefully use a spoon to push them down into the bubbling fruit juice, or add a tiny bit more melted butter to those spots and bake for another 5 minutes.
Can I freeze this cake?
Yes! This cake freezes remarkably well. Let it cool completely, wrap it tightly in plastic wrap and foil, and freeze for up to 3 months. Thaw in the refrigerator overnight before reheating.
Conclusion
The Christmas Party Dump Cake is a crowd-pleasing dessert that takes the stress out of holiday hosting. Its warm, buttery layers and festive fruit filling embody the spirit of the season with minimal effort. Whether you are hosting a large family gathering or a neighborhood potluck, this recipe ensures everyone gets a delicious treat. Serve it warm, top it with ice cream, and watch it disappear in minutes!