Follow Me On Pinterest!
Chewy Brownies With Brown Butter
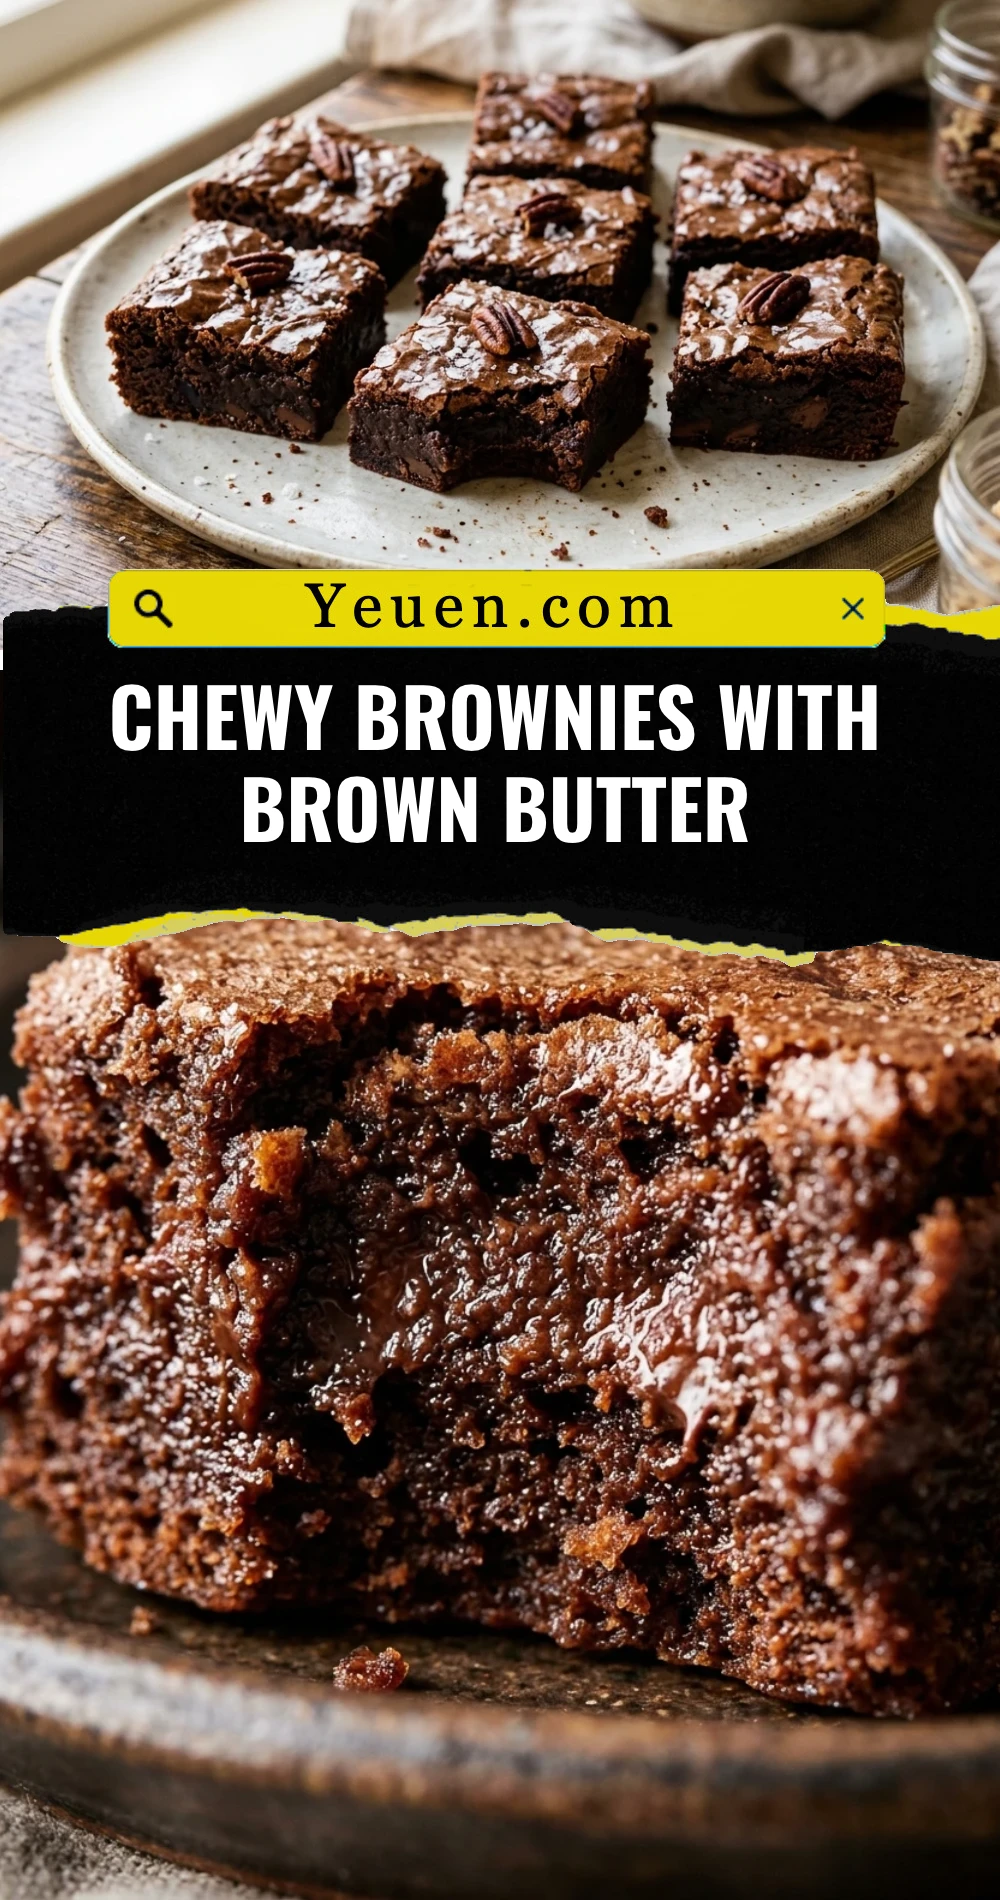
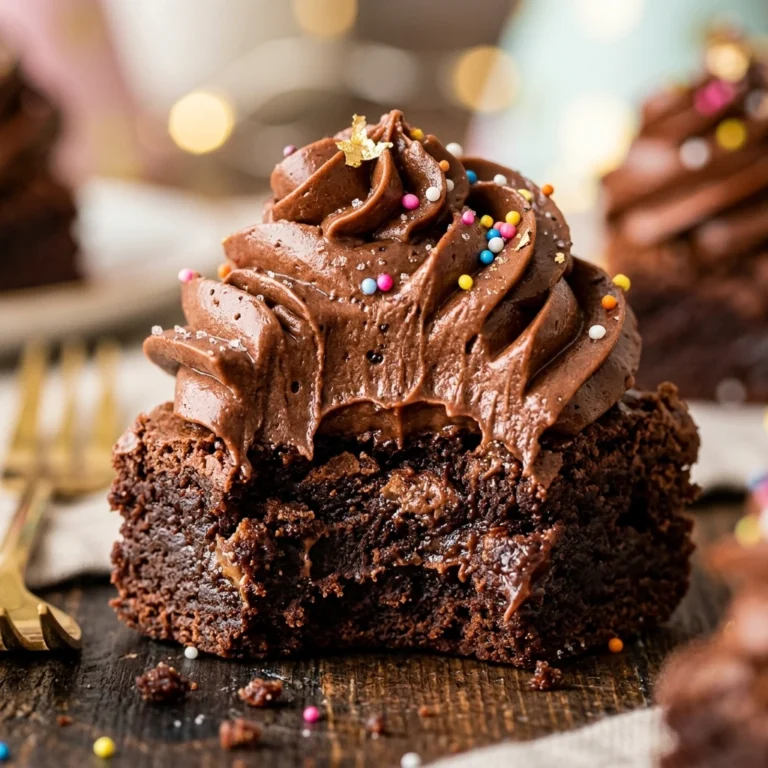
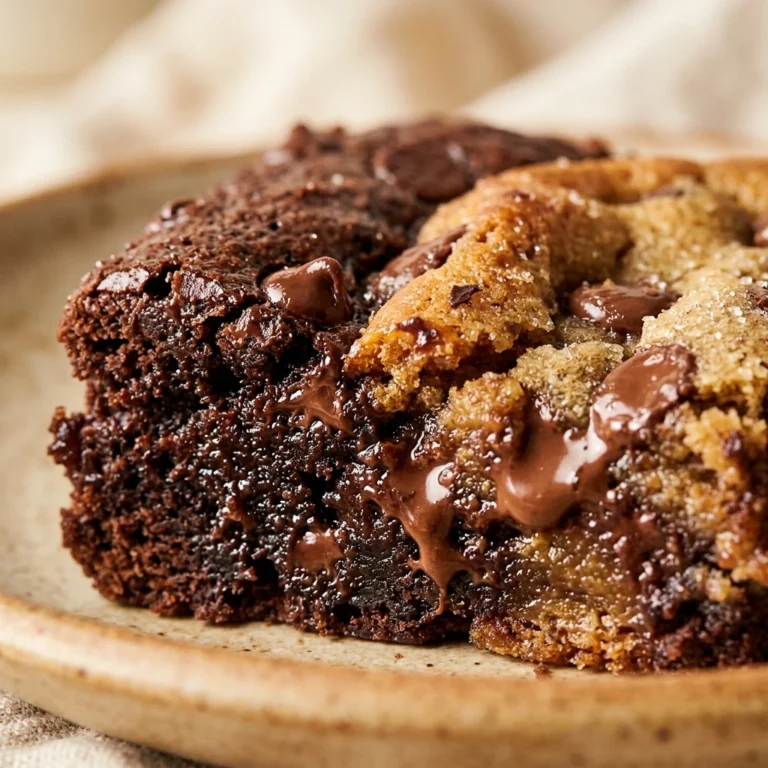
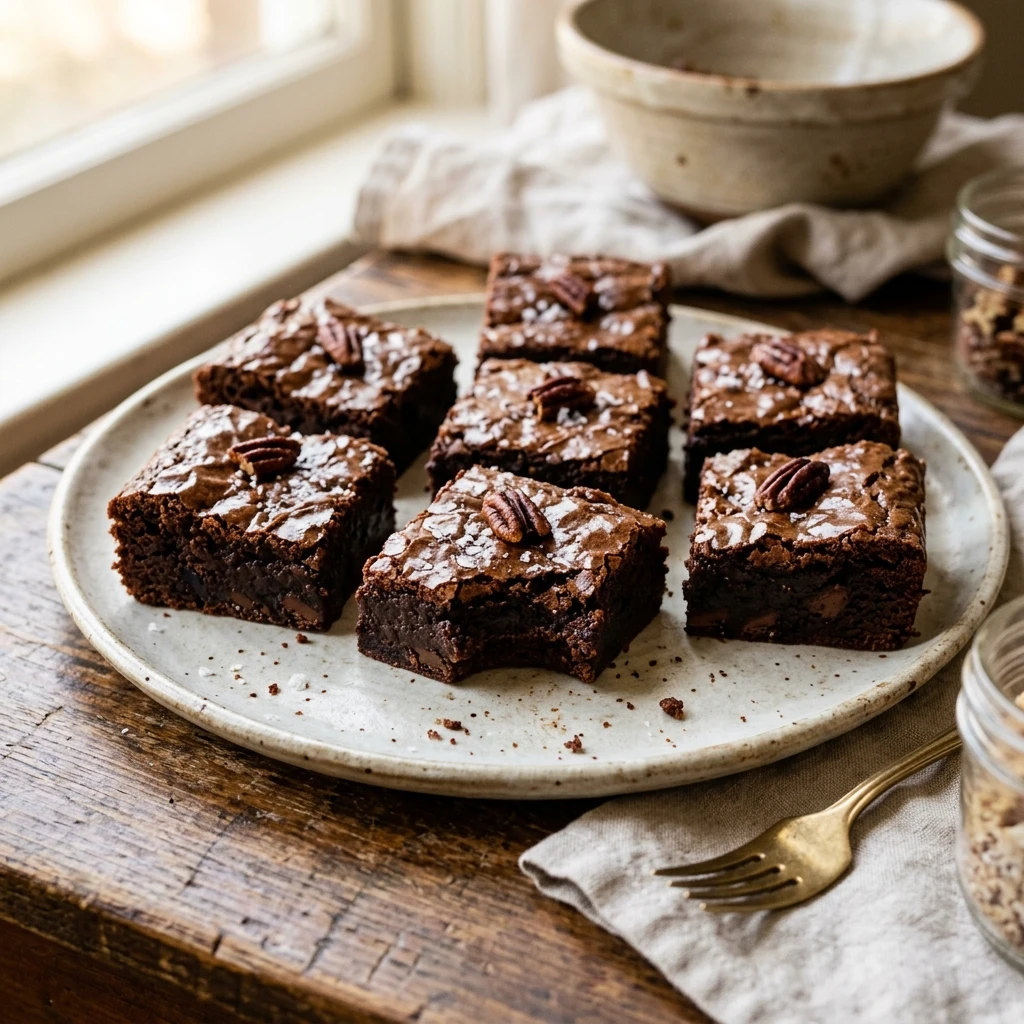
Forget everything you know about standard boxed mixes. These chewy brownies with brown butter are a total game-changer for your dessert repertoire. Imagine a brownie that balances a deep, nutty aroma with a dense, fudgy center and that elusive, paper-thin crackly top. Browning the butter transforms a simple treat into a sophisticated masterpiece by adding toasted notes that perfectly complement rich cocoa. Whether you are a seasoned baker or a newcomer to the kitchen, this recipe delivers a decadent experience that will have everyone reaching for seconds before the pan even cools.
Recipe Information
- Prep Time: 20 minutes
- Cook Time: 25 minutes
- Total Time: 45 minutes
- Servings: 16 brownies
- Difficulty: Medium
Nutrition values
- Calories: 265 kcal
- Protein: 3g
- Carbs: 34g
Why Make This Chewy Brownies With Brown Butter
You should make these brownies because they offer a complexity of flavor that standard butter simply cannot provide. The process of browning the butter creates “liquid gold,” which infuses the batter with a toasted, caramel-like undertone. This recipe also focuses on achieving the ultimate chewy texture—dense enough to be satisfying but soft enough to melt in your mouth. Plus, the combination of brown and white sugars ensures a moist crumb and a shiny, meringue-like crust on top. It is the ultimate comfort food with a gourmet twist.
Ingredients
- 1 cup (225g) Unsalted butter
- 1 cup (200g) Granulated sugar
- 3/4 cup (150g) Light brown sugar, packed
- 3 Large eggs, room temperature
- 2 teaspoons Vanilla extract
- 3/4 cup (75g) Unsweetened Dutch-process cocoa powder
- 1 cup (125g) All-purpose flour
- 1/2 teaspoon Sea salt
- 1 cup (170g) Semi-sweet chocolate chips or chunks
Directions
Step 1: Browning the Butter
Place the unsalted butter in a medium saucepan over medium heat. Melt the butter, then continue cooking while stirring constantly. The butter will foam up and then begin to crackle. Once you see small golden-brown bits forming at the bottom and smell a nutty aroma, immediately remove the pan from the heat. Pour the brown butter into a large heat-proof mixing bowl, making sure to scrape in all those toasted brown bits.
Step 2: Mixing the Sugars and Eggs
Add the granulated sugar and brown sugar to the warm brown butter. Whisk vigorously for about two minutes. Add the eggs one at a time, whisking well after each addition. Finally, stir in the vanilla extract. Beating the eggs and sugar thoroughly is the secret to getting that beautiful, shiny, crackly top on your brownies.
Step 3: Combining Dry Ingredients
Sift the cocoa powder, flour, and salt into the wet mixture. Use a rubber spatula to gently fold the dry ingredients into the butter mixture until just combined. Be careful not to overmix at this stage, as too much stirring will lead to a cakey texture rather than a chewy one. Fold in the chocolate chips or chunks during the last few strokes.
Step 4: Baking and Cooling
Preheat your oven to 350°F (175°C) and line an 8×8 inch baking pan with parchment paper. Spread the batter evenly into the prepared pan. Bake for 22 to 27 minutes. The center should still be slightly soft, and a toothpick inserted should come out with a few moist crumbs attached. Let the brownies cool completely in the pan before slicing to allow the structure to set for maximum chewiness.
Expert Tips for Perfect Chewy Brownies With Brown Butter
- Don’t Overbake: Brownies continue to cook in the pan after they are removed from the oven. Pull them out when they still look slightly underdone in the very center.
- Use Room Temperature Eggs: Cold eggs can seize the warm brown butter. Let your eggs sit on the counter for 30 minutes before starting.
- Quality Cocoa Matters: Use a high-quality Dutch-process cocoa powder for a deeper chocolate flavor and a darker color.
- Measure Flour Correctly: Use the spoon-and-level method or a kitchen scale. Too much flour will make the brownies dry and crumbly.
- The Shiny Top: Whisking the sugars and eggs vigorously dissolves the sugar and creates a thin layer of meringue on top during baking.
Delicious Variations
- Salted Caramel: Drizzle homemade caramel sauce over the batter before baking and sprinkle with coarse sea salt.
- Espresso Twist: Add 1 tablespoon of instant espresso powder to the dry ingredients to intensify the chocolate flavor.
- Nutty Crunch: Fold in 1/2 cup of toasted pecans or walnuts for added texture.
- White Chocolate: Swap the semi-sweet chips for white chocolate chips to create a sweeter, creamier contrast.
Frequently Asked Questions
How do I know when the butter is perfectly browned?
The butter is ready when it stops sizzling, the foam subsides, and you see brown specks at the bottom of the pan. It will smell intensely nutty, similar to toasted hazelnuts. Watch it closely, as it can go from browned to burnt in seconds.
Why did my brownies turn out cakey instead of chewy?
Cakey brownies usually result from overmixing the flour or adding too many eggs. To keep them chewy, fold the flour in gently until just incorporated and ensure you aren’t using a leavening agent like baking powder.
Can I use salted butter for this recipe?
Yes, you can use salted butter. However, if you do, reduce the added salt in the dry ingredients to 1/4 teaspoon to prevent the brownies from becoming overly salty.
How should I store these brownies?
Store the brownies in an airtight container at room temperature for up to 4 days. For longer storage, you can refrigerate them for up to a week or freeze them for up to 3 months.
Do I have to use Dutch-process cocoa powder?
While you can use natural cocoa powder, Dutch-process cocoa is treated with alkali to neutralize its acidity, resulting in a smoother, mellower flavor and a darker color that pairs beautifully with brown butter.
Conclusion
Mastering chewy brownies with brown butter is a rewarding journey that yields the most delicious results. The extra step of browning the butter adds a layer of sophistication that sets this recipe apart from any other. With their fudgy interior and crispy edges, these brownies are sure to become a favorite in your household. Take your time, follow the steps, and enjoy the intoxicating aroma of chocolate and toasted butter filling your kitchen. Happy baking!