Follow Me On Pinterest!
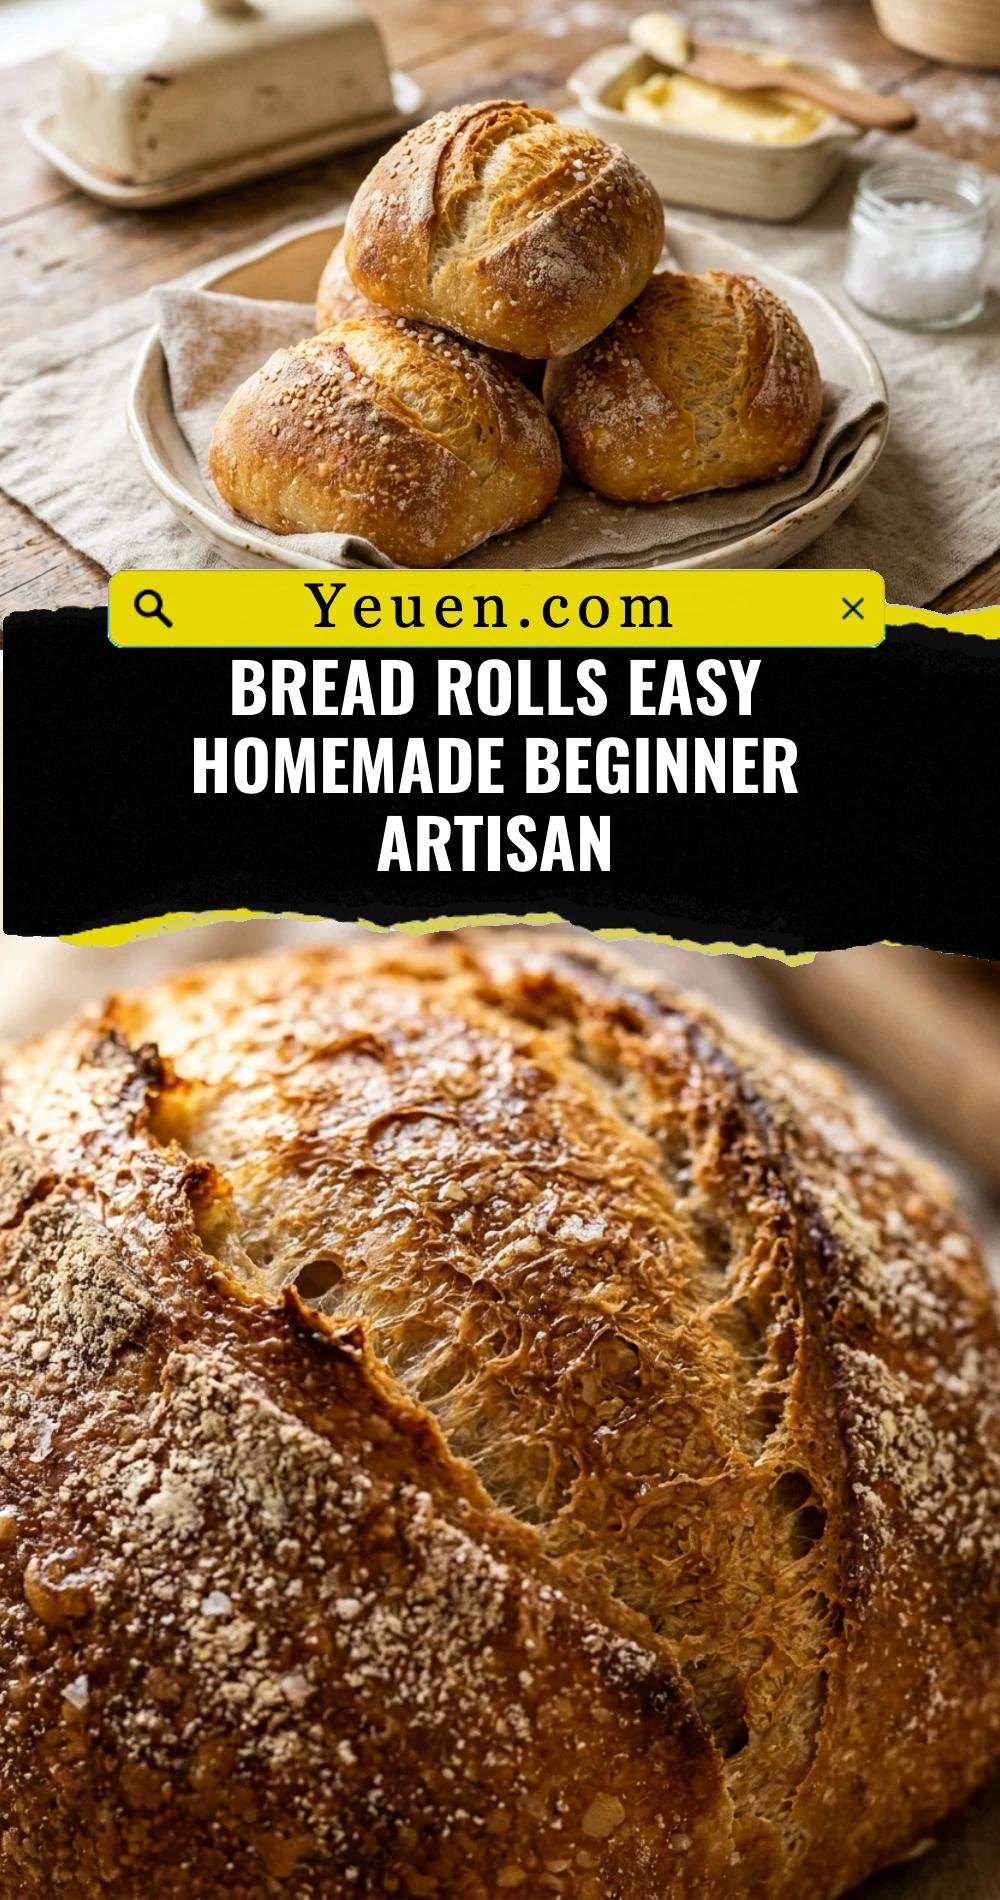
Bread Rolls Easy Homemade Beginner Artisan
There is absolutely nothing that compares to the intoxicating aroma of fresh bread baking in your own oven. If you have always been intimidated by the word “artisan” or felt that yeast was a temperamental beast, this recipe is your golden ticket. You do not need a fancy stand mixer, a culinary degree, or even a lot of patience to master these rolls. These easy homemade beginner artisan bread rolls deliver that coveted crispy, golden crust and a soft, airy interior that pulls apart beautifully. Whether you are hosting a dinner party or just want to level up your weekday soup night, these rolls will make you feel like a master baker in no time.
Recipe Information
- Prep Time: 15 minutes (plus 90 minutes rising time)
- Cook Time: 20 minutes
- Total Time: 2 hours 5 minutes
- Servings: 12 rolls
- Difficulty: Easy
Nutrition values
- Calories: 185 kcal
- Protein: 5g
- Carbs: 38g
Why Make This Bread Rolls Easy Homemade Beginner Artisan
This recipe is the perfect entry point into the world of bread making. Unlike traditional sandwich bread, these artisan rolls focus on a high-heat bake and a simple hydration ratio to create a rustic texture. You only need four pantry staples to get started. These rolls are incredibly forgiving; even if your shaping isn’t perfect, the high oven temperature creates a beautiful “bloom” that makes every roll look professionally made. Plus, avoiding store-bought bread means you skip the preservatives and enjoy the pure, nutty flavor of toasted wheat.
Ingredients
- 3 ½ cups All-Purpose Flour (or Bread Flour for extra chew)
- 1 ½ cups Warm Water (approx. 110°F/45°C)
- 2 ¼ teaspoons Active Dry Yeast (one standard packet)
- 1 ½ teaspoons Salt
- 1 tablespoon Honey or Sugar (to feed the yeast)
- Optional: Cornmeal for dusting the baking sheet
Directions
Step 1: Activate the Yeast
Pour your warm water into a large mixing bowl. Stir in the honey or sugar until dissolved. Sprinkle the active dry yeast over the surface and give it a quick stir. Let the mixture sit for about 5 to 10 minutes. When you see a foamy, bubbly layer forming on top, you know your yeast is alive and ready to work.
Step 2: Mix the Dough
Add the salt to the flour and stir. Gradually add the flour to your yeast mixture. Use a sturdy wooden spoon or your hands to mix until a shaggy dough forms. You don’t need to knead this dough heavily; just ensure all the flour is hydrated and there are no dry pockets left in the bottom of the bowl.
Step 3: The First Rise
Cover the bowl with a clean, damp kitchen towel or plastic wrap. Place it in a warm, draft-free spot in your kitchen. Let the dough rise for about 60 minutes, or until it has doubled in size. This slow fermentation is what creates the airy “artisan” bubbles inside the rolls.
Step 4: Shape the Rolls
Gently deflate the dough by pressing your fist into the center. Turn the dough out onto a lightly floured surface. Divide the dough into 12 equal pieces. Tuck the edges of each piece under itself to create a smooth round top. Place the rolls on a parchment-lined baking sheet, leaving about two inches of space between each one.
Step 5: The Second Rise
Cover the shaped rolls loosely and let them rest for another 30 minutes. While they rise, preheat your oven to 425°F (220°C). For the best crust, place an empty metal pan on the bottom rack of the oven during the preheat.
Step 6: Bake to Perfection
If you want a rustic look, use a sharp knife or kitchen shears to score a small “X” on the top of each roll. Place the baking sheet in the oven. Carefully pour one cup of water into the hot metal pan on the bottom rack to create steam, then quickly close the oven door. Bake for 18 to 22 minutes until the tops are deeply golden brown and the rolls sound hollow when tapped on the bottom.
Expert Tips for Perfect Bread Rolls Easy Homemade Beginner Artisan
Always check your water temperature before adding yeast; if it is too hot, it will kill the yeast, and if it is too cold, the dough won’t rise. Using a kitchen scale to weigh your flour (120g per cup) ensures more consistent results than measuring by volume. For a softer crust, brush the rolls with melted butter immediately after taking them out of the oven. If you want a crustier, more “artisan” finish, don’t skip the steam pan in the oven—the moisture allows the dough to expand fully before the crust sets.

Delicious Variations
You can easily customize this base recipe to suit your meal. Stir in a tablespoon of dried rosemary or thyme during the mixing phase for savory herb rolls. For a cheesy version, press a small cube of sharp cheddar into the center of each roll while shaping. You can also top the rolls with “everything bagel” seasoning or sea salt flakes before baking. If you prefer a sweeter touch, swap the salt for a bit more sugar and add a handful of raisins and cinnamon to the dough.
Frequently Asked Questions
Can I use Instant Yeast instead of Active Dry Yeast?
Yes, you can. If using instant yeast, you can skip the activation step and mix the yeast directly into the flour and water. The rise times may also be slightly faster.
How do I know if my dough has risen enough?
The “poke test” is the best way to tell. Gently press a finger into the dough. If the indentation fills back in slowly and halfway, it is ready. If it springs back instantly, it needs more time.
Why are my rolls dense?
Density usually happens if the dough didn’t rise long enough or if you added too much flour. Ensure your flour is measured correctly and the environment is warm enough for the yeast to work.
Can I make the dough ahead of time?
Absolutely. You can let the dough do its first rise in the refrigerator overnight. This cold fermentation actually develops more flavor. Just let the dough come to room temperature before shaping.
How should I store these rolls?
Since these have no preservatives, they are best eaten within 24 hours. Store them in a paper bag at room temperature to maintain the crust. For longer storage, freeze them in a zip-top bag and reheat in the oven.
Conclusion
Making artisan-style bread at home doesn’t have to be a stressful or complicated process. By following these simple steps, you can transform basic ingredients into beautiful, golden-brown rolls that will impress anyone at your table. Remember that bread making is a tactile skill; the more you do it, the better you will understand the feel of the dough. Serve these rolls warm with a pat of salty butter, and enjoy the satisfaction of knowing exactly what went into your food. Happy baking!