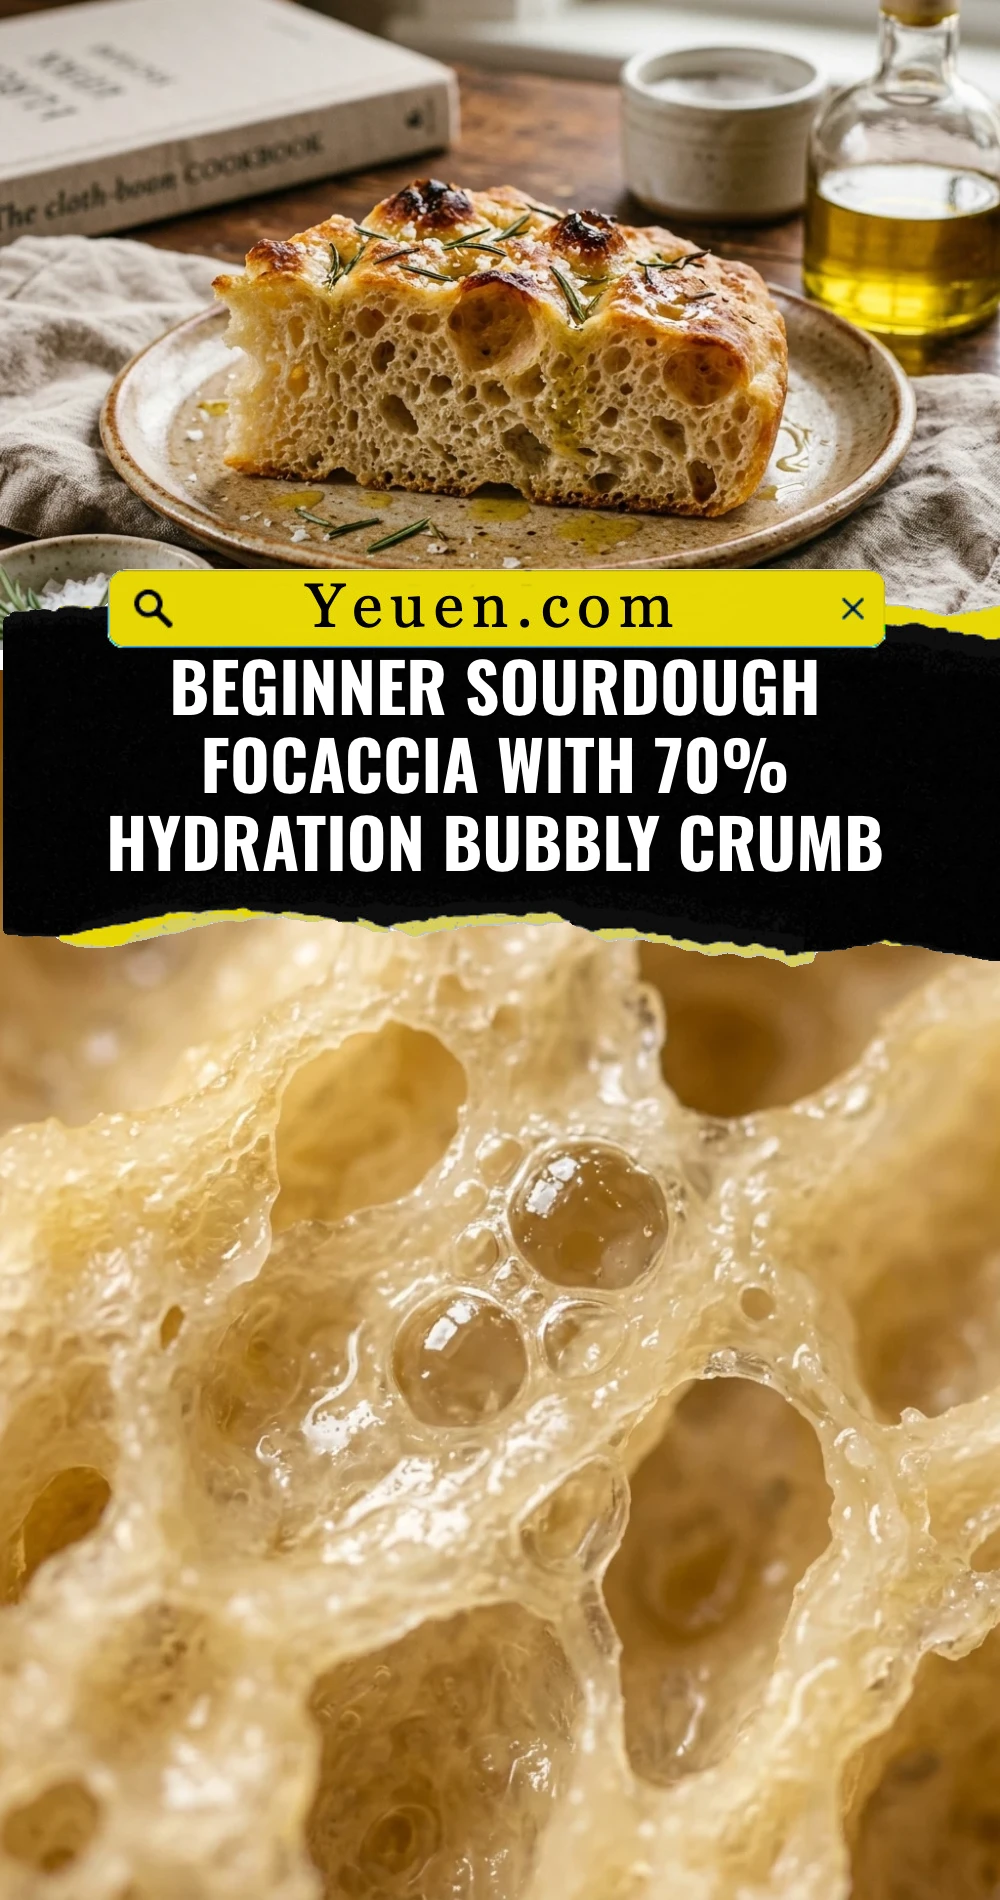
Follow Me On Pinterest!
Beginner Sourdough Focaccia With 70% Hydration Bubbly Crumb
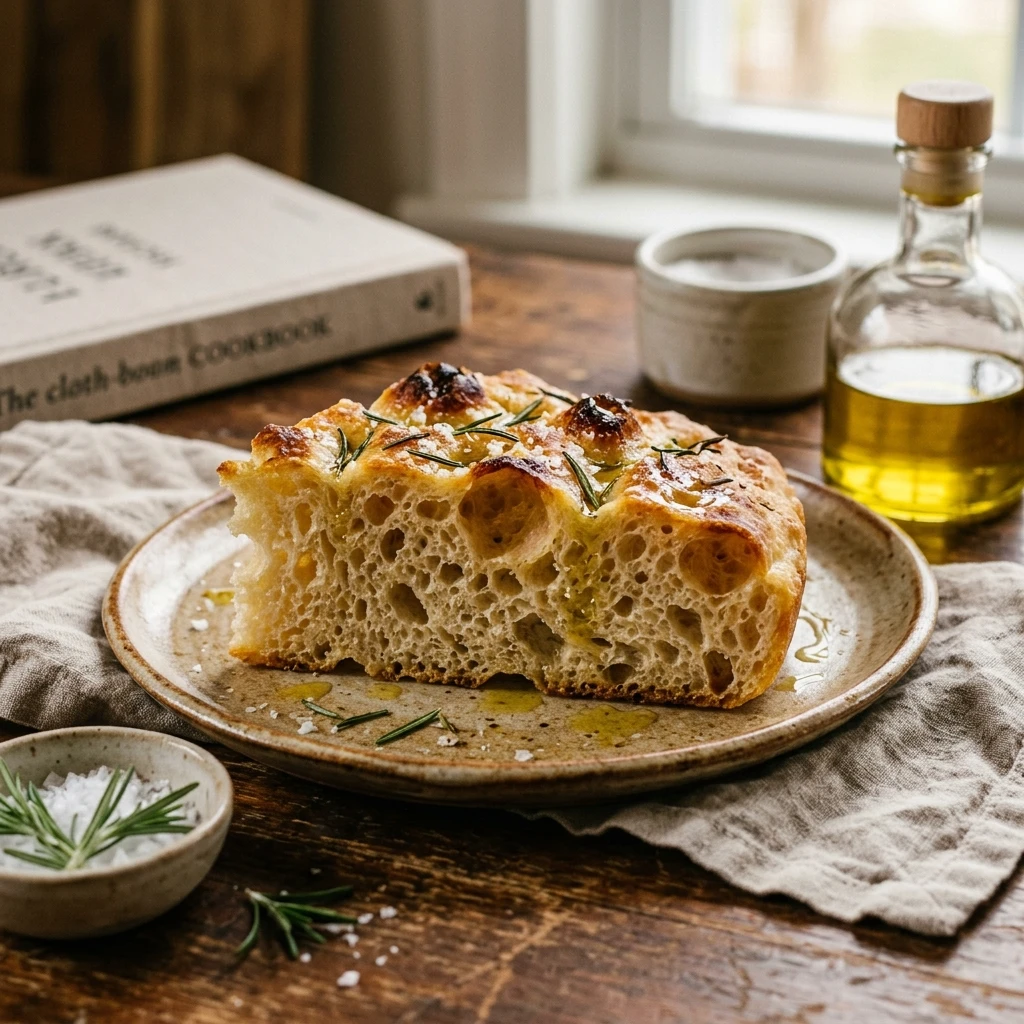
Imagine pulling a golden, shimmering tray of bread from your oven, the aroma of olive oil and fermented dough filling your kitchen. This beginner sourdough focaccia is the ultimate gateway into the world of wild yeast baking. With a 70% hydration level, the dough is incredibly easy to handle for novices, yet it still produces those massive, airy bubbles that every baker dreams of. You do not need any fancy shaping skills or expensive equipment—just a bit of patience and your active starter. This recipe turns simple flour, water, and salt into a masterpiece that is crisp on the bottom, soft in the middle, and salty on top.
Recipe Information
- Prep Time: 15 minutes (plus 12 hours fermentation)
- Cook Time: 25 minutes
- Total Time: 12 hours 40 minutes
- Servings: 12 slices
- Difficulty: Easy
Nutrition values
- Calories: 210 kcal per slice
- Protein: 5g
- Carbs: 35g
Why Make This Beginner Sourdough Focaccia With 70% Hydration Bubbly Crumb
This recipe is the perfect “low-stress” bake. Unlike traditional sourdough loaves that require precise shaping and scoring, focaccia is baked in a pan, meaning the container does all the structural work for you. At 70% hydration, the dough is wet enough to create a beautiful open crumb but firm enough that it won’t feel like a sticky mess in your hands. It is the best way to practice fermentation timing and observe how your sourdough starter behaves without the pressure of a perfect “ear” or oven spring. Plus, it is incredibly versatile; you can top it with anything from simple rosemary to seasonal vegetables.
Ingredients
- 100g active, bubbly sourdough starter
- 350g lukewarm filtered water
- 500g high-quality bread flour
- 10g fine sea salt
- 20g extra virgin olive oil (plus more for the pan and drizzling)
- Flaky sea salt for finishing
- Optional: Fresh rosemary or garlic cloves
Directions
Step 1: Mixing the Dough
In a large glass bowl, whisk together your active sourdough starter and the lukewarm water until the starter mostly dissolves. Add the bread flour and fine sea salt. Mix by hand or with a sturdy dough whisk until all the flour is hydrated and no dry clumps remain. Drizzle 20g of olive oil over the dough and squeeze it in with your hands until incorporated. Cover the bowl with a damp cloth and let it rest for 30 minutes.
Step 2: Stretch and Folds
Wet your hand slightly to prevent sticking. Reach under one side of the dough, pull it up, and fold it over toward the center. Rotate the bowl and repeat this 4 times. Perform three sets of these “stretch and folds” spaced 30 minutes apart. This process builds the gluten structure that traps gas, creating that signature bubbly crumb. After the final set, cover the bowl and let the dough rise in a warm spot for 4 to 6 hours, or until it has increased in volume by about 50% and looks jiggly.
Step 3: The Cold Ferment
For the best flavor and texture, place your covered bowl in the refrigerator overnight (8 to 12 hours). This cold ferment slows down the yeast but allows the bacteria to develop complex, tangy flavors. The cold dough is also much easier to handle when transferring it to your baking pan the next morning.
Step 4: Pan Transfer and Final Proof
Generously coat a 9×13 inch metal baking pan with olive oil. Gently tip the cold dough into the pan. Do not force it to the corners yet; let it rest at room temperature for 2 to 3 hours. As the dough warms up, it will naturally relax and spread toward the edges of the pan. By the end of this time, the dough should be full of visible air bubbles on the surface.
Step 5: Dimpling and Topping
Preheat your oven to 425°F (220°C). Drizzle another tablespoon of olive oil over the top of the dough. Grease your fingers and press them straight down into the dough to create deep dimples. You should see large bubbles “popping” up around your fingers—this is the best part! Sprinkle generously with flaky sea salt and any desired herbs like fresh rosemary.
Step 6: Baking
Place the pan on the middle rack of the oven. Bake for 20 to 25 minutes, or until the top is deeply golden brown and the edges are crispy. If you lift a corner with a spatula, the bottom should be fried to a golden crisp. Remove from the oven and let it cool in the pan for 5 minutes before transferring to a wire rack. This prevents the bottom from getting soggy.
Expert Tips for Perfect Beginner Sourdough Focaccia With 70% Hydration Bubbly Crumb
Always use a digital scale for measurements to ensure the 70% hydration is accurate. If your kitchen is cold, your bulk fermentation might take longer; look for the dough to be bubbly and jiggly rather than watching the clock. Use more olive oil than you think you need—it’s the secret to that “fried” bottom crust. Lastly, wait at least 15 minutes before slicing so the internal crumb structure sets properly.
Delicious Variations
Once you master the base recipe, try these toppings:
- Garlic & Parmesan: Press thin slices of garlic into the dimples and top with grated parmesan before baking.
- Tomato & Basil: Use halved cherry tomatoes and fresh basil leaves for a classic Italian flavor.
- Sweet & Salty: Top with sliced grapes and rosemary, then finish with a drizzle of honey after baking.
- Everything Bagel: Sprinkle everything bagel seasoning over the oil before the final bake.
Frequently Asked Questions
Can I use sourdough discard?
For the best “bubbly” results, use an active, fed starter. If you use discard, the rise will be much slower and the bread will be denser.
Why is my dough not filling the pan?
The dough needs time to relax. If it keeps snapping back, let it rest for another 30 minutes before trying to spread it again.
Can I bake this in a cast iron skillet?
Yes! A large cast iron skillet works perfectly and produces an even crispier bottom crust. Just ensure it is well-oiled.
How do I store leftovers?
Store focaccia in an airtight container at room temperature for 2 days. To refresh it, toast it in a 350°F oven for 5 minutes to regain the crunch.
What if my dough is too sticky to dimple?
Make sure your fingers are well-oiled. If it is still too sticky, the dough might need more fermentation time or a longer cold rest to firm up.
Conclusion
Making your first Beginner Sourdough Focaccia With 70% Hydration Bubbly Crumb is a rewarding experience that proves sourdough doesn’t have to be intimidating. This recipe balances simplicity with high-quality results, giving you a professional-looking loaf with minimal effort. Whether you serve it alongside a hearty soup or use it for the best sandwiches of your life, this focaccia is sure to become a staple in your baking repertoire. Happy baking!