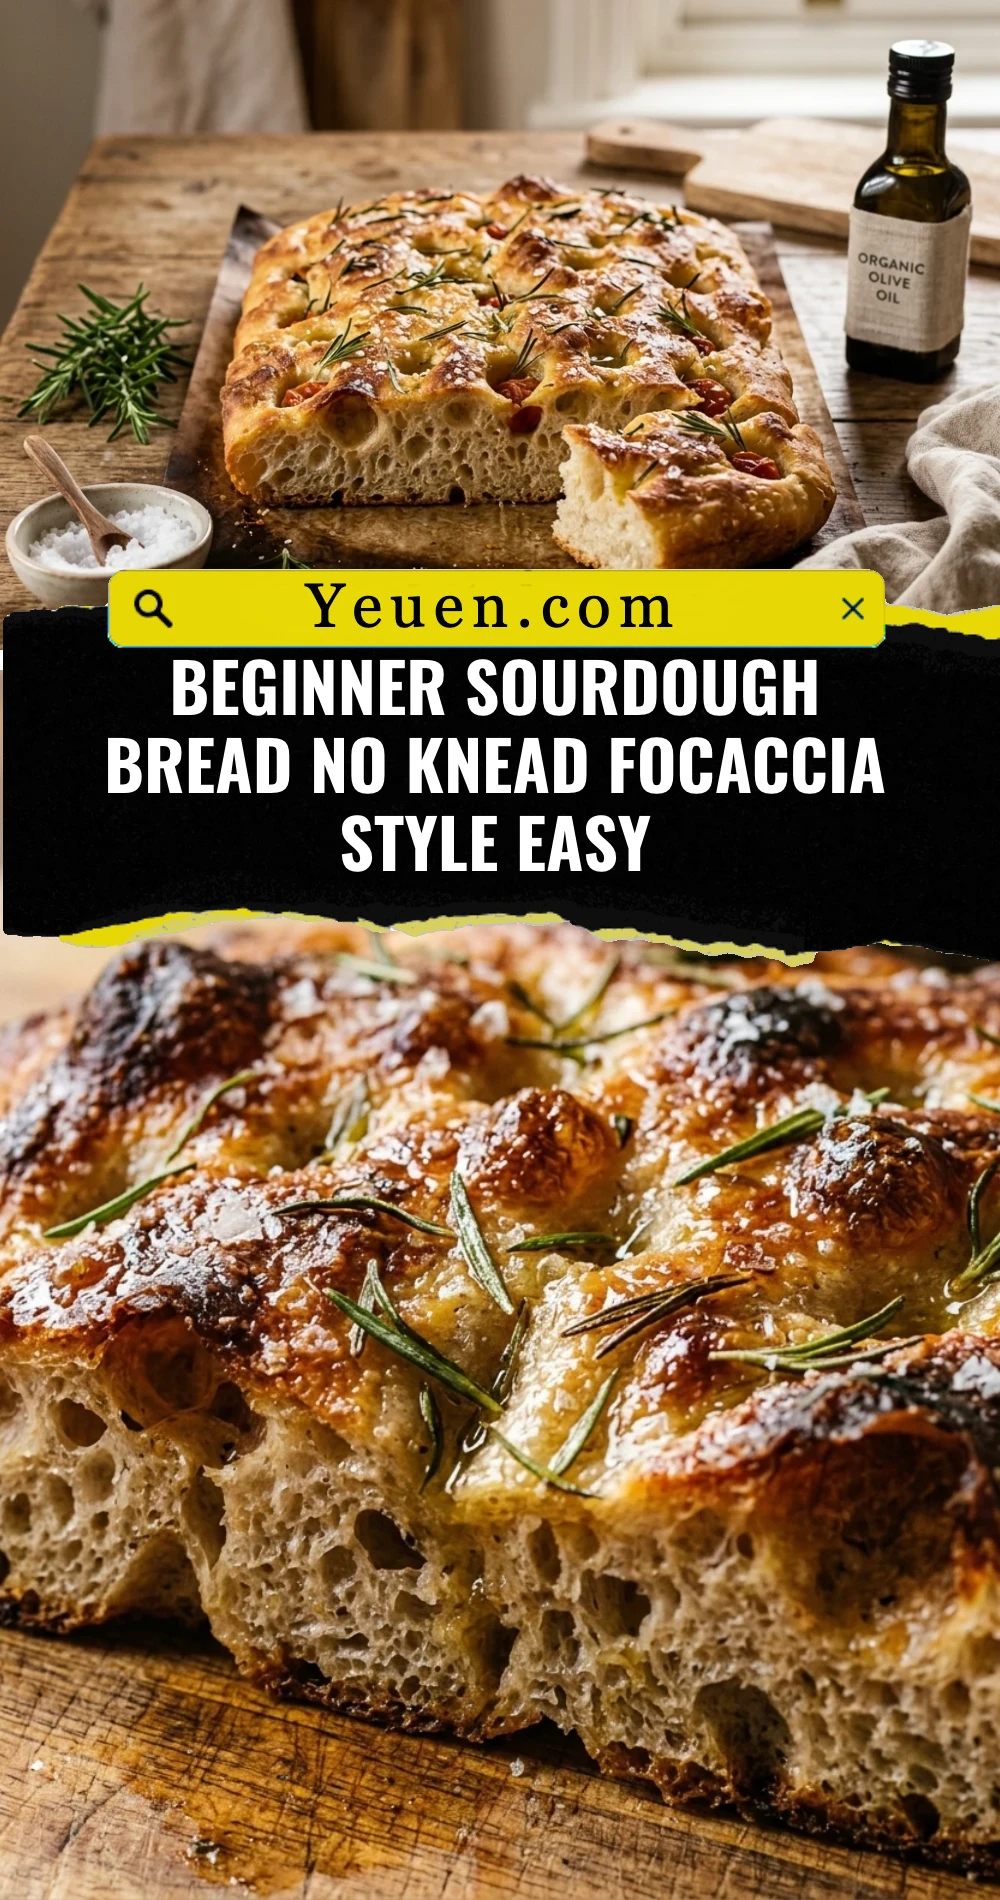
Follow Me On Pinterest!
Beginner Sourdough Bread No Knead Focaccia Style Easy
Imagine the smell of freshly baked bread wafting through your home without the stress of complex shaping or hours of intense kneading. This Beginner Sourdough Bread No Knead Focaccia Style Easy is the ultimate “gateway” recipe for anyone intimidated by wild yeast. It’s incredibly forgiving, gloriously oily, and results in a pillowy interior with a shatteringly crisp golden crust. Whether you are a total novice or a seasoned baker looking for a low-effort win, this focaccia delivers big on flavor with minimal hands-on work. You get all those iconic sourdough bubbles and that tangy depth of flavor without ever having to worry about a “perfect” crumb or a professional score.
Recipe Information
- Prep Time: 15 minutes (active time)
- Cook Time: 25 minutes
- Total Time: 18 hours 40 minutes
- Servings: 10 servings
- Difficulty: Easy
Nutrition values
- Calories: 215 kcal
- Protein: 6g
- Carbs: 39g
Why Make This Beginner Sourdough Bread No Knead Focaccia Style Easy
Most sourdough recipes require a steep learning curve involving “slap and folds,” precise shaping, and expensive proofing baskets. This focaccia style removes those barriers entirely. Because the dough hydrates in a pan, you don’t need to worry about the structure holding its shape. The high water content creates those massive, airy bubbles that every baker dreams of, and the olive oil ensures the crust is flavorful and crunchy. It is the perfect way to use your active starter while building confidence in your fermenting skills. Plus, it’s incredibly versatile; it works as a sandwich bread, a dinner side, or a standalone snack.
Ingredients
- 100g active sourdough starter (bubbly and fed)
- 375g warm water (around 80°F)
- 10g honey or maple syrup
- 500g bread flour (all-purpose works, but bread flour provides better chew)
- 10g fine sea salt
- 40g extra virgin olive oil (divided)
- Flaky sea salt for topping
- Fresh rosemary or dried herbs (optional)
Directions
Step 1: Mixing the Shaggy Dough
In a large mixing bowl, whisk together your active sourdough starter, warm water, and honey until the starter mostly dissolves. Add the bread flour and sea salt. Use a sturdy spatula or your hands to mix the ingredients until no dry flour remains. The dough will look shaggy and very sticky—this is exactly what you want! Cover the bowl with a damp cloth or plastic wrap and let it rest for 30 minutes at room temperature to allow the flour to hydrate.
Step 2: The Bulk Fermentation
After the initial rest, perform one set of “stretch and folds” by grabbing the edge of the dough, pulling it up, and folding it into the center. Rotate the bowl and repeat this 4 times. Cover the bowl again and let the dough rise in a warm spot for 12 to 14 hours (overnight is best). The dough should double in size and show visible bubbles on the surface. If your house is very cold, this might take a bit longer; if it’s hot, keep an eye on it so it doesn’t over-proof.
Step 3: Transfer to the Pan
Pour about 2 tablespoons of olive oil into a 9×13 inch metal baking pan or a large cast-iron skillet. Ensure the bottom and sides are well-coated. Gently tip the fermented dough into the pan. Do not force it to the corners yet! Flip the dough once so it is coated in oil, then let it rest uncovered for 2 to 4 hours. During this time, the dough will naturally spread out to fill the pan and puff up significantly.
Step 4: Dimpling and Seasoning
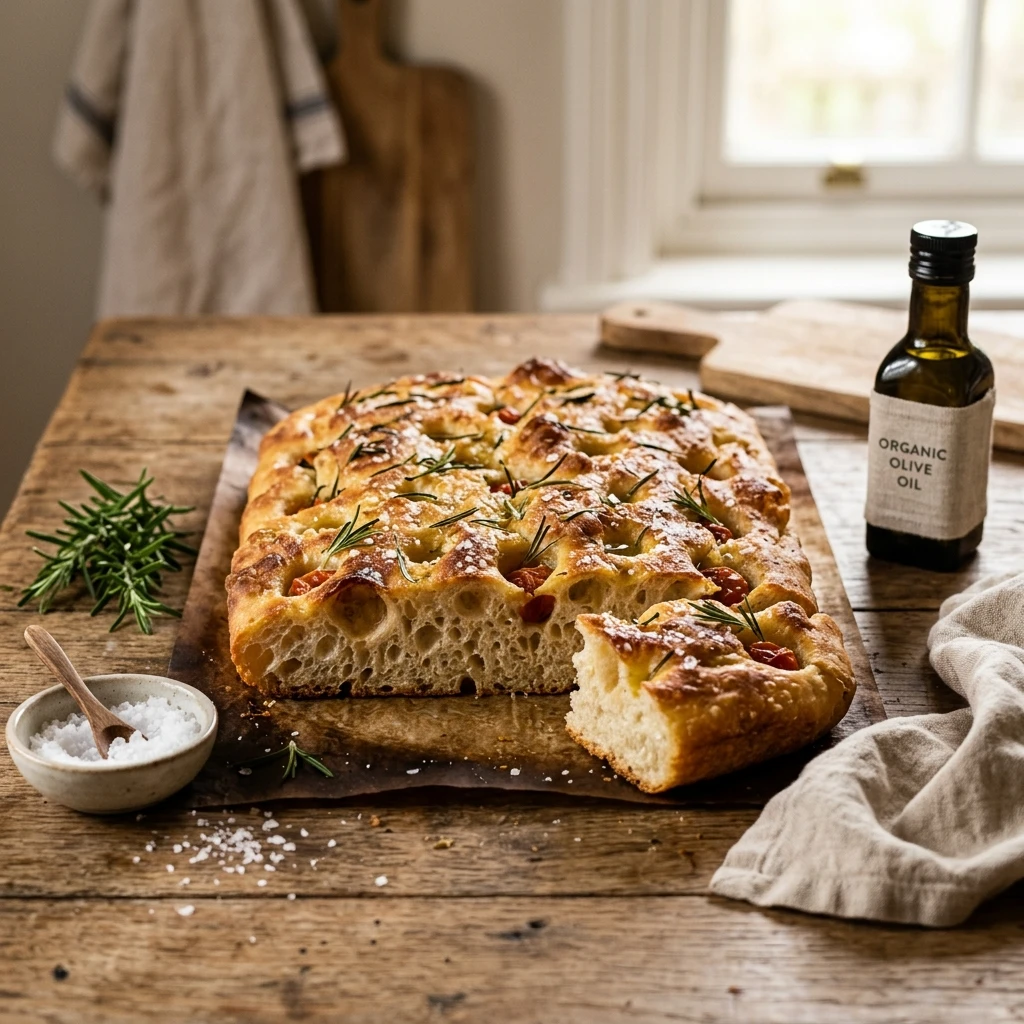
Preheat your oven to 425°F (220°C). Once the dough has filled the pan and looks jiggly, drizzle another tablespoon of olive oil over the top. Grease your fingers and press them straight down into the dough to create deep dimples across the entire surface. You should see large bubbles popping up around your fingers. Sprinkle generously with flaky sea salt and your choice of herbs.
Step 5: Baking to Perfection
Place the pan on the middle rack of the oven. Bake for 20 to 25 minutes until the top is deeply golden brown and the edges look crisp. For an extra-crispy bottom, you can move the pan to the lowest rack for the final 5 minutes. Remove from the oven and immediately transfer the focaccia from the pan to a wire cooling rack to prevent the bottom from getting soggy. Wait at least 15 minutes before slicing—if you can resist!
Expert Tips for Perfect Beginner Sourdough Bread No Knead Focaccia Style Easy
To ensure the best results, always use a kitchen scale for measurements. Volume measurements for flour can vary wildly and affect the dough’s hydration. Secondly, do not be afraid of the olive oil! The oil is what “fries” the bottom of the crust, giving it that signature crunch. If you find your dough isn’t spreading to the corners of the pan in Step 3, just give it more time to relax. Forcing it will pop the air bubbles you worked so hard to create. Finally, make sure your starter is at its peak—it should be doubled in size and full of bubbles before you start mixing.
Delicious Variations
- Garlic and Herb: Add minced garlic and chopped parsley to the oil before dimpling.
- Tomato and Pesto: Press cherry tomato halves into the dimples and drizzle with basil pesto before baking.
- Jalapeño Cheddar: Top with sliced jalapeños and a heavy dusting of sharp cheddar cheese.
- Caramelized Onion: Spread thinly sliced, sautéed onions over the top for a sweet and savory finish.
- Everything Bagel: Use everything bagel seasoning instead of plain flaky salt.
Frequently Asked Questions
How do I know if my sourdough starter is ready?
Perform the “float test.” Drop a small spoonful of your fed starter into a glass of water. If it floats, it is full of carbon dioxide and ready to bake. If it sinks, it needs more time to ferment or another feeding.
Can I use all-purpose flour instead of bread flour?
Yes, you can. However, bread flour has a higher protein content, which creates a stronger gluten structure and a chewier texture. If using all-purpose, your dough might feel slightly stickier and have a slightly softer crumb.
Can I let the dough rise in the fridge?
Absolutely. If you want to develop even more tang, you can do the bulk fermentation (Step 2) in the refrigerator for up to 48 hours. Just make sure to bring it back to room temperature before dimpling and baking.
Why didn’t my dough get big bubbles?
This usually happens if the starter wasn’t active enough or if the dough didn’t proof long enough in the pan. Ensure your environment is warm enough, and don’t rush the final rise in the pan—that is where the magic happens!
How should I store leftover focaccia?
Store leftovers in an airtight container at room temperature for up to 2 days. To revive the “crunch,” toast the slices in a dry skillet or a toaster oven for a few minutes before eating.
Conclusion
Mastering sourdough doesn’t have to be a stressful endeavor. This Beginner Sourdough Bread No Knead Focaccia Style Easy proves that with a little patience and a lot of olive oil, anyone can create bakery-quality bread at home. It’s a forgiving, joyful process that rewards you with incredible textures and flavors. Once you pull that golden, bubbly loaf out of the oven, you’ll never want to go back to store-bought bread again. Grab your starter and get baking!