Follow Me On Pinterest!
Bread Rolls Hawaiian Easy Homemade Beginner Artisan
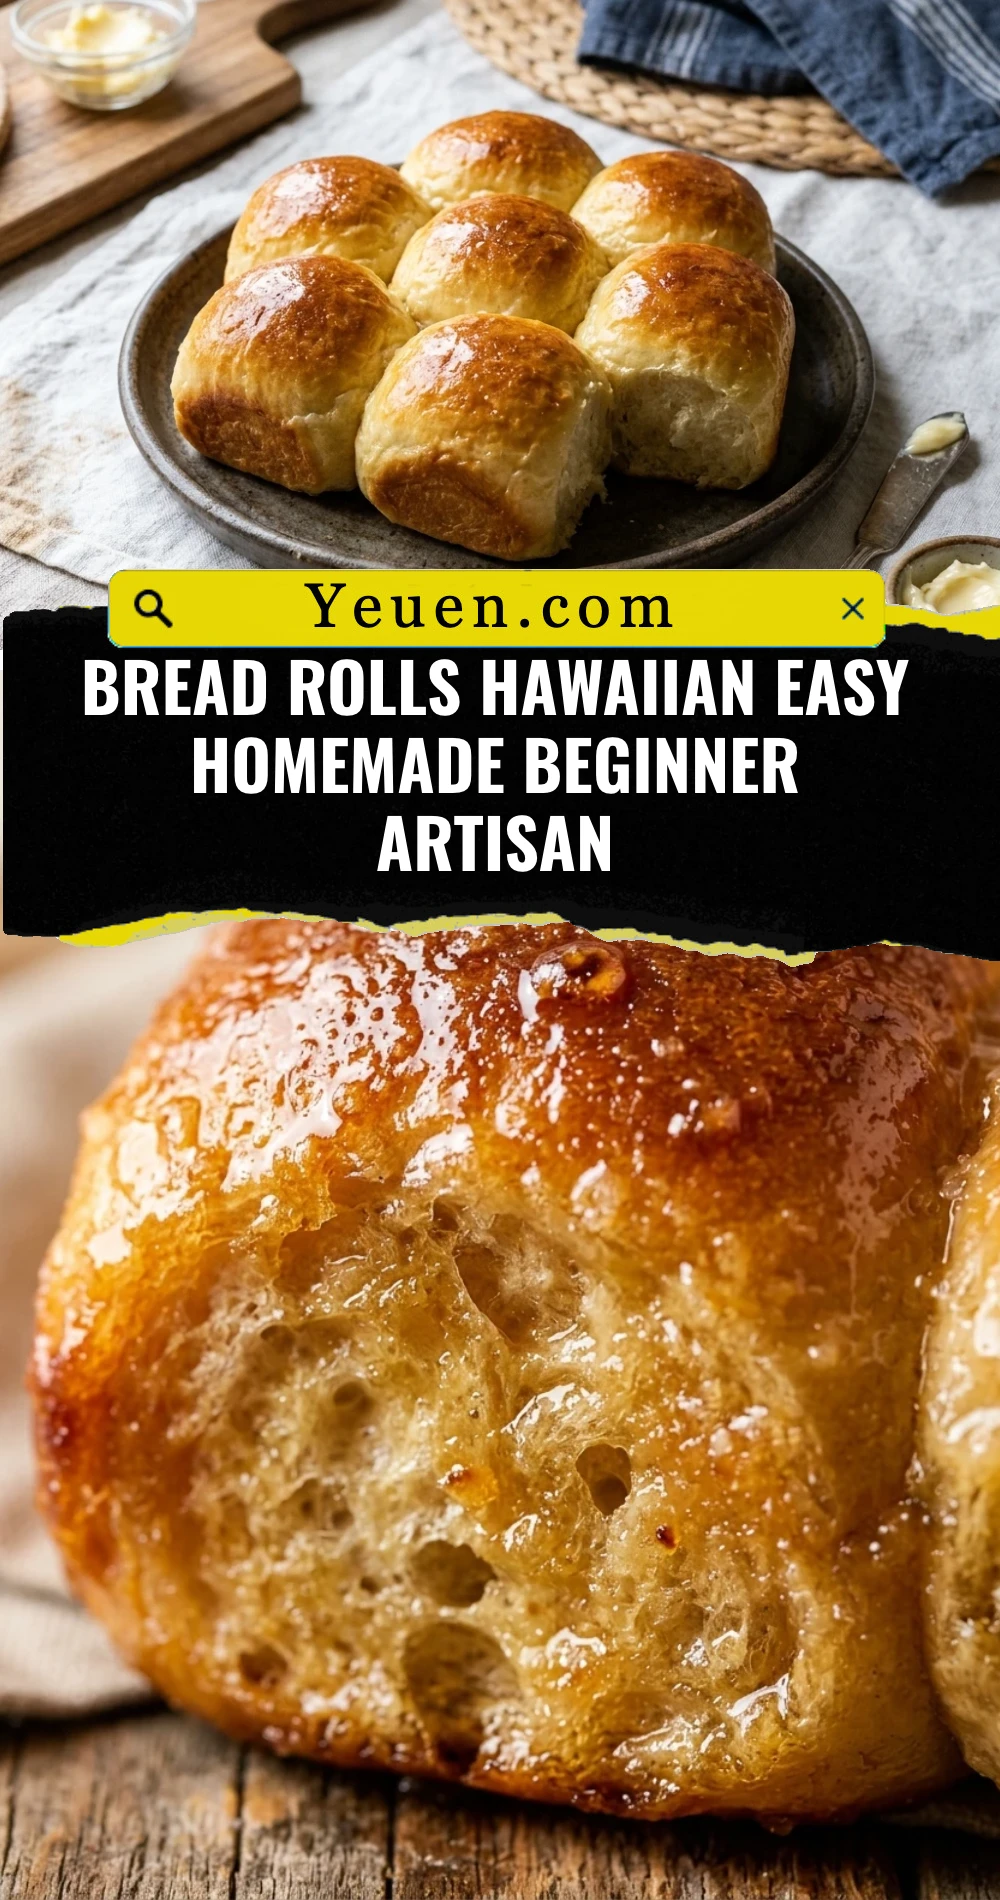
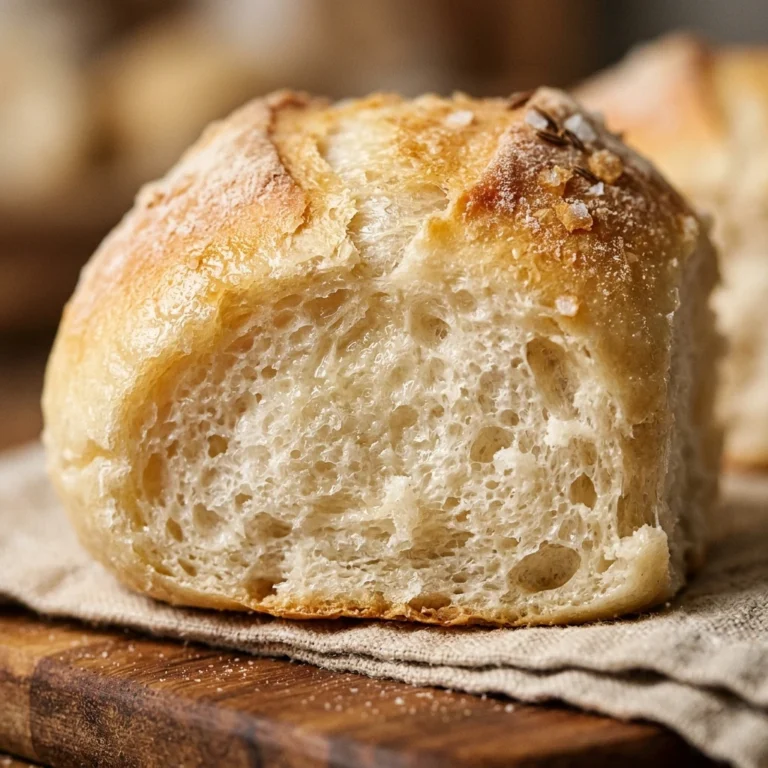
Imagine pulling a tray of warm, cloud-like rolls from your oven that smell like a tropical vacation. These homemade Hawaiian bread rolls are the ultimate beginner-friendly baking project. They combine that signature artisan texture with a sweet, pineapple-infused crumb that melts in your mouth. You do not need a professional bakery or expensive equipment to achieve these fluffy results. Whether you are making sliders for a party or just want a sweet side for dinner, this recipe delivers bakery-quality rolls with minimal effort. The golden crust and pillowy interior will make you wonder why you ever bought the store-bought version.
Recipe Information
- Prep Time: 20 minutes (plus 90 minutes rising)
- Cook Time: 20 minutes
- Total Time: 2 hours 10 minutes
- Servings: 12 rolls
- Difficulty: Easy
Nutrition values
- Calories: 195 kcal
- Protein: 5g
- Carbs: 34g
Why Make This Bread Rolls Hawaiian Easy Homemade Beginner Artisan
This recipe bridges the gap between basic white bread and fancy artisan rolls. The pineapple juice acts as a natural tenderizer, creating a soft, pillowy interior that stays fresh longer than standard bread. It is specifically designed for beginners, focusing on simple techniques that yield impressive results. You get the satisfaction of making bread from scratch without the complexity of sourdough or long fermentation times. Plus, the flavor is vastly superior to plastic-wrapped grocery store rolls, offering a balance of honey sweetness and buttery richness.
Ingredients
- 1/2 cup pineapple juice (lukewarm)
- 1/4 cup warm water (110°F)
- 2 1/4 tsp active dry yeast (1 packet)
- 1/3 cup honey or granulated sugar
- 1/4 cup unsalted butter, melted and cooled
- 1 large egg, room temperature
- 1 tsp salt
- 1 tsp vanilla extract (optional for extra aroma)
- 3 1/2 to 4 cups bread flour or all-purpose flour
- Extra melted butter for brushing
Directions
Step 1: Activate the Yeast
In a large bowl or the bowl of a stand mixer, combine the warm water, warm pineapple juice, and honey. Stir gently to dissolve the honey. Sprinkle the yeast over the surface and let it sit for about 5 to 10 minutes. You will know it is ready when it becomes foamy and bubbly. This step ensures your yeast is alive and ready to make the bread rise.
Step 2: Mix the Dough
Add the melted butter, egg, salt, and vanilla extract to the yeast mixture. Whisk until well combined. Gradually add 3 cups of flour, mixing with a wooden spoon or a dough hook on low speed. Continue adding the remaining flour half a cup at a time until the dough pulls away from the sides of the bowl. The dough should be slightly tacky but not stick to your fingers.
Step 3: Knead and First Rise
Knead the dough on a lightly floured surface for about 5-7 minutes, or 5 minutes in a stand mixer, until it is smooth and elastic. Shape the dough into a ball and place it in a lightly greased bowl. Cover it with a clean kitchen towel or plastic wrap. Let it rise in a warm, draft-free spot for about 60 minutes, or until it has doubled in size.
Step 4: Shape and Second Rise
Gently punch down the risen dough to release the air. Divide the dough into 12 equal-sized pieces. Roll each piece into a smooth ball and place them in a greased 9×13 inch baking pan. Cover the pan and let the rolls rise for another 30 to 45 minutes. They should look puffy and be touching each other in the pan.
Step 5: Bake and Glaze
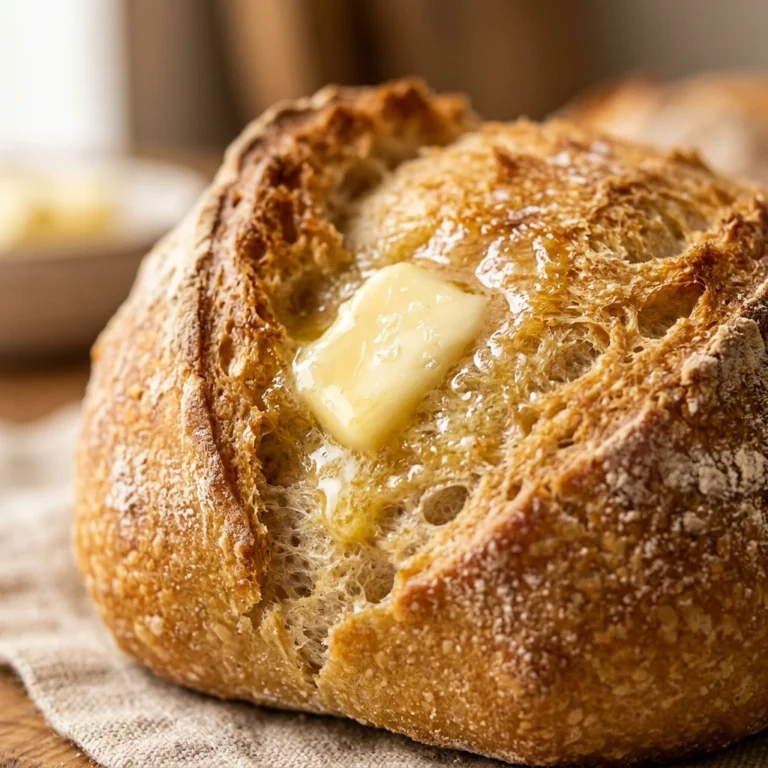
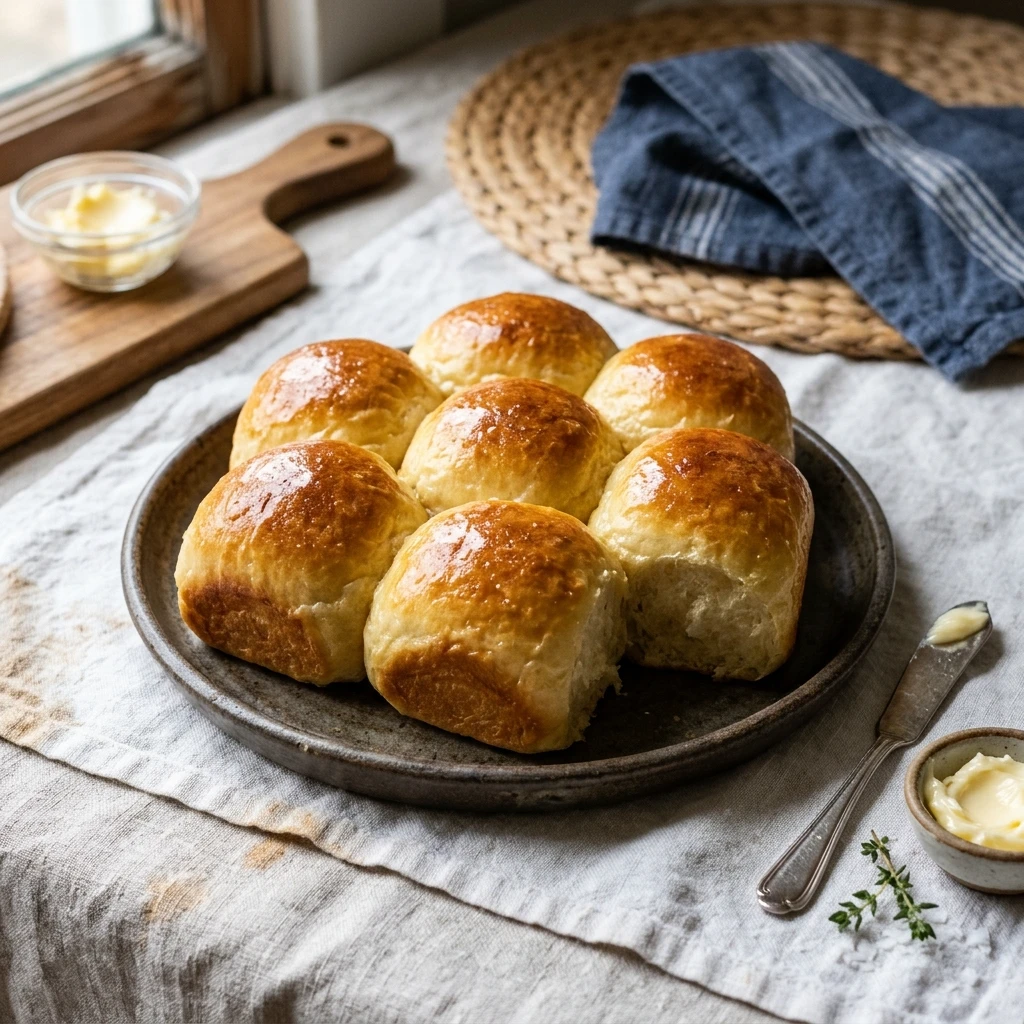
Preheat your oven to 350°F (175°C). Bake the rolls for 18 to 22 minutes, or until the tops are a deep golden brown. As soon as you remove them from the oven, brush the tops generously with melted butter. This keeps the crust soft and adds a beautiful shine. Allow them to cool slightly before pulling them apart to serve.
Expert Tips for Perfect Bread Rolls Hawaiian Easy Homemade Beginner Artisan
- Check the Temperature: Ensure your pineapple juice and water are between 105°F and 115°F. If the liquid is too hot, it will kill the yeast; if it is too cold, the dough will not rise.
- Don’t Over-Flour: Use just enough flour to make the dough manageable. A slightly sticky dough leads to a lighter, fluffier roll. If you add too much flour, the rolls will be dense.
- Use Bread Flour: While all-purpose flour works, bread flour has a higher protein content which creates a better artisan structure and a more “chewy” soft texture.
- The Windowpane Test: To see if you have kneaded enough, stretch a small piece of dough. If it stretches thin enough to see light through it without breaking, the gluten is perfectly developed.
Delicious Variations
- Coconut Hawaiian Rolls: Replace the warm water with full-fat coconut milk for an even richer, more tropical flavor profile.
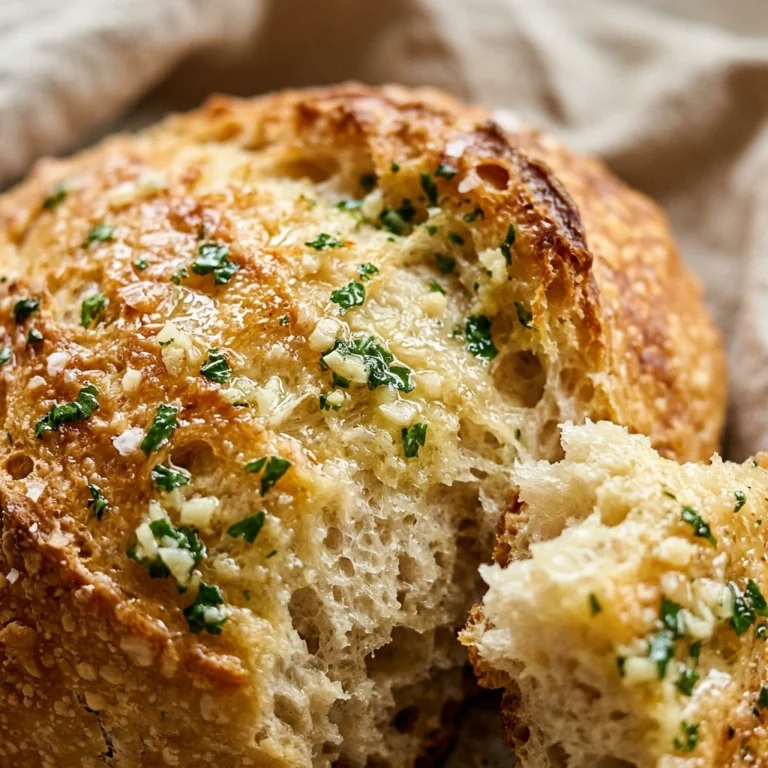
- Garlic Herb Topping: Mix garlic powder and dried parsley into the final butter glaze for a savory-sweet contrast.
- Savory Bacon Rolls: Fold cooked, crumbled bacon into the dough during Step 2 for a smoky addition that pairs perfectly with the pineapple.
- Whole Wheat Version: Swap 1.5 cups of white flour for whole wheat flour to add a nutty flavor and extra fiber.
Frequently Asked Questions
Can I use canned pineapple juice?
Yes, canned pineapple juice is actually preferred. Fresh pineapple contains an enzyme called bromelain that can break down the proteins in flour and prevent the bread from rising correctly. Canned juice is heated during processing, which deactivates this enzyme.
Why didn’t my dough rise?
The most common reasons are expired yeast or using liquids that were too hot. Always check the expiration date on your yeast packet. Also, ensure your rising environment is warm enough; a cold kitchen can significantly slow down the rising process.
Can I make these rolls ahead of time?
Absolutely. You can shape the rolls, place them in the pan, cover them tightly, and refrigerate them overnight. The next morning, let them come to room temperature and finish their second rise before baking as directed.
How do I store leftover Hawaiian rolls?
Store cooled rolls in an airtight bag or container at room temperature for up to 3 days. For longer storage, you can freeze them for up to 3 months. Thaw at room temperature and warm them in the oven for a few minutes to restore their soft texture.
Do I need a stand mixer for this recipe?
No, you do not. While a stand mixer makes the process easier, you can easily mix the dough with a wooden spoon and knead it by hand on a floured countertop. It is a great way for beginners to get a “feel” for the dough.
Conclusion
Mastering the Bread Rolls Hawaiian Easy Homemade Beginner Artisan recipe is a rewarding experience that fills your home with an incredible aroma. These rolls are far superior to any store-bought alternative, offering a perfect balance of sweetness and artisanal quality. By following these simple steps, even a first-time baker can produce professional-looking rolls that are sure to impress. Serve them warm with extra butter or use them as the base for the best sliders you have ever tasted. Happy baking!