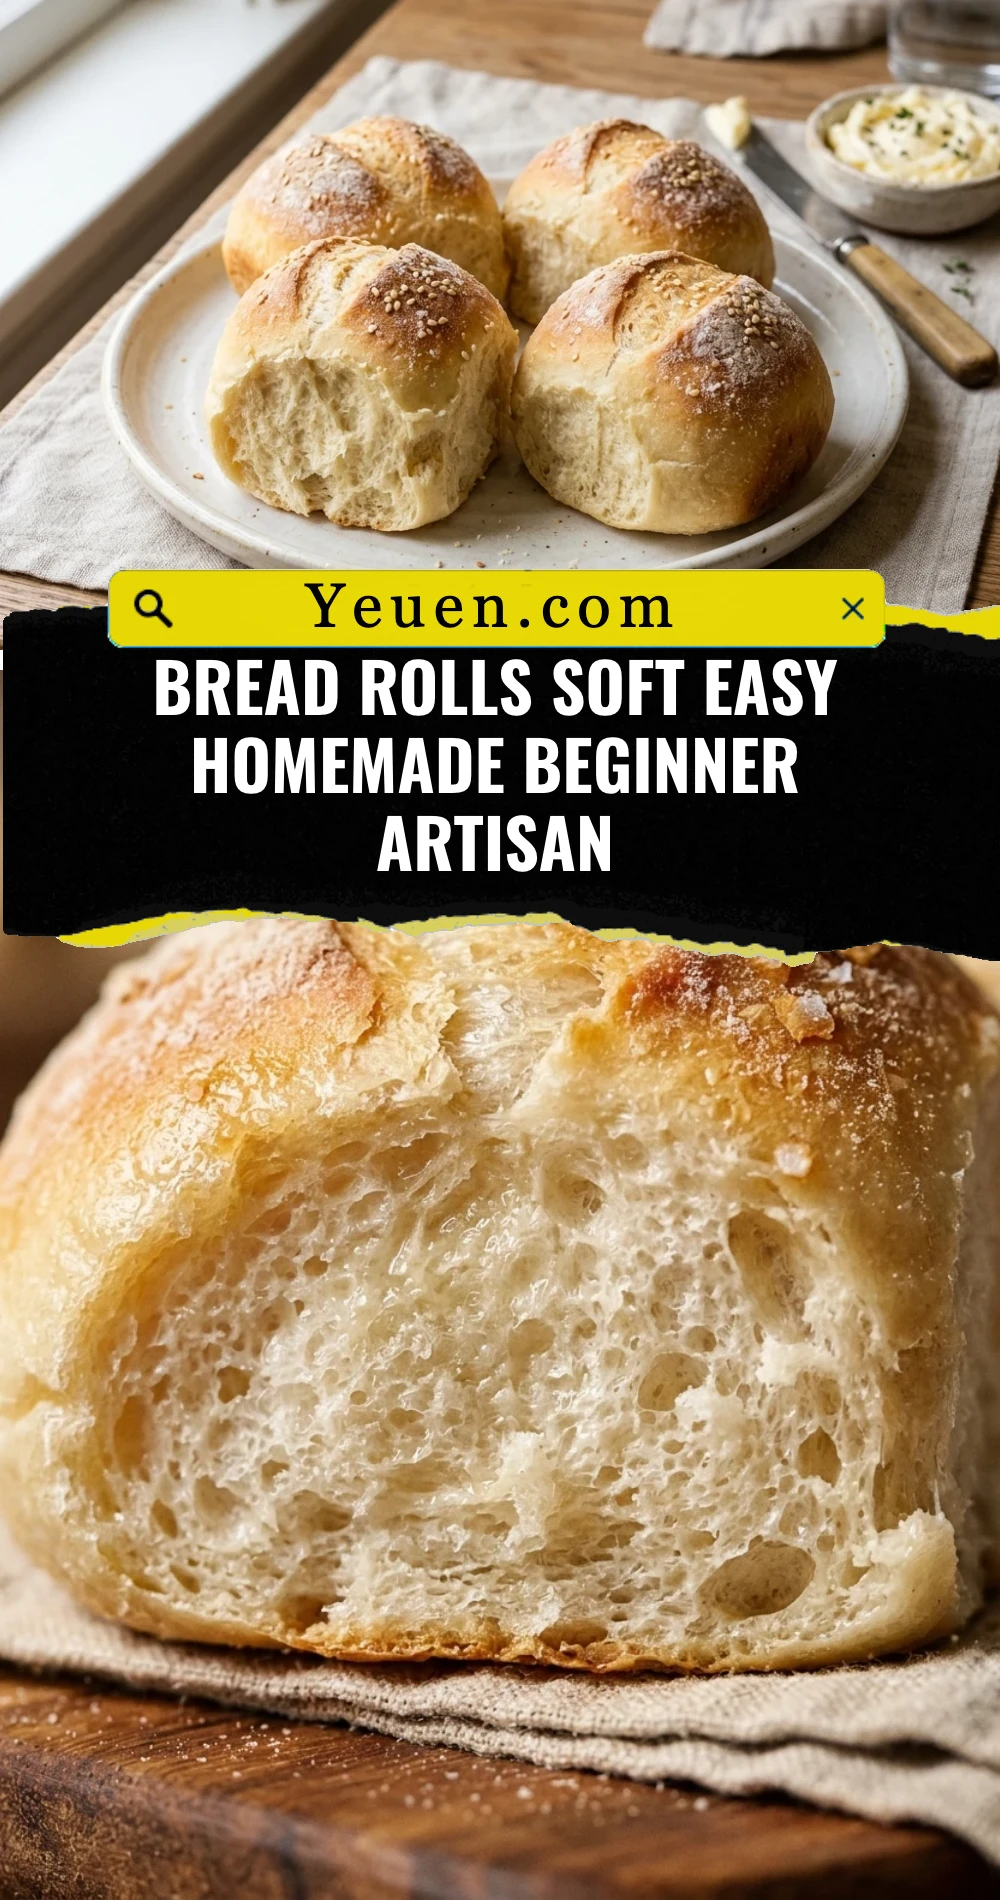
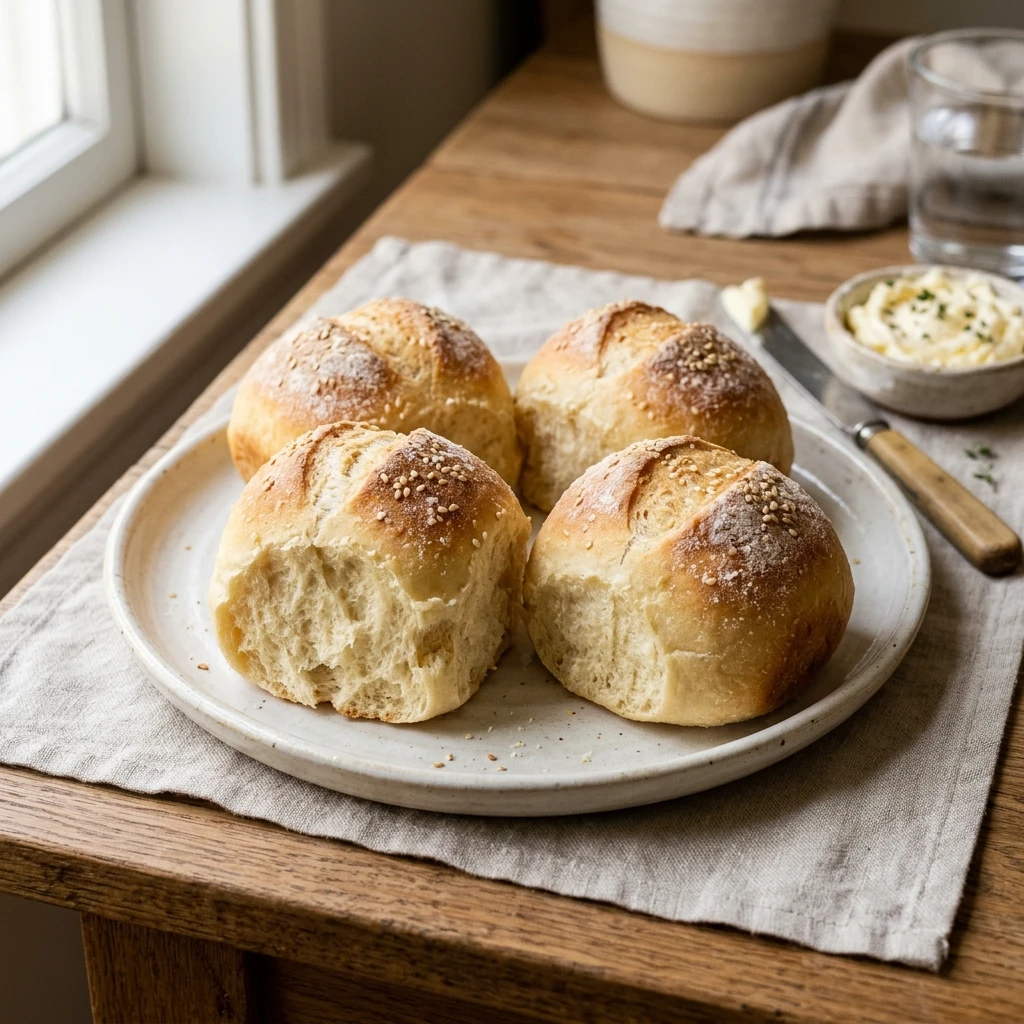
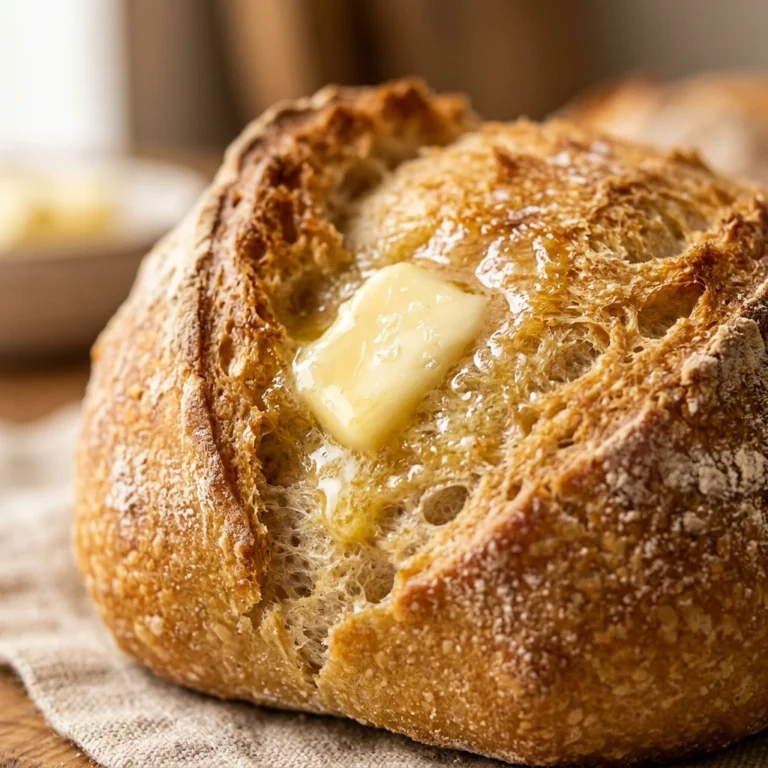
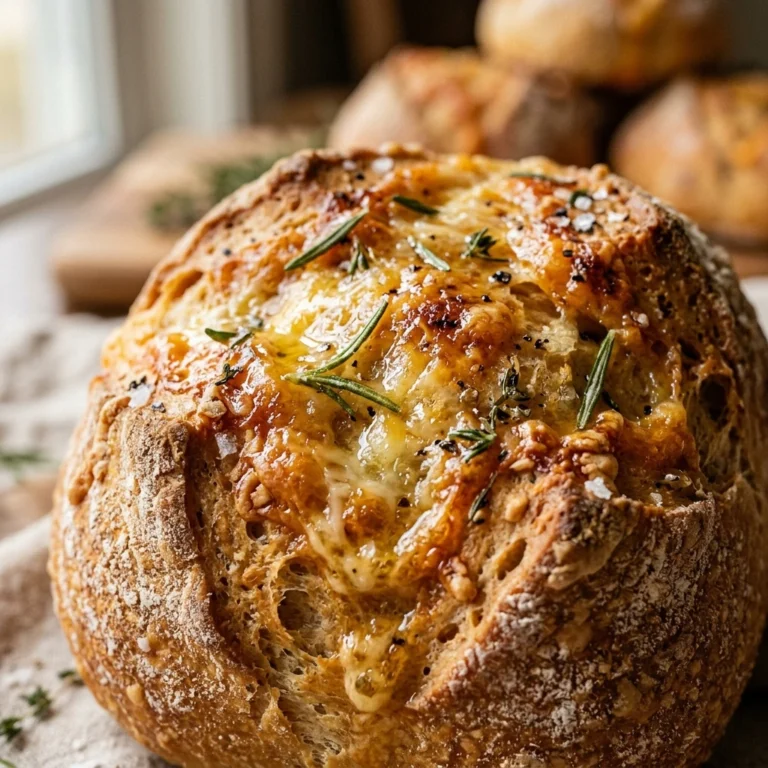
There is nothing quite like the aroma of fresh bread wafting through your home to make it feel cozy and inviting. If you have always been intimidated by yeast, this Bread Rolls Soft Easy Homemade Beginner Artisan recipe is your ticket to success. We have stripped away the complexity of traditional bread making to deliver a foolproof method that produces pillowy-soft rolls with a beautiful, rustic finish. Whether you are hosting a holiday dinner or just want to elevate your weeknight meal, these rolls require no fancy equipment and very little effort. Get ready to impress your family with bakery-quality bread that you made entirely from scratch.
Recipe Information
Prep Time: 2 hours (includes rising time)
Cook Time: 20 minutes
Total Time: 2 hours 20 minutes
Servings: 12 rolls
Difficulty: Easy
Nutrition values
Calories: 195 kcal per roll
Protein: 5g
Carbs: 32g
Why Make This Bread Rolls Soft Easy Homemade Beginner Artisan
This recipe is the ultimate confidence booster for anyone new to baking. Unlike many artisan breads that require days of fermentation or complex folding techniques, these rolls use simple pantry staples and a straightforward process. You get the best of both worlds: the soft, buttery interior of a classic dinner roll and the slightly crisp, golden crust of an artisan loaf. They are incredibly versatile, pairing perfectly with soups, stews, or even used as sliders for your favorite sandwiches. Most importantly, making them at home allows you to skip the preservatives and artificial softeners found in store-bought versions.
Ingredients
4 cups all-purpose flour (plus a little extra for dusting)
1 packet (2 1/4 tsp) active dry yeast
1 1/2 cups warm water (about 110°F/43°C)
2 tablespoons granulated sugar
1/4 cup unsalted butter, melted and slightly cooled
1 1/2 teaspoons salt
1 large egg (for egg wash)
1 tablespoon milk (for egg wash)
Optional: Flaky sea salt or dried herbs for topping
Directions
Step 1: Preparation
Begin by blooming your yeast. In a large mixing bowl, combine the warm water, sugar, and yeast. Let it sit for about 5 to 10 minutes until it becomes frothy and bubbly. Once the yeast is active, stir in the melted butter and salt. Gradually add the flour, one cup at a time, mixing with a wooden spoon until a shaggy dough forms. Turn the dough out onto a lightly floured surface and knead it for about 5-8 minutes until it is smooth and elastic. Place the dough in a lightly greased bowl, cover it with a clean kitchen towel, and let it rise in a warm, draft-free spot for about 1 hour or until it has doubled in size.
Step 2: Cooking
After the first rise, gently punch down the dough to release the air. Divide the dough into 12 equal-sized pieces. Roll each piece into a smooth ball and place them on a parchment-lined baking sheet, leaving about two inches of space between each roll. Cover them again and let them rise for another 30 to 45 minutes. While they rise, preheat your oven to 375°F (190°C). In a small bowl, whisk together the egg and milk. Gently brush the tops of the risen rolls with the egg wash. Bake the rolls for 18 to 22 minutes, or until the tops are a deep golden brown and the rolls sound hollow when tapped on the bottom.
Step 3: Plating
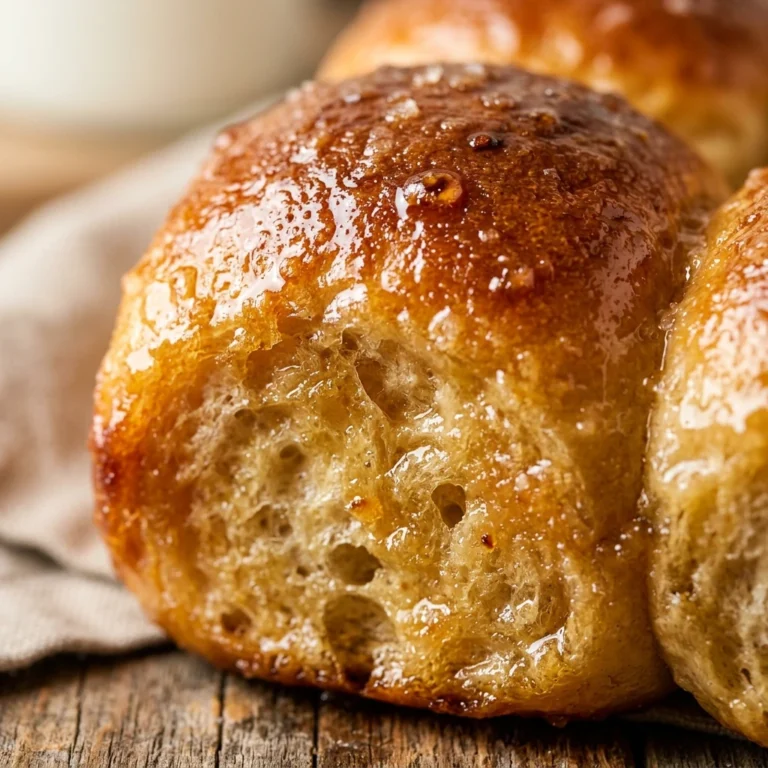
Remove the rolls from the oven and immediately brush them with a little extra melted butter if you want a softer crust and extra shine. Transfer them to a wire rack to cool for at least 10 minutes before serving. For a true artisan presentation, serve them in a cloth-lined basket while they are still slightly warm. These rolls are magnificent on their own, but they truly shine when served alongside a bowl of herb-infused olive oil or high-quality salted butter.
Check Your Water Temperature: Use an instant-read thermometer to ensure your water is between 105°F and 115°F. If the water is too hot, it will kill the yeast; if it is too cold, the yeast won’t activate.
Don’t Over-Flour: The dough should be slightly tacky. Adding too much flour during the kneading process will result in heavy, dense rolls.
The Windowpane Test: To check if you have kneaded enough, stretch a small piece of dough. If it stretches thin enough to see light through it without tearing, the gluten is well-developed.
Create Steam: For a slightly crustier artisan exterior, place a shallow pan of water on the bottom rack of the oven during the first 10 minutes of baking.
Use Fresh Yeast: Always check the expiration date on your yeast packet. If the mixture doesn’t foam during the blooming stage, discard it and start over with fresh yeast.
Delicious Variations
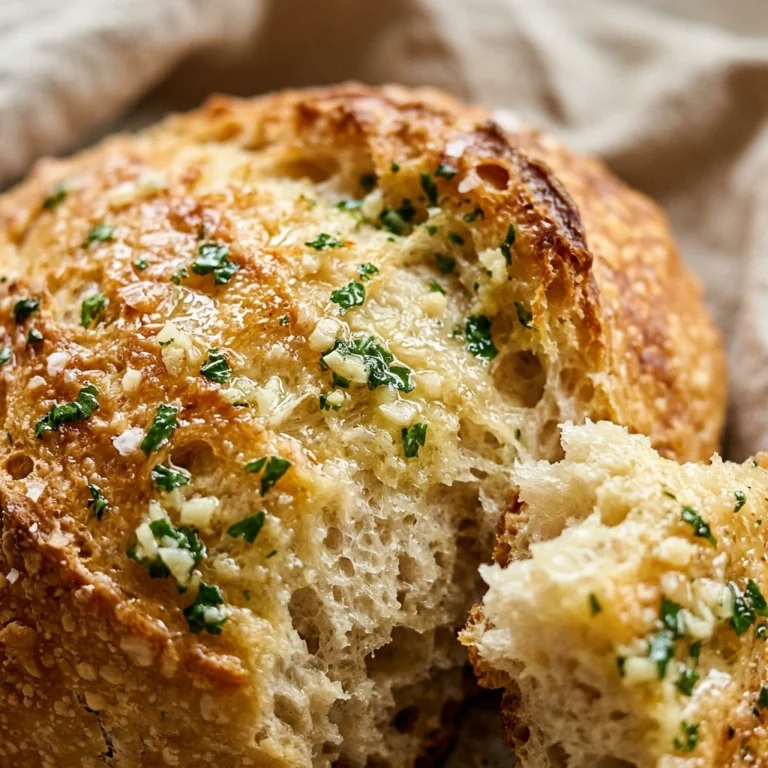
Garlic and Herb: Mix 1 teaspoon of garlic powder and 1 tablespoon of dried rosemary or thyme into the flour before mixing.
Honey Wheat: Replace the sugar with honey and swap 2 cups of all-purpose flour for whole wheat flour.
Cheese-Stuffed: Flatten each dough ball before the second rise, place a small cube of mozzarella or cheddar in the center, and pinch the dough closed around it.
Everything Bagel Style: Sprinkle everything bagel seasoning over the egg wash before baking.
Cinnamon Sugar: Brush the finished rolls with butter and roll them in a mixture of cinnamon and sugar for a sweet treat.
Frequently Asked Questions
Can I use instant yeast instead of active dry yeast?
Yes, you can. If using instant yeast, you do not need to bloom it in water first. Simply mix the yeast directly with the dry ingredients and add the warm water and butter. The rise time may also be slightly faster.
How do I store these rolls to keep them soft?
Once completely cool, store the rolls in an airtight container or a zip-top bag at room temperature for up to 3 days. To restore that “just baked” softness, microwave a roll for 10 seconds or warm them in a 300°F oven for 5 minutes.
Can I make the dough ahead of time?
Absolutely. You can perform the first rise in the refrigerator overnight. Cold fermentation actually develops more flavor. Just let the dough come to room temperature for about 30 minutes before shaping the rolls.
Why didn’t my rolls rise properly?
This usually happens if the yeast was old, the water was too hot, or the environment was too cold. Ensure your rising spot is warm (like inside an oven that is turned off but has the light on).
Can I freeze these bread rolls?
Yes, these freeze beautifully. You can freeze the baked rolls for up to 3 months. Thaw them at room temperature and reheat in the oven. You can also freeze the shaped, unbaked dough balls; just let them thaw and rise before baking as directed.
Conclusion
Mastering the art of the Bread Rolls Soft Easy Homemade Beginner Artisan is a rewarding experience that changes your kitchen game forever. These rolls prove that you don’t need years of experience or a professional bakery to create something truly special. With their golden crusts and tender centers, they are the perfect accompaniment to any meal. Once you taste the difference of a warm, homemade roll, you will never want to go back to the plastic-wrapped versions again. Grab your flour, wake up your yeast, and start baking today!