Follow Me On Pinterest!
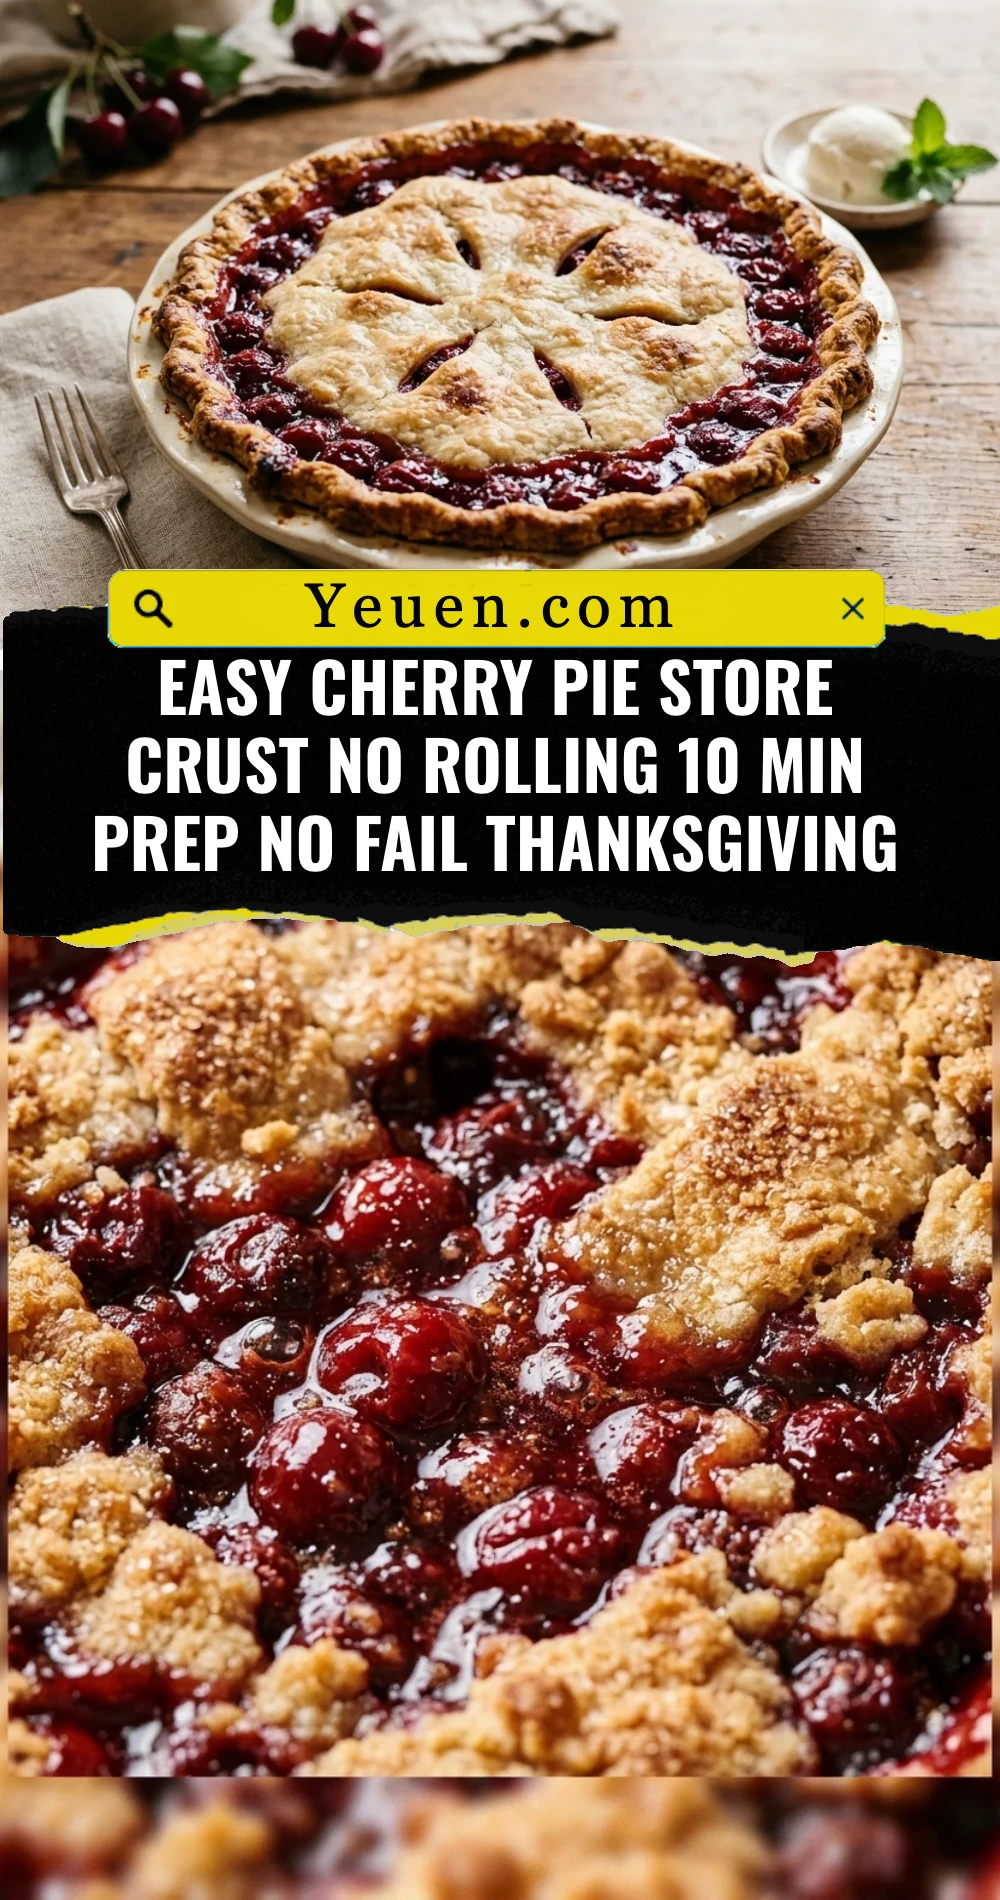
Easy Cherry Pie Store Crust No Rolling 10 Min Prep No Fail Thanksgiving
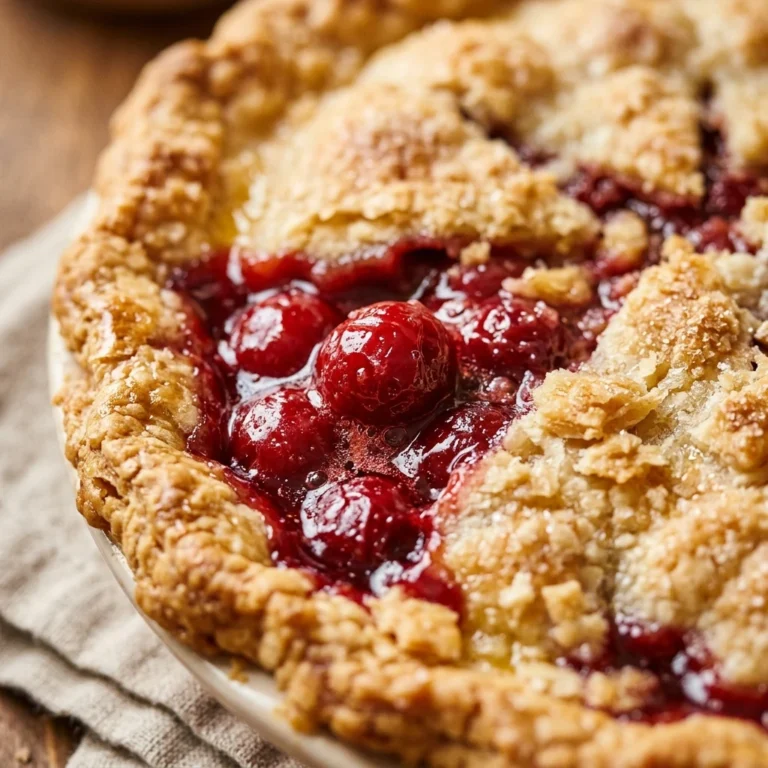
Thanksgiving is stressful enough without fighting a bag of flour and a heavy rolling pin. This easy cherry pie uses clever store-bought shortcuts to deliver a holiday-worthy dessert in record time. You get all the flaky crust and tart-sweet filling of a traditional pie without any of the kitchen frustration. It is truly foolproof, making it the perfect addition to your holiday spread. Your guests will think you spent hours in the kitchen, but you will know it only took ten minutes of effort to create this show-stopping centerpiece.
Recipe Information
- Prep Time: 10 minutes
- Cook Time: 45 minutes
- Total Time: 55 minutes
- Servings: 8 servings
- Difficulty: Easy
Nutrition values
- Calories: 325 kcal
- Protein: 3g
- Carbs: 48g
Why Make This Easy Cherry Pie Store Crust No Rolling 10 Min Prep No Fail Thanksgiving
This recipe is a game-changer for busy holiday hosts. By using high-quality refrigerated pie crusts, you eliminate the mess of flouring surfaces and the stress of achieving the perfect dough consistency. The “no rolling” method means you simply unroll the pre-made dough directly into your pan. It is a “no-fail” recipe because the ingredients are stable and consistent. It frees up your oven and your mind so you can focus on the turkey and your guests while still serving a dessert that tastes like home.
Ingredients
- 1 box (14.1 oz) refrigerated pie crusts (contains two crusts)
- 2 cans (21 oz each) premium cherry pie filling
- 1/2 teaspoon almond extract (optional, for extra flavor)
- 1 large egg (for egg wash)
- 1 tablespoon water
- 1 tablespoon coarse sanding sugar or granulated sugar
- 1/2 teaspoon ground cinnamon (optional)
Directions
Step 1: Prepare the Oven and Bottom Crust
Preheat your oven to 400°F (200°C). Take the refrigerated pie crusts out of the box and let them sit at room temperature for about 15 minutes to prevent cracking. Gently unroll the first crust and press it into a 9-inch pie plate. Do not use a rolling pin; simply use your fingers to fit the dough into the bottom and up the sides of the dish. Trim any excessive overhang, but leave enough to crimp later.
Step 2: Fill and Top the Pie
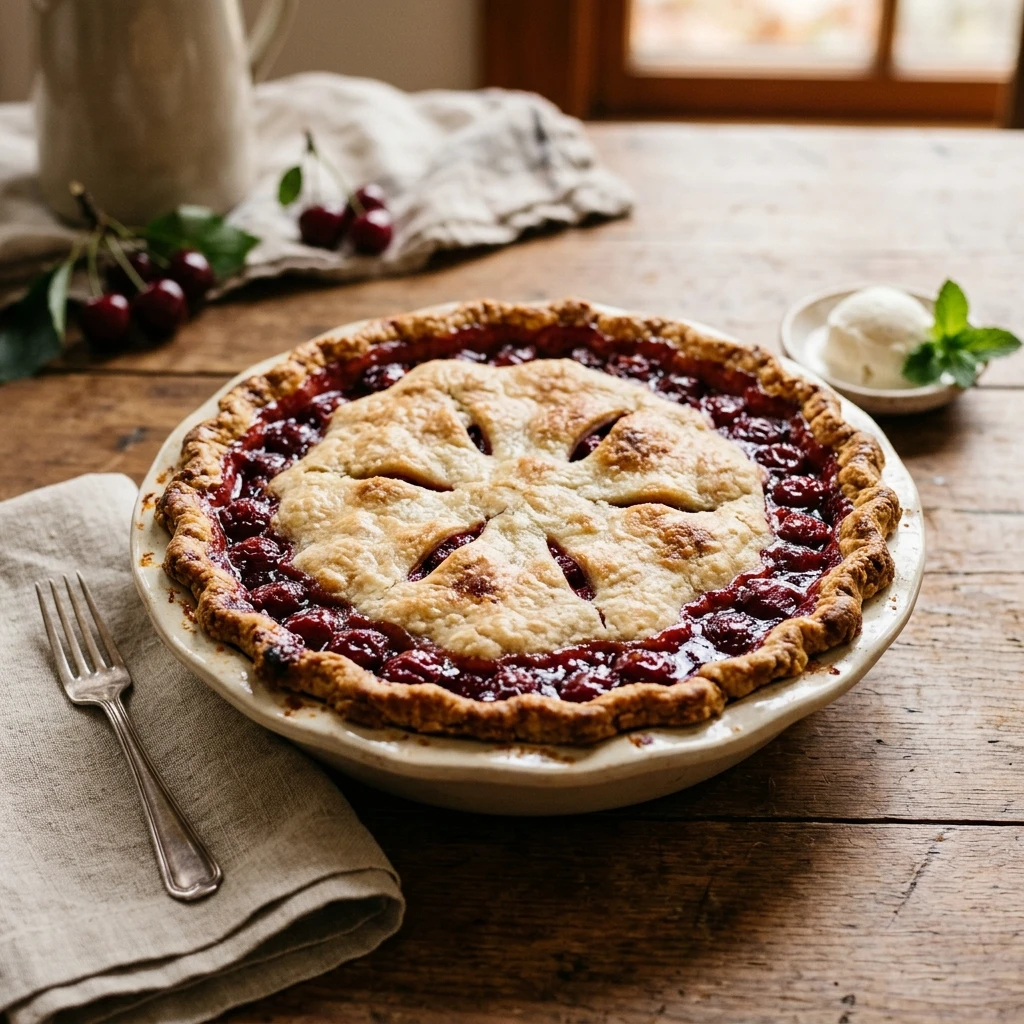
In a medium bowl, mix the two cans of cherry pie filling with the almond extract if you are using it. Pour the filling into the prepared bottom crust and spread it evenly. Unroll the second pie crust. You can place it whole over the top for a solid lid, or cut it into strips with a pizza cutter for a quick lattice look. If using a solid top, cut 4 to 5 small slits in the center to allow steam to escape. Fold the edges of the top crust under the bottom crust and pinch them together to create a decorative seal.
Step 3: Glaze and Bake
Whisk the egg and water together in a small bowl to create an egg wash. Brush the entire top crust lightly with the egg wash using a pastry brush. Sprinkle the sugar and cinnamon over the top for a professional, crunchy finish. Place the pie on a baking sheet to catch any drips and bake for 40 to 45 minutes. The crust should be a deep golden brown and the filling should bubble through the vents. Remove from the oven and let it cool for at least two hours before slicing to allow the filling to set.
Expert Tips for Perfect Easy Cherry Pie Store Crust No Rolling 10 Min Prep No Fail Thanksgiving
- Temperature Matters: Ensure your crust is at room temperature before unrolling to avoid cracks, but keep it cool enough so the butter doesn’t melt.
- Prevent Soggy Bottoms: Place your baking sheet in the oven while it preheats. Putting the pie directly onto a hot baking sheet helps the bottom crust crisp up faster.
- Edge Protection: If the edges of the crust brown too quickly, wrap them loosely with aluminum foil or use a pie shield halfway through baking.
- Flavor Boost: Stirring in a tiny pinch of salt or a squeeze of lemon juice into the canned filling can brighten the flavors and make it taste homemade.
Delicious Variations
- Chocolate Cherry: Stir half a cup of dark chocolate chips into the cherry filling before baking for a decadent twist.
- Streusel Topping: Replace the top crust with a mix of flour, butter, oats, and brown sugar for a crunchy Dutch-style cherry pie.
- Cherry-Berry: Mix one can of cherry filling with one can of blueberry or raspberry filling for a mixed berry holiday delight.
- Almond Crunch: Add sliced almonds to the top of the crust after applying the egg wash for extra texture and a nutty aroma.
Frequently Asked Questions
Can I use frozen pie crusts instead of refrigerated ones?
Yes, you can use frozen crusts. If they come in a tin, simply fill one and place the second one on top. If they are rolled, ensure they are fully thawed according to the package instructions before you attempt to unroll them, otherwise, they will shatter.
How do I know when the pie is finished baking?
The crust should be a uniform golden brown color. Most importantly, look for the filling to be bubbling actively through the vents in the center. If the filling isn’t hot enough to bubble, the starches haven’t activated to thicken the sauce.
Do I need to grease the pie dish?
No, refrigerated pie crusts contain enough fat that they generally do not stick to glass or ceramic pie dishes. However, a very light spray of non-stick oil won’t hurt if you are using an older metal pan.
Can I make this pie a day in advance?
Absolutely. In fact, this pie is easier to slice if it has sat for several hours or overnight. Store it at room temperature for up to 24 hours, or in the refrigerator if you plan to keep it longer.
How do I prevent the cherry filling from being too runny?
The most important factor is the cooling time. If you cut into a hot pie, the filling will run everywhere. Letting it cool for at least two to three hours allows the fruit pectins and starches to firm up.
Conclusion
This Easy Cherry Pie is the ultimate Thanksgiving hack for anyone who wants a beautiful dessert without the manual labor. By skipping the rolling pin and utilizing high-quality store-bought components, you guarantee a delicious result every single time. It is sweet, tart, flaky, and festive. Serve it with a scoop of vanilla bean ice cream or a dollop of whipped cream to complete your holiday feast. Enjoy the extra time you saved and the smiles on your guests’ faces!