Follow Me On Pinterest!
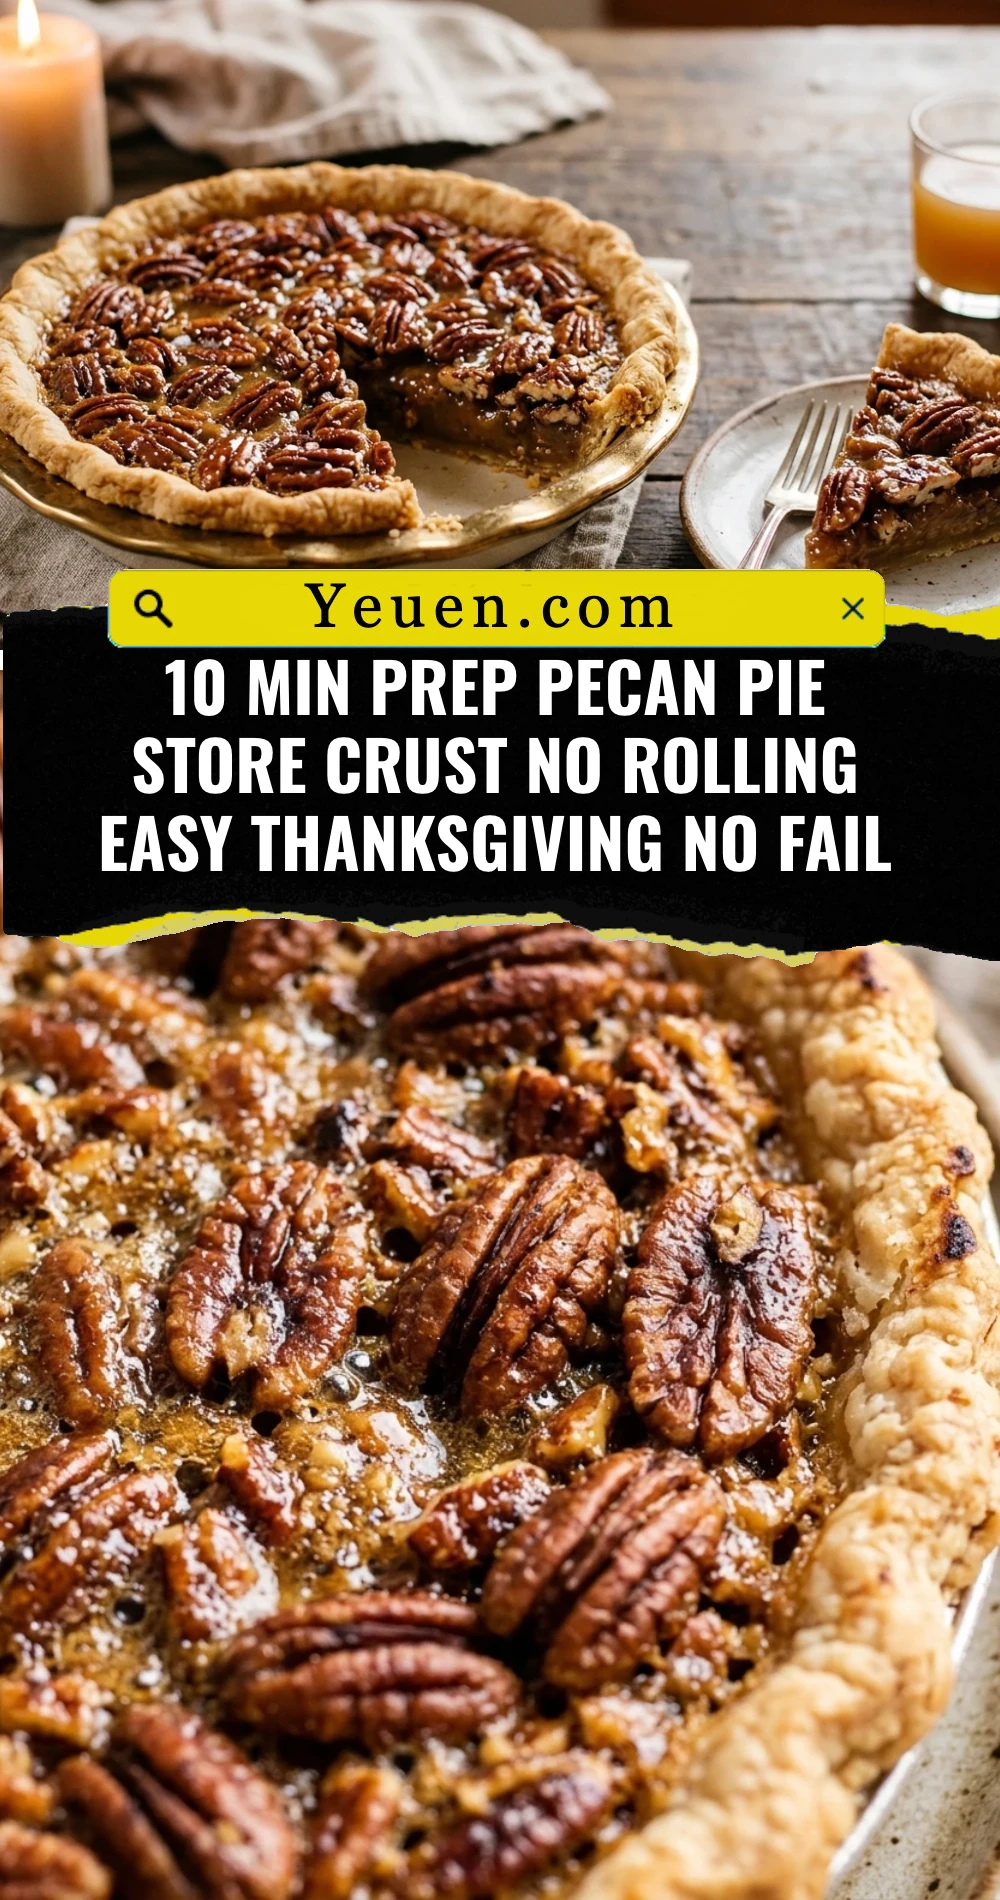
10 Min Prep Pecan Pie Store Crust No Rolling Easy Thanksgiving No Fail
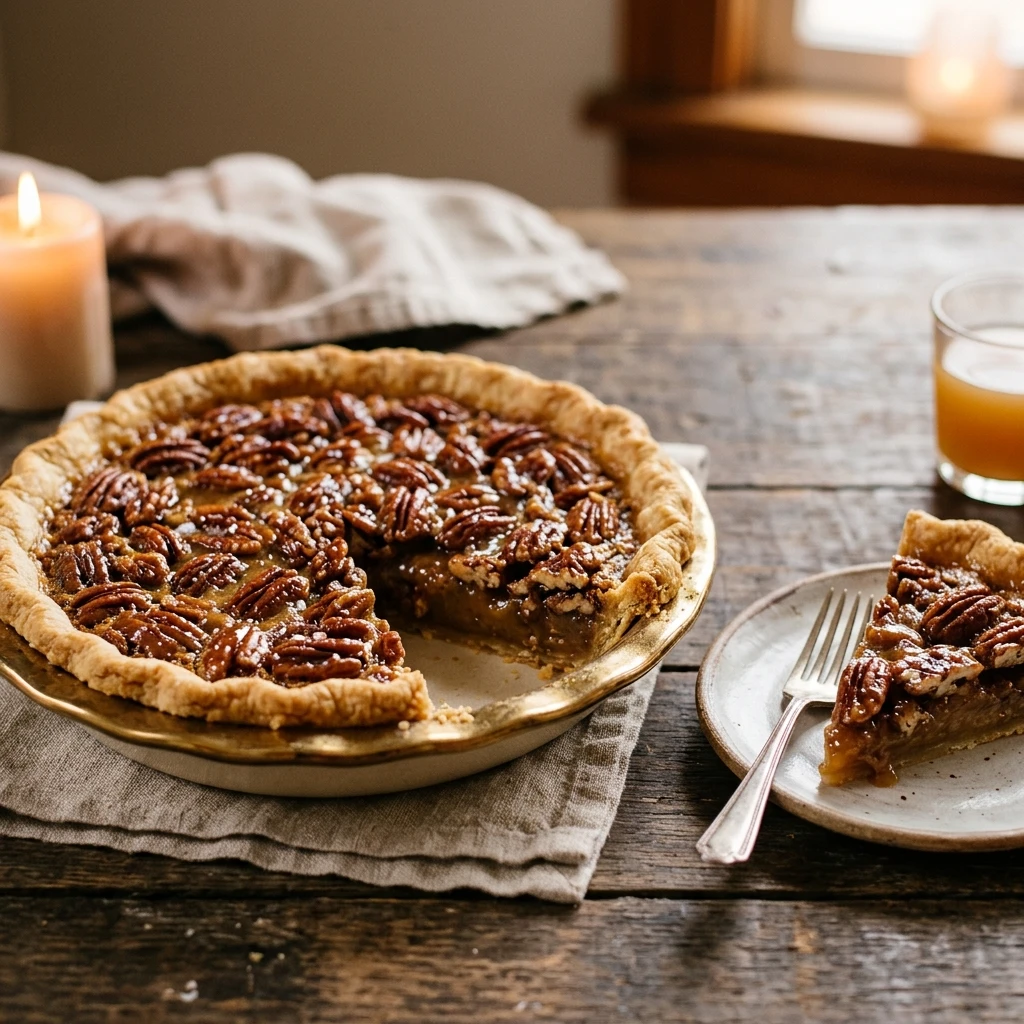
Thanksgiving is often a whirlwind of turkey basters, mashed potato mountains, and high-stress kitchen timers. You deserve a dessert that looks like a masterpiece but takes less effort than making a cup of coffee. This 10-minute prep pecan pie is the ultimate holiday hack. By using a quality store-bought crust and a simple “dump and stir” filling, you bypass the rolling pin drama and head straight to the delicious results. It is buttery, sweet, and packed with crunchy pecans, ensuring your guests will think you spent hours in the kitchen when you really just spent ten minutes.
Recipe Information
- Prep Time: 10 minutes
- Cook Time: 55 minutes
- Total Time: 1 hour 5 minutes
- Servings: 8 servings
- Difficulty: Easy
Nutrition values
- Calories: 480 kcal
- Protein: 5g
- Carbs: 58g
Why Make This 10 Min Prep Pecan Pie Store Crust No Rolling Easy Thanksgiving No Fail
This recipe is a game-changer for anyone who feels intimidated by holiday baking. First, it eliminates the hardest part of pie making: the crust. Using a refrigerated store-bought crust saves you from floury countertops and the risk of a “soggy bottom.” Second, the filling uses standard pantry staples that you likely already have. There are no complicated candy-making steps or precise temperature checks required. It is truly a “no-fail” recipe because the proportions are designed to set perfectly every single time, giving you that classic gooey center and toasted top that everyone craves at Thanksgiving.
Ingredients
- 1 refrigerated store-bought pie crust (9-inch)
- 1 ½ cups pecan halves
- 3 large eggs, room temperature
- 1 cup granulated sugar
- 1 cup light or dark corn syrup
- 2 tablespoons unsalted butter, melted and cooled
- 1 teaspoon pure vanilla extract
- ½ teaspoon salt
Directions
Step 1: Preparation
Preheat your oven to 350°F (175°C). Take your refrigerated pie crust out of the box and let it sit at room temperature for about 15 minutes so it doesn’t crack. Unroll the crust carefully and press it into a 9-inch pie plate. Crimp the edges with your fingers or a fork for a decorative look. There is no need to pre-bake or “blind bake” the crust for this recipe.
Step 2: Mixing the Filling
In a large mixing bowl, whisk the three eggs until they are well combined. Add the sugar, corn syrup, melted butter, vanilla extract, and salt. Whisk everything together until the mixture is smooth and the sugar has mostly dissolved. Stir in the pecan halves with a spatula to ensure they are fully coated in the sugary mixture.
Step 3: Baking
Pour the pecan mixture into your prepared pie crust. Use a spoon to spread the pecans evenly so they cover the entire surface. Place the pie on the center rack of the oven. Bake for 50 to 55 minutes. If you notice the edges of the crust are browning too quickly, loosely cover the pie with a piece of aluminum foil halfway through the baking time.
Step 4: Cooling and Serving
Remove the pie from the oven when the center has a very slight jiggle but the edges are set. Place the pie on a wire rack to cool completely. This step is vital; the pie needs at least 2 to 4 hours to set properly so you can get clean slices. Serve at room temperature or chilled with a dollop of whipped cream or a scoop of vanilla ice cream.
Expert Tips for Perfect 10 Min Prep Pecan Pie Store Crust No Rolling Easy Thanksgiving No Fail
To get the best possible flavor, toast your pecans in a dry skillet for 2-3 minutes before adding them to the mix. This brings out their natural oils and makes them extra crunchy. Also, always use room-temperature eggs; they incorporate much more easily into the syrup, resulting in a smoother texture. If you want a deeper, more caramel-like flavor, use dark corn syrup instead of light. Finally, do not rush the cooling process. If you cut into the pie while it is still warm, the filling will run everywhere instead of holding its shape.
Delicious Variations
You can easily customize this “no-fail” base to suit your taste. For a “Chocolate Chip Pecan Pie,” stir in half a cup of semi-sweet chocolate chips with the pecans. If you prefer a sophisticated twist, add one tablespoon of high-quality bourbon to the filling mixture for a “Bourbon Pecan Pie.” You can also sprinkle a pinch of flaky sea salt over the top of the pie immediately after it comes out of the oven to balance the sweetness. For a different texture, try using chopped pecans instead of halves for a more uniform, dense nut layer.
Frequently Asked Questions
Can I use a frozen pie crust instead of a refrigerated one?
Yes, you can! Just make sure to buy a deep-dish frozen crust. You don’t need to thaw it; simply pour the filling into the frozen shell and bake. You may need to add 5-10 minutes to the baking time.
How do I know when the pie is done?
The pie is finished when the edges are stable and the center gives a slight wobble (like Jell-O) when you gently shake the pan. It should not be liquid or sloshing in the middle.
Do I need to refrigerate the pie?
Because this pie contains eggs, it is best to store it in the refrigerator after it has cooled. Cover it loosely with plastic wrap or foil. It will stay fresh for up to 4 days.
Can I make this pie in advance?
Absolutely! This is a great “make-ahead” dessert. In fact, it often tastes better the next day after the flavors have had time to meld. You can make it 24 hours before your Thanksgiving dinner.
My crust is burning but the middle is raw, what do I do?
This usually happens if your oven runs hot. Simply cover the entire pie or just the edges with aluminum foil. This acts as a heat shield, allowing the center to continue cooking while protecting the crust.
Conclusion
This 10-minute prep pecan pie proves that you don’t need to spend all day in the kitchen to produce a stunning Thanksgiving dessert. By utilizing a store-bought crust and a simple mixing method, you eliminate the stress and focus on the joy of the holiday. It is sweet, crunchy, and reliably delicious every single time. Give yourself a break this year and let this “no-fail” recipe be the star of your holiday table. Happy baking!