Follow Me On Pinterest!
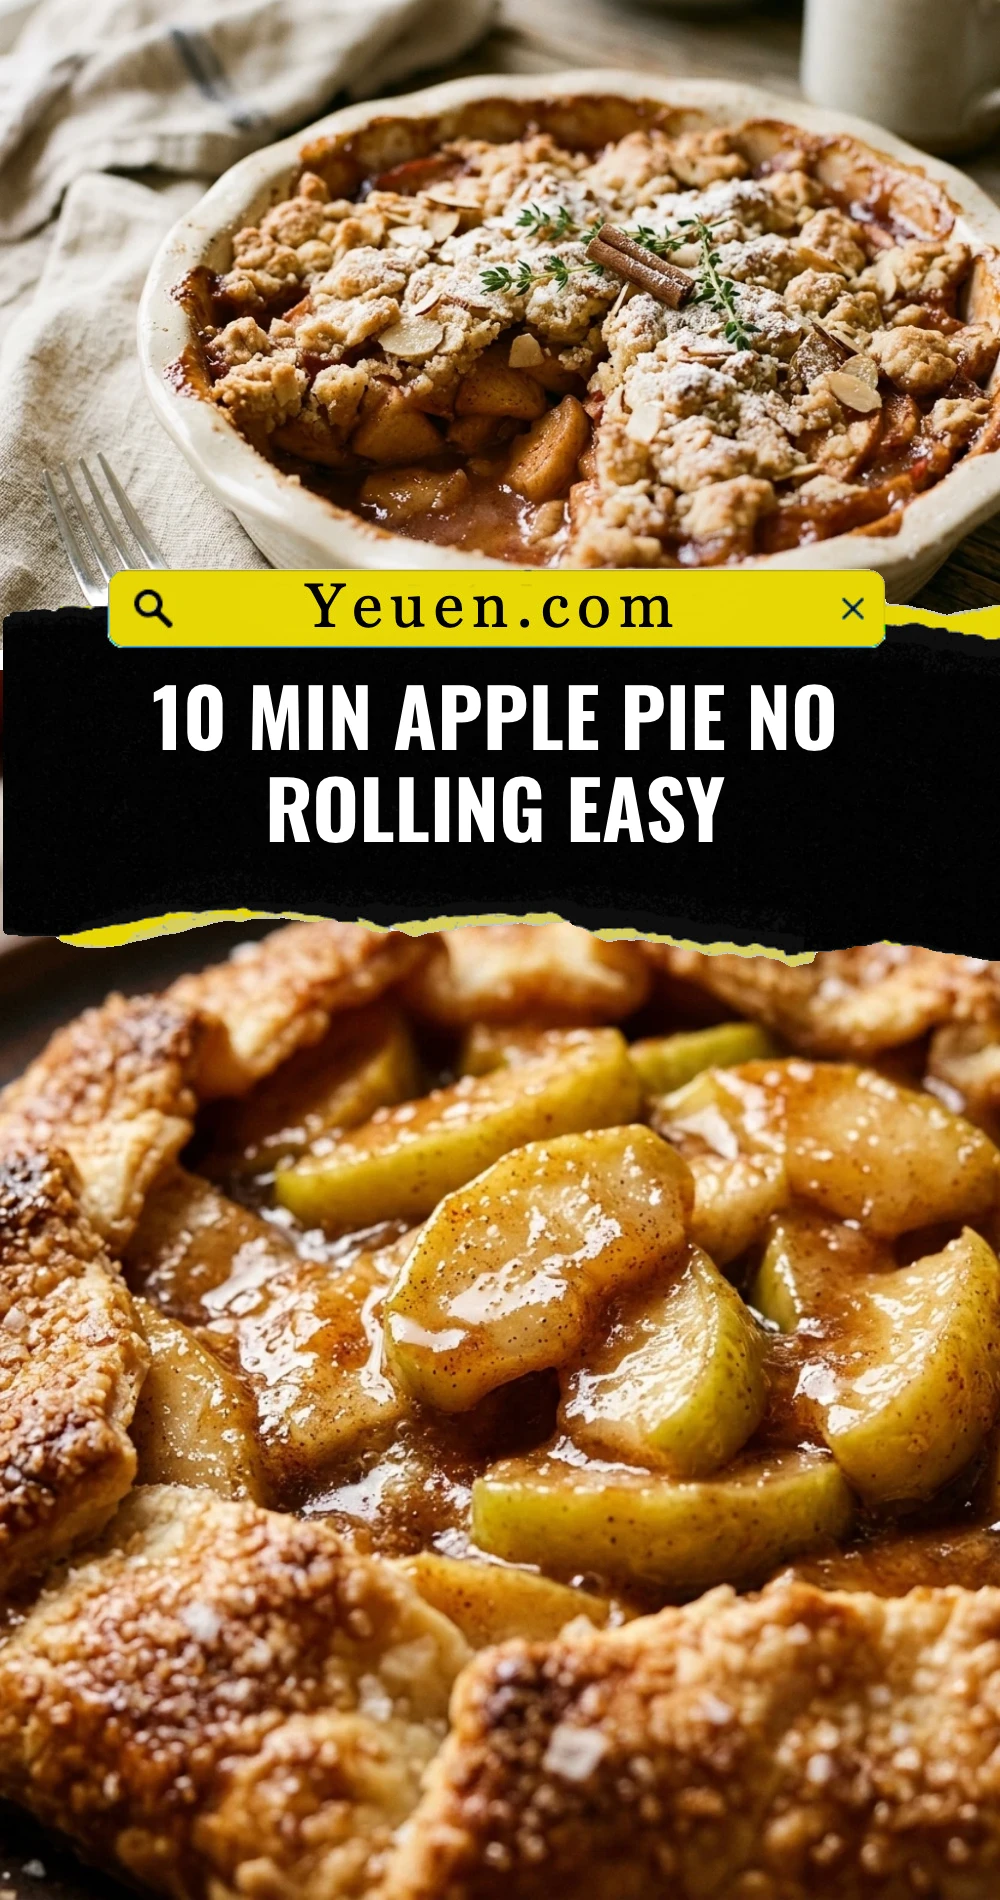
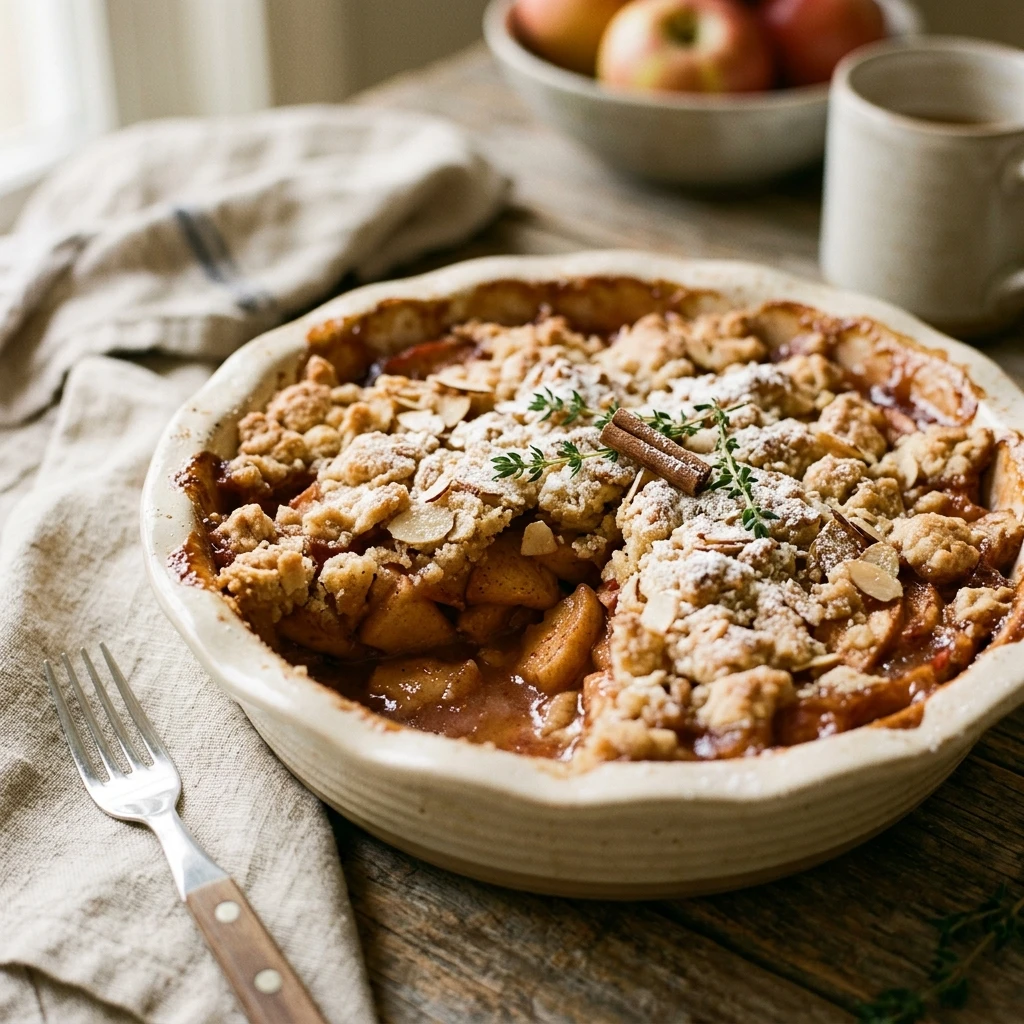
10 Min Apple Pie No Rolling Easy
Imagine the cozy, warm scent of cinnamon and baked apples wafting through your kitchen without the stress of chilling dough or wrestling with a rolling pin. This 10-minute apple pie is the ultimate solution for busy weeknights or sudden dessert cravings. Instead of the traditional fussy crust, we use a clever stir-and-pour method that creates a golden, buttery shell around tender fruit. You get all the classic flavors of a deep-dish apple pie with a fraction of the effort. It is rustic, foolproof, and guaranteed to become your new favorite shortcut recipe.
Recipe Information
- Prep Time: 10 minutes
- Cook Time: 40 minutes
- Total Time: 50 minutes
- Servings: 8 servings
- Difficulty: Easy
Nutrition values
- Calories: 265 kcal
- Protein: 3g
- Carbs: 48g
Why Make This 10 Min Apple Pie No Rolling Easy
This recipe is a game-changer for anyone who finds traditional pastry intimidating. Because there is no rolling involved, you don’t have to worry about the dough tearing or becoming tough from overhandling. It uses basic pantry staples like flour, sugar, and butter, meaning you can whip it up on a whim. The texture is a delightful cross between a traditional pie and a fruit cobbler, offering a soft interior with crispy, caramelized edges. It is perfectly portioned for a family dinner and tastes even better with a scoop of melting vanilla ice cream.
Ingredients
- 4 large Granny Smith apples, peeled, cored, and sliced thin
- 1 cup all-purpose flour
- 3/4 cup granulated sugar (plus 2 tablespoons for topping)
- 1 teaspoon baking powder
- 1/2 teaspoon salt
- 1 teaspoon ground cinnamon
- 1/2 cup whole milk
- 1/2 cup unsalted butter, melted
- 1 large egg
- 1 teaspoon vanilla extract
Directions
Step 1: Preparation
Preheat your oven to 375°F (190°C). Grease a 9-inch deep-dish pie plate or a square baking dish with butter or non-stick spray. Peel and slice your apples into thin, uniform wedges. Toss the sliced apples with one tablespoon of sugar and a pinch of cinnamon in a bowl to let the juices start flowing while you prepare the batter.
Step 2: Mixing the No-Roll Batter
In a large mixing bowl, whisk together the flour, 3/4 cup sugar, baking powder, and salt. In a separate small bowl, combine the melted butter, milk, egg, and vanilla extract. Pour the wet ingredients into the dry ingredients and stir with a spatula until just combined. The batter should be thick but pourable, similar to pancake batter.
Step 3: Assembly
Pour the batter into the prepared pie plate, spreading it evenly to the edges. Arrange the apple slices over the top of the batter. Do not worry about pressing them in; the batter will rise up and surround the fruit as it bakes. Sprinkle the remaining 2 tablespoons of sugar and any extra cinnamon over the top of the apples for a crunchy, sparkling finish.
Step 4: Baking
Place the dish in the center of the oven and bake for 35 to 40 minutes. You are looking for a deep golden brown color on the crust and apples that are tender when pierced with a fork. The center should feel set and not jiggly.
Step 5: Plating
Remove the pie from the oven and let it cool for at least 10 minutes. This allows the juices to set so you get clean slices. Serve warm with a dollop of whipped cream or a generous scoop of vanilla bean ice cream.
Expert Tips for Perfect 10 Min Apple Pie No Rolling Easy
- Choose the Right Apples: Use tart, firm apples like Granny Smith or Honeycrisp. They hold their shape during baking and balance the sweetness of the batter.
- Don’t Overmix: When combining the wet and dry ingredients, stir just until the flour streaks disappear. Overmixing can lead to a tough, bread-like texture.
- Thin Slices Matter: Slice your apples thinly (about 1/4 inch). This ensures they soften completely in the same amount of time the batter takes to bake.
- Room Temp Ingredients: Try to have your egg and milk at room temperature so the melted butter doesn’t clump up when mixed.
Delicious Variations
- Add Nutty Crunch: Sprinkle 1/2 cup of chopped pecans or walnuts over the top before baking for added texture.
- Caramel Twist: Drizzle salted caramel sauce over the apples before putting the dish in the oven for a rich, gooey finish.
- Berry Mix: Swap one of the apples for a cup of fresh blackberries or raspberries to add a pop of color and tartness.
- Spiced Flour: Add a pinch of nutmeg or ground ginger to the flour mixture for a deeper, more complex autumnal flavor.
Frequently Asked Questions
Can I use canned apple pie filling?
Yes, you can substitute the fresh apples for one can of pie filling. However, you may want to reduce the sugar in the batter slightly, as canned fillings are usually very sweet.
Do I have to peel the apples?
While peeling provides a smoother texture, you can leave the skins on if you prefer a more rustic look and extra fiber. Just ensure the apples are washed thoroughly.
How do I store leftovers?
Store any leftover pie in an airtight container in the refrigerator for up to 3 days. Reheat in the oven at 300°F for 10 minutes to crisp up the edges again.
Can I make this gluten-free?
Yes! You can replace the all-purpose flour with a 1:1 gluten-free flour blend. Ensure the blend contains xanthan gum for the best structural results.
Can I freeze this pie?
This pie is best enjoyed fresh. Freezing may cause the crust to become soggy upon thawing due to the moisture content of the apples. If you must freeze it, wrap it tightly in foil and thaw it in the fridge before reheating in the oven.
Conclusion
This 10-minute no-roll apple pie proves that you don’t need to be a master baker to create a stunning dessert. It strips away the most difficult parts of pie-making while keeping the heart of the dish intact. Whether you are hosting a last-minute dinner party or just want a sweet treat on a Tuesday night, this recipe delivers maximum flavor with minimal effort. Give it a try, and you might never go back to rolling out dough again!