Follow Me On Pinterest!
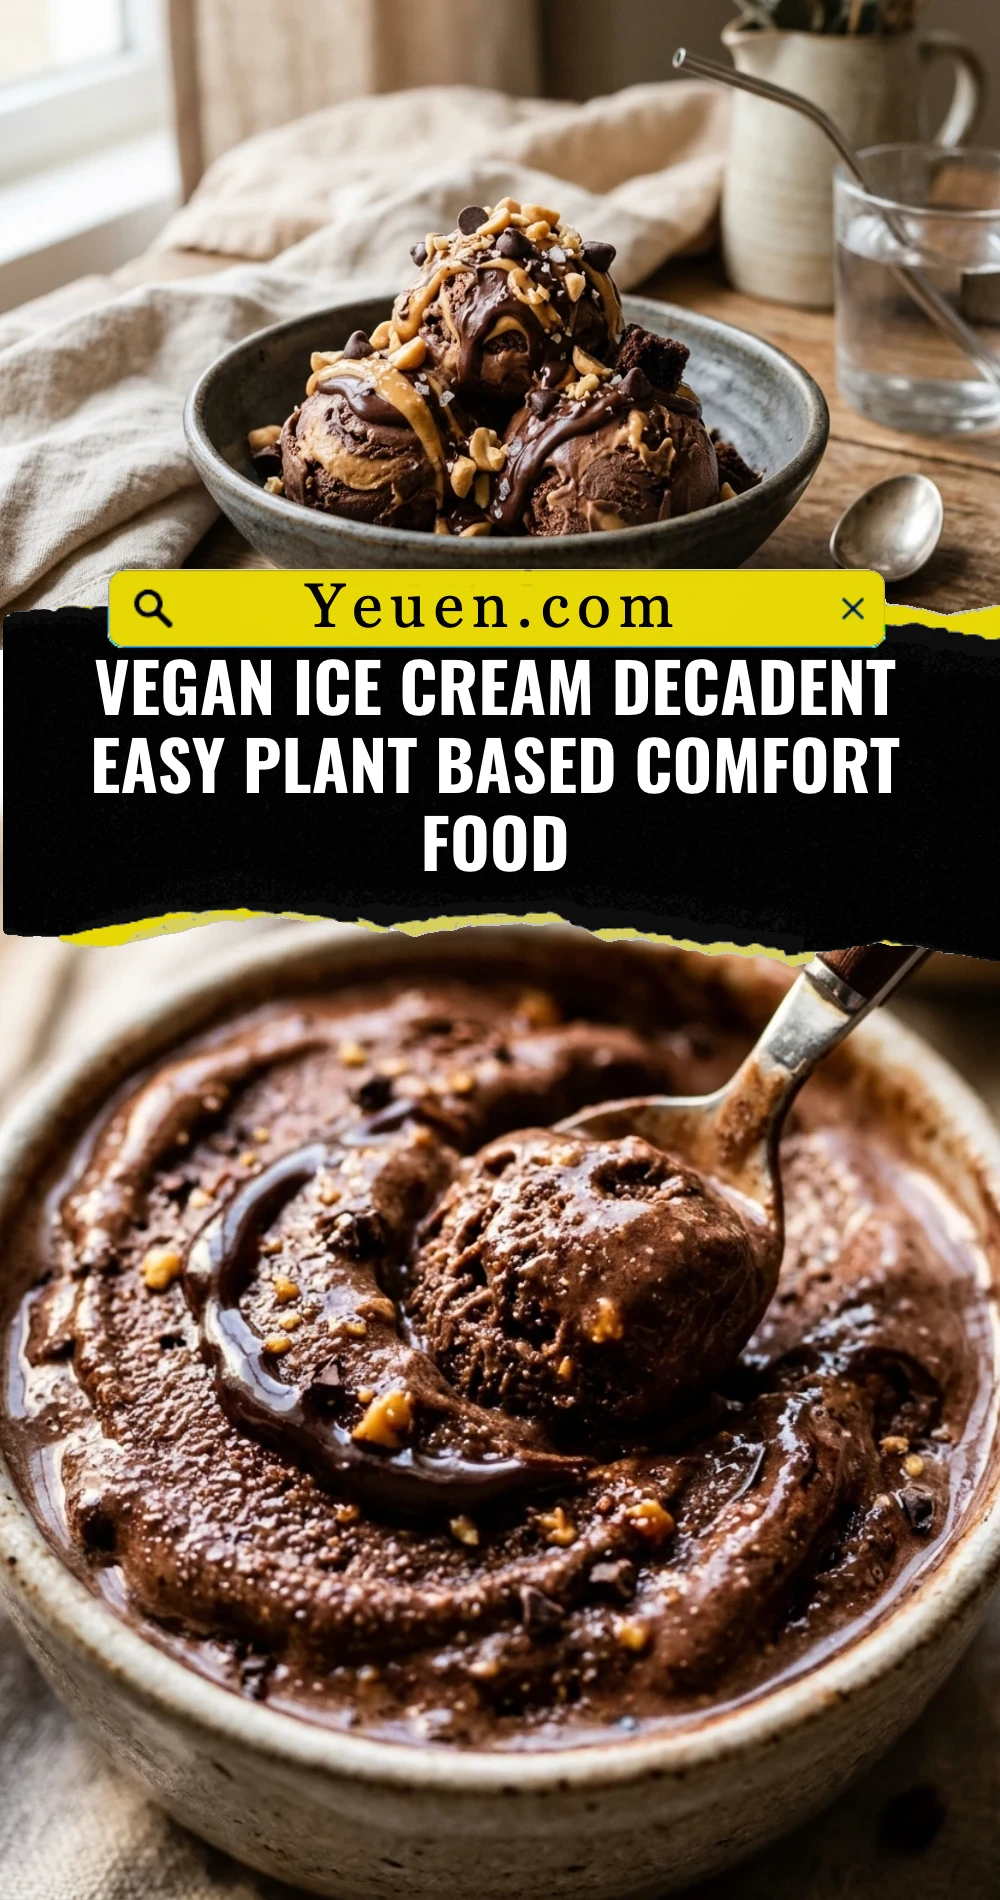
Vegan Ice Cream Decadent Easy Plant Based Comfort Food
Craving a rich, velvety treat that melts in your mouth without any of the dairy? This decadent vegan ice cream is the ultimate comfort food you can whip up right in your own kitchen. Forget the icy, thin textures of some store-bought brands; this recipe focuses on a luscious, high-fat base that rivals any traditional custard. Whether you are a long-time vegan or just looking for a healthier, plant-based alternative, this scoop delivers pure indulgence in every bite. It is simple, requires minimal equipment, and uses wholesome ingredients you likely already have in your pantry.
Recipe Information
- Prep Time: 15 minutes
- Cook Time: 0 minutes (plus 6 hours freezing time)
- Total Time: 15 minutes
- Servings: 4 servings
- Difficulty: Easy
Nutrition values
- Calories: 345 kcal
- Protein: 3g
- Carbs: 22g
Why Make This Vegan Ice Cream Decadent Easy Plant Based Comfort Food
Most people think vegan ice cream is complicated or requires expensive machinery. This recipe proves them wrong. It uses full-fat coconut milk and nut butter to create a fatty profile that mimics heavy cream perfectly. Because you control the ingredients, there are no artificial thickeners or excessive refined sugars. It is the perfect guilt-free comfort food for hot summer days or cozy movie nights. Plus, the base is incredibly versatile, allowing you to customize the flavor profile to match your specific cravings every single time.
Ingredients
- 2 cans (15 oz each) full-fat coconut milk, chilled overnight
- 1/2 cup pure maple syrup or agave nectar
- 1/4 cup smooth cashew butter (for extra creaminess)
- 1 tablespoon pure vanilla extract
- 1/4 teaspoon sea salt
- Optional: 1/2 cup vegan dark chocolate chips
Directions
Step 1: Preparation and Blending
Open the chilled cans of coconut milk and scoop the thick white cream into a high-speed blender. Discard the watery liquid at the bottom or save it for a smoothie. Add the maple syrup, cashew butter, vanilla extract, and sea salt. Blend on high for about 60 seconds until the mixture is completely smooth and slightly aerated. This aeration helps create a fluffier texture once frozen.
Step 2: The Freezing Process
If you have an ice cream maker, pour the mixture in and churn according to the manufacturer’s instructions (usually 20-25 minutes). If you do not have a machine, pour the mixture into a shallow, freezer-safe container. Place it in the freezer and whisk the mixture vigorously every 30 minutes for the first 2 hours. This breaking up of ice crystals ensures a creamy rather than icy consistency.
Step 3: Final Set and Serving
Once the ice cream reaches a soft-serve consistency, fold in your chocolate chips or other mix-ins. Smooth the top with a spatula, cover tightly with parchment paper (touching the surface to prevent ice crystals), and freeze for another 4 hours. When you are ready to eat, let the container sit on the counter for 5 to 10 minutes to soften before scooping into bowls.
Expert Tips for Perfect Vegan Ice Cream Decadent Easy Plant Based Comfort Food
Always use full-fat coconut milk from a can. Low-fat or carton versions contain too much water and will turn your ice cream into a block of ice. Chilling your blender jar or your mixing bowl beforehand also helps keep the fats stable during the process. If your ice cream gets too hard in the freezer, blending in a tablespoon of vegetable glycerin or a splash of vodka can lower the freezing point, making it easier to scoop straight from the freezer.
Delicious Variations
- Mint Chocolate Chip: Add 1 teaspoon of peppermint extract and a handful of cacao nibs.
- Peanut Butter Swirl: Warm up 1/4 cup of peanut butter and swirl it through the mixture right before the final freeze.
- Double Chocolate: Add 1/2 cup of high-quality cocoa powder to the blender during Step 1.
- Berry Blast: Swirl in a quick homemade raspberry or strawberry compote for a fruity finish.
Frequently Asked Questions
Can I use almond milk instead of coconut milk?
Almond milk has a much higher water content and lower fat content than canned coconut milk. If you use it, the ice cream will be very icy and hard. For the best results, stick to full-fat coconut or cashew milk.

Do I absolutely need a blender?
A blender ensures the cashew butter and coconut cream are perfectly emulsified. You can use a hand whisk, but you must ensure the nut butter is completely integrated to avoid oily clumps.
How long does this vegan ice cream last in the freezer?
It is best consumed within 1 to 2 weeks. Because it lacks preservatives, it can develop freezer burn faster than commercial brands. Always keep it tightly sealed.
What can I use instead of maple syrup?
You can use agave nectar, date syrup, or even a simple syrup made from cane sugar. Avoid granulated sugar unless you dissolve it first, as it can leave a gritty texture.
Why is my ice cream too hard to scoop?
Homemade vegan ice cream doesn’t have the softeners found in store-bought tubs. Simply leave it on the counter for 10 minutes, and it will soften to a perfect, creamy consistency.
Conclusion
Making your own vegan ice cream is a rewarding experience that yields delicious, professional results with very little effort. By using high-quality plant-based fats and natural sweeteners, you create a dessert that is both indulgent and mindful. This recipe serves as a perfect canvas for your favorite flavors, so don’t be afraid to experiment with different mix-ins. Grab your blender and start creating your new favorite comfort food today!