
BUTTERFINGER POKE CAKE BY SOPHIA Jump to Recipe·Print Recipe There’s something undeniably comforting
When it comes to desserts that tantalize the taste buds, few can rival the indulgence of a poke cake. Among the myriad of flavors and variations, the Butterfinger Poke Cake stands out as a delightful combination of rich chocolate, creamy textures, and that unmistakable crunch of Butterfinger candy. This cake is not only a treat for the eyes but also a feast for the palate, making it an ideal dessert for any occasion. If you’re ready to elevate your dessert game, this Butterfinger Poke Cake recipe is your ticket to sweet success!
What is a Poke Cake?
Before diving into the delicious details of the Butterfinger Poke Cake, let’s take a moment to understand what a poke cake actually is. Poke cakes are moist, flavorful cakes that are “poked” with holes to allow various toppings, fillings, or sauces to seep into the cake. This ensures that every bite is bursting with flavor. The beauty of poke cakes lies in their versatility; you can use a variety of cakes and toppings to create endless combinations.
Why Choose Butterfinger?
Butterfinger bars are a beloved candy known for their crispy, crunchy peanut butter center covered in rich milk chocolate. The combination of flavors and textures makes Butterfinger an excellent choice for a poke cake. When incorporated into the cake, it adds a delightful crunch and a unique flavor profile that pairs beautifully with chocolate cake and creamy toppings.
Ingredients You’ll Need
Creating a Butterfinger Poke Cake requires a few basic ingredients, many of which you might already have in your pantry. Here’s what you’ll need:
For the Cake:
- 1 box of chocolate cake mix (plus ingredients required on the box)
- 1 cup of water
- 1/2 cup of vegetable oil
- 3 large eggs
For the Poke Filling:
- 1 can of sweetened condensed milk
- 1/2 cup of chocolate syrup
For the Topping:
- 1 tub of whipped topping (like Cool Whip)
- 1 cup of crushed Butterfinger candy bars (about 3-4 bars)
- Extra chocolate syrup for drizzling (optional)
Step-by-Step Instructions
Step 1: Bake the Cake
- Preheat your oven to the temperature specified on the cake mix box (usually around 350°F).
- Prepare a 9×13 inch baking pan by greasing it or lining it with parchment paper.
- Mix the cake batter according to the package instructions, combining the chocolate cake mix with water, vegetable oil, and eggs.
- Pour the batter into the prepared pan and bake for 25-30 minutes, or until a toothpick inserted into the center comes out clean.
- Let the cake cool in the pan for about 10 minutes, then transfer it to a wire rack to cool completely.
Step 2: Poke the Cake
- Once the cake is completely cool, use the handle of a wooden spoon or a skewer to poke holes all over the top of the cake, about 1 inch apart. Make sure you poke deep enough to allow the filling to seep in.
Step 3: Make the Filling
- In a bowl, combine the sweetened condensed milk and chocolate syrup. Mix until well blended.
- Pour the mixture evenly over the poked cake, ensuring that it seeps into all the holes. You’ll want to let it soak for at least 30 minutes to an hour.
Step 4: Add the Topping
- Spread the whipped topping over the cake, making sure to cover it completely.
- Sprinkle the crushed Butterfinger candy evenly over the top of the whipped topping. For an extra touch of indulgence, drizzle additional chocolate syrup on top.
Step 5: Chill and Serve
- Refrigerate the cake for at least 2-4 hours before serving. This allows the flavors to meld and the cake to become even more moist.
- When ready to serve, slice into squares and enjoy the rich, creamy, and crunchy layers of this delightful dessert!
Tips for the Perfect Butterfinger Poke Cake
- Use Quality Ingredients: When it comes to the toppings, using high-quality chocolate syrup and fresh whipped topping can elevate the flavors significantly.
- Experiment with Flavors: While Butterfinger is a fantastic choice, feel free to experiment with other candy bars like Snickers, Reese’s, or even M&Ms for a different twist.
- Make Ahead: This cake can be made a day in advance. It actually tastes better after sitting in the refrigerator, allowing the flavors to develop.
- Presentation Matters: Consider using a clear glass dish to show off the beautiful layers of cake, filling, and topping.
Conclusion: Your New Go-To Dessert
The Butterfinger Poke Cake is sure to become a favorite in your dessert repertoire. Its combination of chocolatey goodness, creamy texture, and crunchy candy makes it a crowd-pleaser at gatherings, parties, or simply as a sweet treat after dinner. With easy preparation and an impressive presentation, you’ll find that this cake is not only delicious but also a joy to make. So gather your ingredients, roll up your sleeves, and get ready to wow your family and friends with this irresistible dessert!
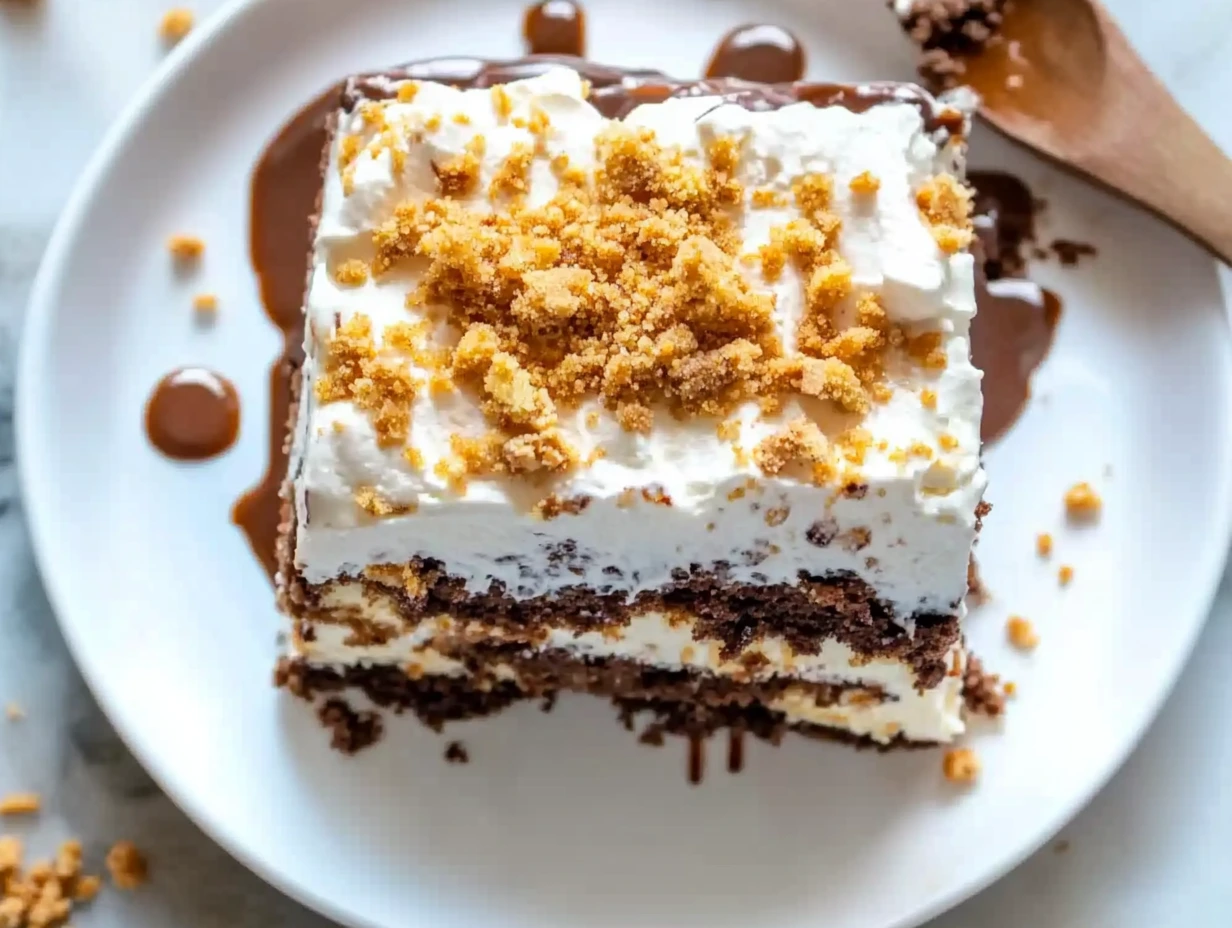
Butterfinger Poke Cake
This Butterfinger Poke Cake combines rich chocolate, creamy textures, and the unmistakable crunch of Butterfinger candy into a delightful dessert that's perfect for any occasion. With its simple preparation and spectacular flavor, this poke cake is sure to become a crowd favorite.
Servings
4
Prep Time
15 minutes
Cook Time
30 minutes
Calories
N/A
Ingredients
- •1 box of chocolate cake mix
- •1 cup of water
- •1/2 cup of vegetable oil
- •3 large eggs
- •1 can of sweetened condensed milk
- •1/2 cup of chocolate syrup
- •1 tub of whipped topping
- •1 cup of crushed Butterfinger candy bars
- •Extra chocolate syrup for drizzling (optional)
Directions
- 1.Preheat your oven to the temperature specified on the cake mix box (usually around 350°F).
- 2.Prepare a 9×13 inch baking pan by greasing it or lining it with parchment paper.
- 3.Mix the cake batter according to the package instructions, combining the chocolate cake mix with water, vegetable oil, and eggs.
- 4.Pour the batter into the prepared pan and bake for 25-30 minutes, or until a toothpick inserted into the center comes out clean.
- 5.Let the cake cool in the pan for about 10 minutes, then transfer it to a wire rack to cool completely.
- 6.Once the cake is completely cool, use the handle of a wooden spoon or a skewer to poke holes all over the top of the cake, about 1 inch apart. Make sure you poke deep enough to allow the filling to seep in.
- 7.In a bowl, combine the sweetened condensed milk and chocolate syrup. Mix until well blended.
- 8.Pour the mixture evenly over the poked cake, ensuring that it seeps into all the holes. Let it soak for at least 30 minutes to an hour.
- 9.Spread the whipped topping over the cake, making sure to cover it completely.
- 10.Sprinkle the crushed Butterfinger candy evenly over the top of the whipped topping. For an extra touch of indulgence, drizzle additional chocolate syrup on top.
- 11.Refrigerate the cake for at least 2-4 hours before serving.
- 12.When ready to serve, slice into squares and enjoy the rich, creamy, and crunchy layers of this delightful dessert!


