Follow Me On Pinterest!
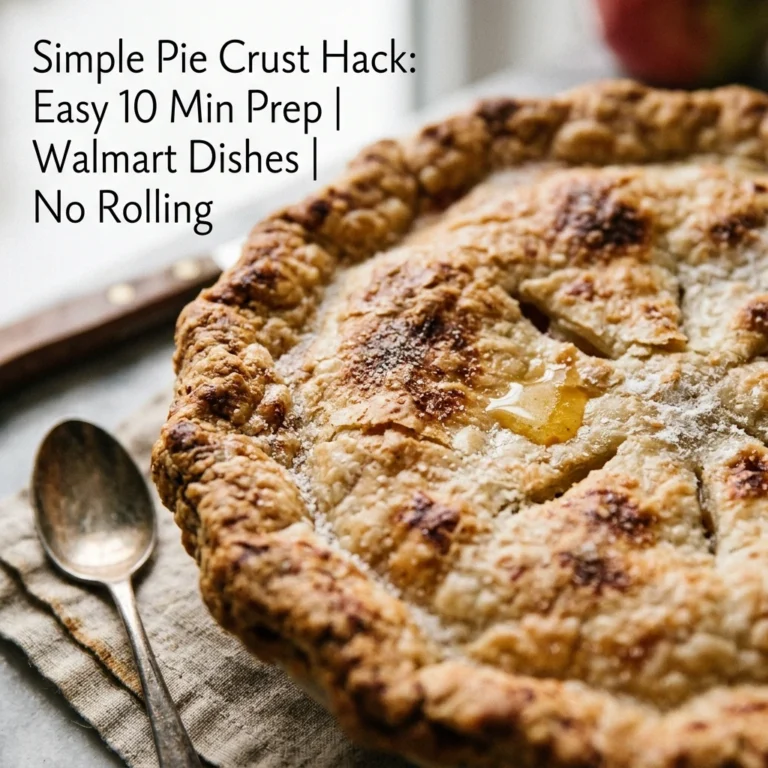
Thanksgiving Apple Crumble Pie Easy Store Crust No Rolling 10 Min Prep
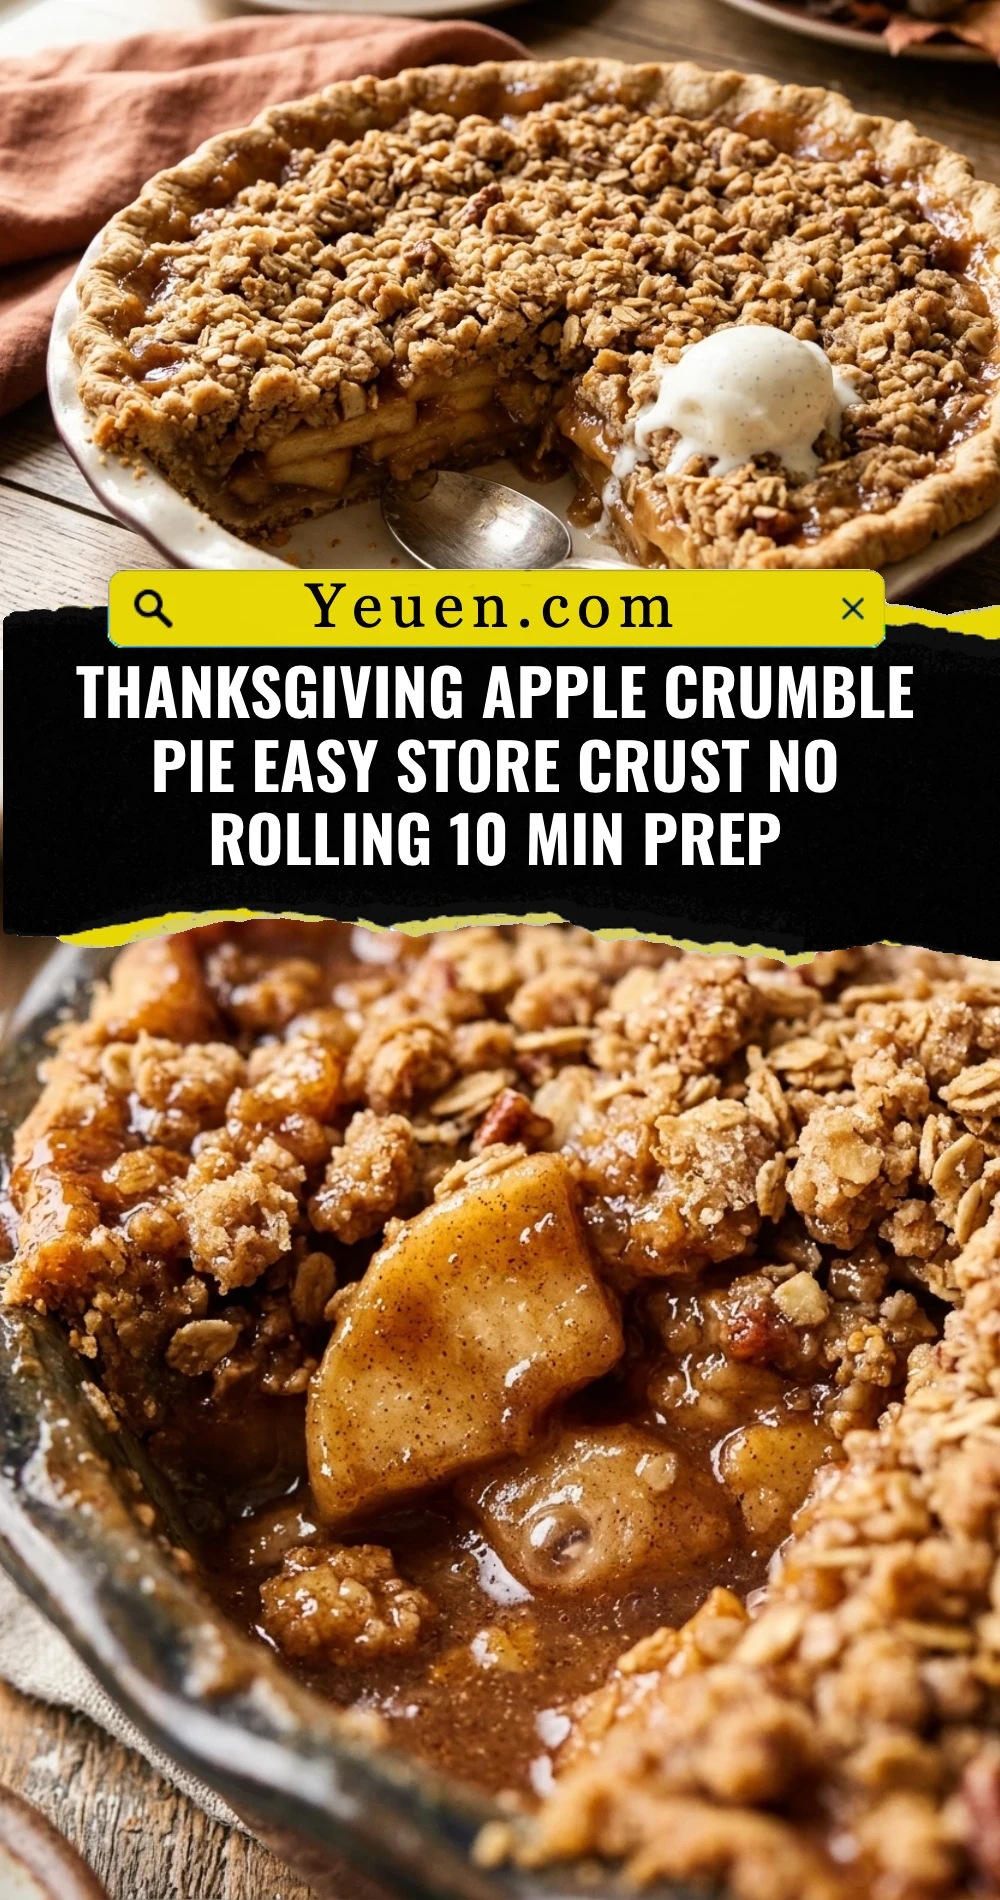
Thanksgiving is often a whirlwind of turkey basting, side-dish juggling, and high-pressure baking. This Thanksgiving Apple Crumble Pie is your secret weapon for a stress-free holiday. By using a store-bought crust and skipping the tedious rolling process, you cut your prep time down to just ten minutes. You get all the warmth of cinnamon-spiced apples and a buttery, crunchy topping without the flour-covered kitchen counters. It tastes exactly like a labor of love, but only you will know how easy it actually was to assemble.
Recipe Information
- Prep Time: 10 minutes
- Cook Time: 50 minutes
- Total Time: 1 hour
- Servings: 8 servings
- Difficulty: Easy
Nutrition values
- Calories: 385 kcal
- Protein: 3g
- Carbs: 58g
Why Make This Thanksgiving Apple Crumble Pie Easy Store Crust No Rolling 10 Min Prep
This recipe is designed for the busy host who refuses to sacrifice flavor for convenience. Using a store-bought crust eliminates the hardest part of pie making—achieving that perfect flaky texture from scratch. Because there is no top crust to roll out, you simply pile on a delicious brown sugar crumble. It provides a satisfying crunch that pairs perfectly with tender, tart apples. It is the ultimate “minimum effort, maximum reward” dessert for your holiday table.
Ingredients
- 1 refrigerated store-bought pie crust (9-inch)
- 6 large Granny Smith apples, peeled, cored, and sliced
- 3/4 cup granulated sugar
- 2 teaspoons ground cinnamon
- 1 tablespoon lemon juice
- 1 cup all-purpose flour
- 1/2 cup brown sugar, packed
- 1/2 cup unsalted butter, cold and cubed
- 1/2 cup rolled oats
- 1/4 teaspoon salt
Directions
Step 1: Prepare the Oven and Crust
Preheat your oven to 375°F (190°C). Take your refrigerated pie crust out of the box and let it sit at room temperature for a few minutes so it doesn’t crack. Unroll the crust and press it firmly into a 9-inch pie plate. Crimp the edges with your fingers or a fork for a decorative look. There is no need to roll the dough or pre-bake it.
Step 2: Prepare the Apple Filling
In a large mixing bowl, toss the sliced apples with the granulated sugar, cinnamon, and lemon juice. Ensure every apple slice is evenly coated in the spice mixture. Let the apples sit for 5 minutes to release their natural juices, then pour the entire mixture into the prepared pie crust.
Step 3: Mix the Crumble Topping
In a separate medium bowl, combine the flour, brown sugar, oats, and salt. Add the cold, cubed butter. Use a pastry cutter or your clean fingers to work the butter into the dry ingredients until the mixture looks like coarse crumbs. You want small chunks of butter to remain, as these create the “crunch” in the crumble.
Step 4: Assemble the Pie
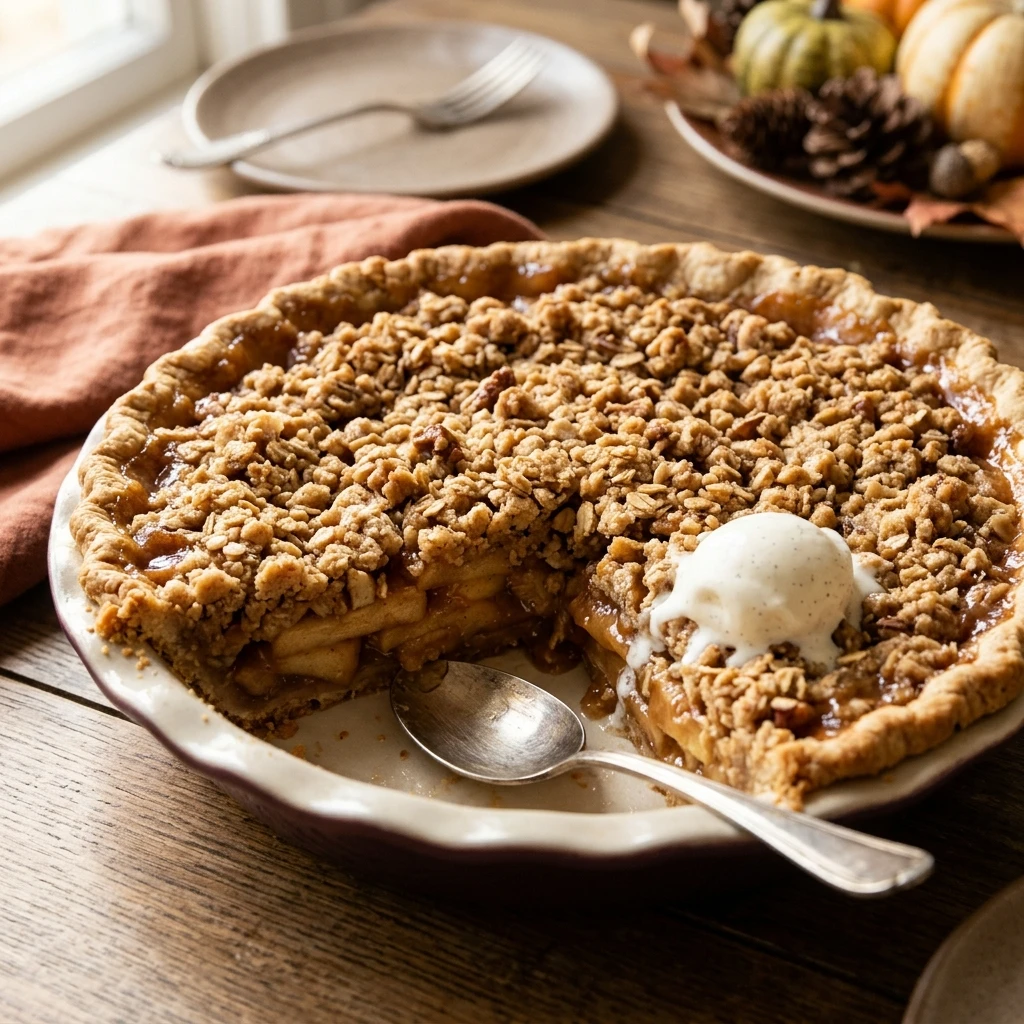
Sprinkle the crumble topping evenly over the apple filling. Make sure to cover the apples completely, right up to the edges of the crust. If some crumble spills over the side, just tuck it back in. The topping will settle as the apples cook down.
Step 5: Bake to Perfection
Place the pie on a baking sheet to catch any drips. Bake for 45 to 50 minutes, or until the crust is golden brown and the apple filling is bubbling. If the top browns too quickly, tent it loosely with aluminum foil for the last 10 minutes. Let the pie cool for at least 30 minutes before slicing to allow the filling to set.
Expert Tips for Perfect Thanksgiving Apple Crumble Pie Easy Store Crust No Rolling 10 Min Prep
For the best results, use Granny Smith or Honeycrisp apples because they hold their shape during baking. Keep your butter very cold when making the crumble; this ensures a pebbly texture rather than a greasy paste. If you want an extra-crispy bottom crust, bake the pie on the lowest rack of your oven. Always place a sheet of parchment paper on your baking sheet for easy cleanup if the fruit juices bubble over.
Delicious Variations
You can easily customize this pie to suit your guests’ tastes. Add a half-cup of dried cranberries or chopped pecans to the apple filling for extra texture and holiday flair. If you love spice, add a pinch of ground nutmeg or ginger to the crumble. For a decadent finish, drizzle salted caramel sauce over the top right before serving, or serve each slice with a large scoop of vanilla bean ice cream.
Frequently Asked Questions
Can I use frozen pie crust instead of refrigerated?
Yes, you can use a frozen pie crust. Just make sure to thaw it according to the package instructions before adding the filling. Do not pre-bake it unless the package specifically requires it for fruit pies.
How do I prevent the crust from burning?
Check the pie about 30 minutes into baking. If the edges of the crust are already dark brown, wrap them in thin strips of aluminum foil or use a pie shield while the center continues to cook.
Can I make this pie a day in advance?
Absolutely. You can bake the pie a day ahead and store it at room temperature. For the best texture, you can pop it back into a 300°F oven for 10 minutes on Thanksgiving day to crisp up the topping before serving.
Do I have to peel the apples?
While you can leave the skins on, peeling the apples results in a much smoother, more refined texture. Apple skins can become tough and chewy during the long baking process, which may distract from the soft filling.
How do I store leftovers?
Cover the pie loosely with foil or plastic wrap and store it at room temperature for up to two days. For longer storage, keep it in the refrigerator for up to four days. Reheat individual slices in the microwave or toaster oven.
Conclusion
This Thanksgiving Apple Crumble Pie proves that you don’t need hours of preparation to create a stunning holiday dessert. By utilizing a store-bought crust and a simple 10-minute assembly, you free up your time for what really matters—spending the holiday with family and friends. The combination of tender apples and a crunchy oat topping is a guaranteed crowd-pleaser that will have everyone asking for seconds.