Follow Me On Pinterest!
Mini Cheesecake Cups Easy No Bake Viral Party Bites
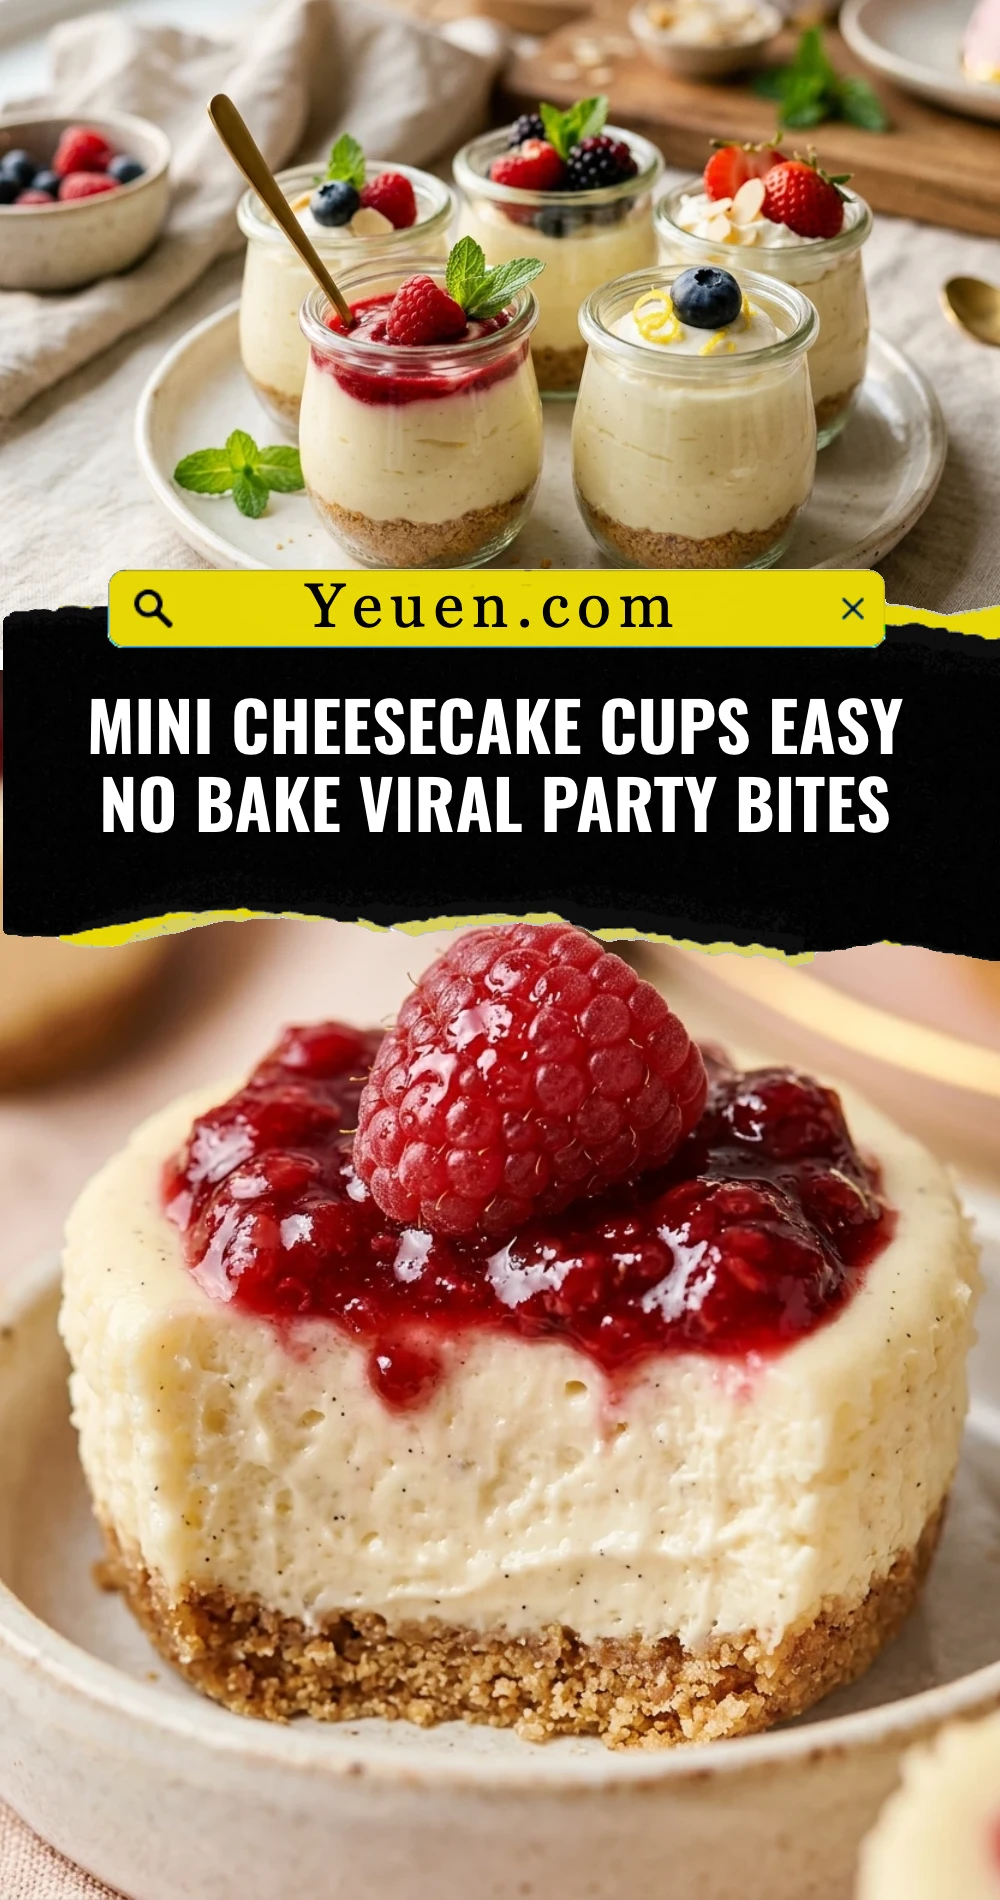
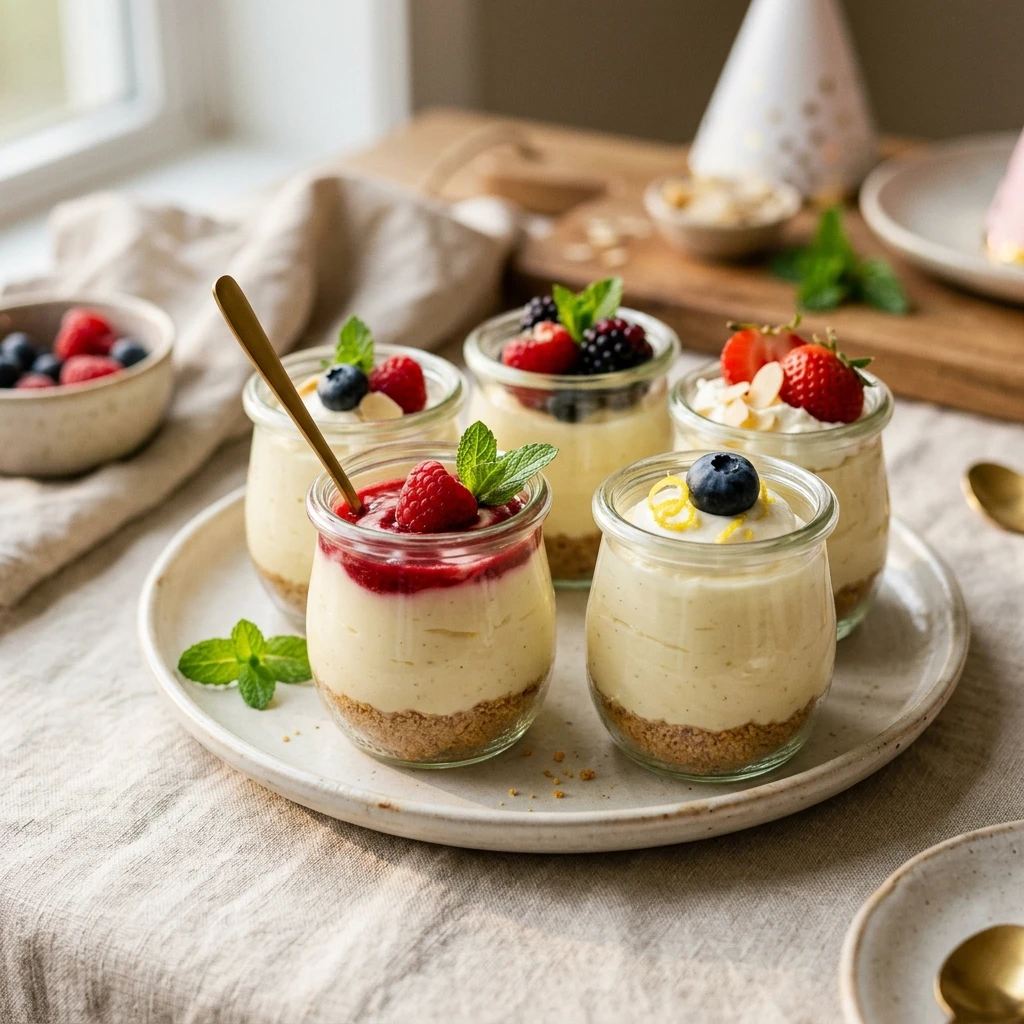
If you have been scrolling through social media lately, you have definitely seen these adorable, bite-sized treats taking over your feed. These Mini Cheesecake Cups are the ultimate viral sensation for a reason: they require absolutely zero oven time and deliver a professional-grade dessert experience with minimal effort. Whether you are hosting a festive holiday party, a summer backyard bash, or just need a sweet fix on a Tuesday night, these creamy, velvety bites are the perfect solution. They are perfectly portioned, incredibly customizable, and so easy to make that even a kitchen novice can master them in minutes.
Recipe Information
- Prep Time: 20 minutes
- Cook Time: 0 minutes (No-bake)
- Total Time: 4 hours 20 minutes (includes chilling time)
- Servings: 12 mini cheesecakes
- Difficulty: Easy
Nutrition values
- Calories: 245 kcal
- Protein: 3g
- Carbs: 18g
Why Make This Mini Cheesecake Cups Easy No Bake Viral Party Bites
These mini cheesecake cups are a game-changer for busy hosts and dessert lovers alike. First, they eliminate the stress of a traditional cheesecake—no water baths, no cracks, and no worrying about the center setting. The texture is light, airy, and mousse-like, making them a refreshing alternative to heavy baked desserts. Because they are served in individual liners, they are naturally portion-controlled and incredibly easy to serve at parties. Plus, the “viral” factor comes from how stunning they look on a platter; with a few fresh berries or a drizzle of chocolate, you have a gourmet dessert that looks like it came from a high-end bakery.
Ingredients
- 1 ½ cups Graham cracker crumbs
- 5 tablespoons unsalted butter, melted
- 2 tablespoons granulated sugar (for crust)
- 16 ounces cream cheese, softened to room temperature
- 1 cup powdered sugar
- 1 teaspoon pure vanilla extract
- 1 tablespoon lemon juice
- 1 cup heavy whipping cream, cold
- Fresh berries, whipped cream, or caramel sauce for garnish
Directions
Step 1: Prepare the Graham Cracker Crust
Line a standard 12-slot muffin tin with paper or silicone liners. In a medium mixing bowl, combine the Graham cracker crumbs, melted butter, and 2 tablespoons of sugar. Stir the mixture until it looks like wet sand. Distribute the mixture evenly among the 12 liners. Use the bottom of a small glass or a spoon to press the crumbs down firmly into a flat, compact layer. Place the tin in the refrigerator to set while you prepare the filling.
Step 2: Create the Creamy Cheesecake Filling
In a large mixing bowl, beat the softened cream cheese until it is completely smooth and creamy. Use an electric hand mixer or a stand mixer for the best results. Gradually add the powdered sugar, vanilla extract, and lemon juice. Beat on medium speed until the mixture is well-combined and lump-free. The lemon juice is the secret ingredient that provides that classic cheesecake tang without the need for eggs.
Step 3: Whip and Fold the Cream
In a separate chilled bowl, whip the cold heavy cream until stiff peaks form. Be careful not to over-whip into butter. Gently fold the whipped cream into the cream cheese mixture using a rubber spatula. Use a slow “under-and-over” motion to keep the filling light and airy. Once the mixture is uniform, spoon or pipe the filling into the prepared muffin liners over the Graham cracker crust.
Step 4: Chill and Set
Smooth the tops of the cheesecake cups with a spatula or the back of a spoon. Cover the muffin tin loosely with plastic wrap and refrigerate for at least 4 hours, though overnight is best for the firmest texture. The chilling process allows the fats to solidify, creating that perfect “bite” without any baking required.
Step 5: Garnish and Serve
Once the cheesecakes are firm, carefully remove them from the muffin tin. You can leave the liners on for easy handling or peel them off for a cleaner presentation. Top each cup with your favorite garnishes, such as a fresh raspberry, a dollop of extra whipped cream, or a sprig of mint. Serve cold and enjoy the praise from your guests.
Expert Tips for Perfect Mini Cheesecake Cups Easy No Bake Viral Party Bites
- Room Temperature Cheese: Ensure your cream cheese is truly at room temperature. If it is even slightly cold, you will end up with tiny lumps that are impossible to smooth out.
- Use Heavy Cream: Do not swap heavy whipping cream for milk or half-and-half. The fat content in the cream is what makes the no-bake filling set properly.
- Pipe the Filling: For a professional “viral” look, transfer the filling to a piping bag (or a Ziploc bag with the corner cut off) to fill the cups neatly.
- Chill Your Bowl: When whipping heavy cream, place your bowl and beaters in the freezer for 10 minutes beforehand to help the cream whip faster and more stably.
- Compact the Crust: Press the Graham cracker base very firmly. If it is loose, the crust will crumble when you try to eat the cheesecake.
Delicious Variations
- Chocolate Dream: Replace Graham crackers with crushed Oreo cookies and fold mini chocolate chips into the cream cheese filling.
- Strawberry Swirl: Swirl a teaspoon of strawberry jam into the top of each cheesecake before chilling for a marbled effect.
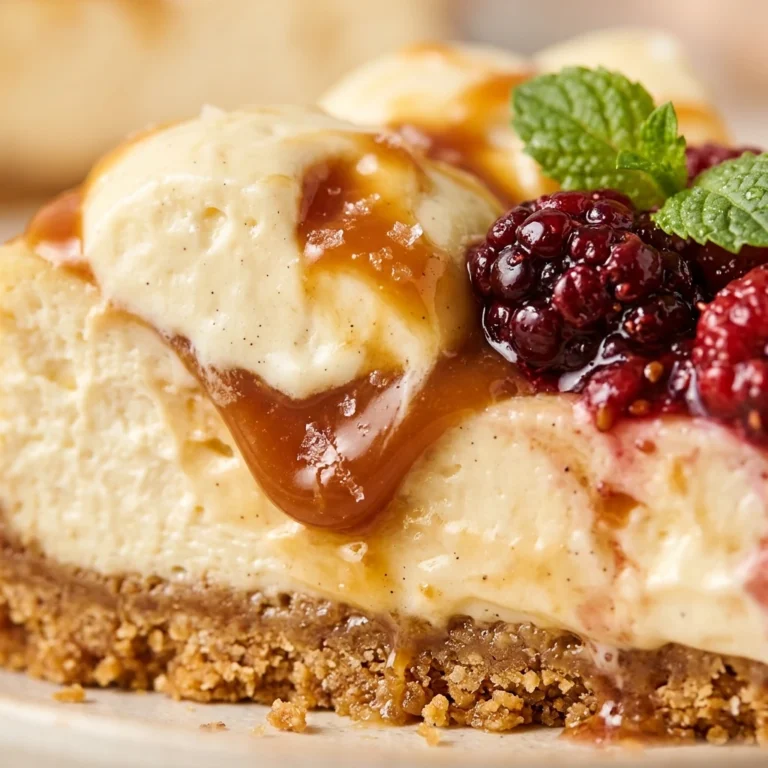
- Turtle Cheesecake: Top the finished cups with chopped pecans, a drizzle of caramel, and a drizzle of melted chocolate.
- Lemon Blueberry: Add extra lemon zest to the filling and top with a fresh blueberry compote.
- Keto-Friendly: Use almond flour and melted butter for the crust and swap the sugars for an erythritol-based sweetener.
Frequently Asked Questions
Can I make these mini cheesecakes ahead of time?
Yes! These are perfect for meal prep or party planning. You can make them up to 2-3 days in advance. Keep them in the refrigerator until the moment you are ready to serve to maintain their firm texture.
Do I have to use Graham crackers for the crust?
Not at all. You can use crushed Biscoff cookies, vanilla wafers, Oreos, or even gingersnaps. As long as you follow the ratio of crumbs to melted butter, almost any cookie will work.
How do I store the leftovers?
Store any leftovers in an airtight container in the refrigerator for up to 5 days. If you have topped them with fresh fruit, the fruit may start to release juices after 24 hours, so it is best to add toppings just before eating.
Can I freeze these no-bake cheesecakes?
Absolutely. These freeze beautifully. Place the set cheesecakes in a freezer-safe container for up to 2 months. Thaw them in the refrigerator for about an hour before serving, or enjoy them frozen for a cheesecake-ice cream hybrid treat.
Why is my filling too soft?
If the filling is runny, it usually means the cream cheese wasn’t beaten enough or the heavy cream wasn’t whipped to stiff peaks before folding. Make sure to chill them for the full 4 hours, as they need that time to stabilize.
Conclusion
These Mini Cheesecake Cups are the ultimate “cheat code” for impressive entertaining. They offer all the decadence and flavor of a traditional cheesecake without any of the technical difficulties or long baking times. By following these simple steps and tips, you will create a viral-worthy dessert that is sure to be the star of your next gathering. Don’t be afraid to get creative with your toppings and flavors—the possibilities are endless!