Follow Me On Pinterest!
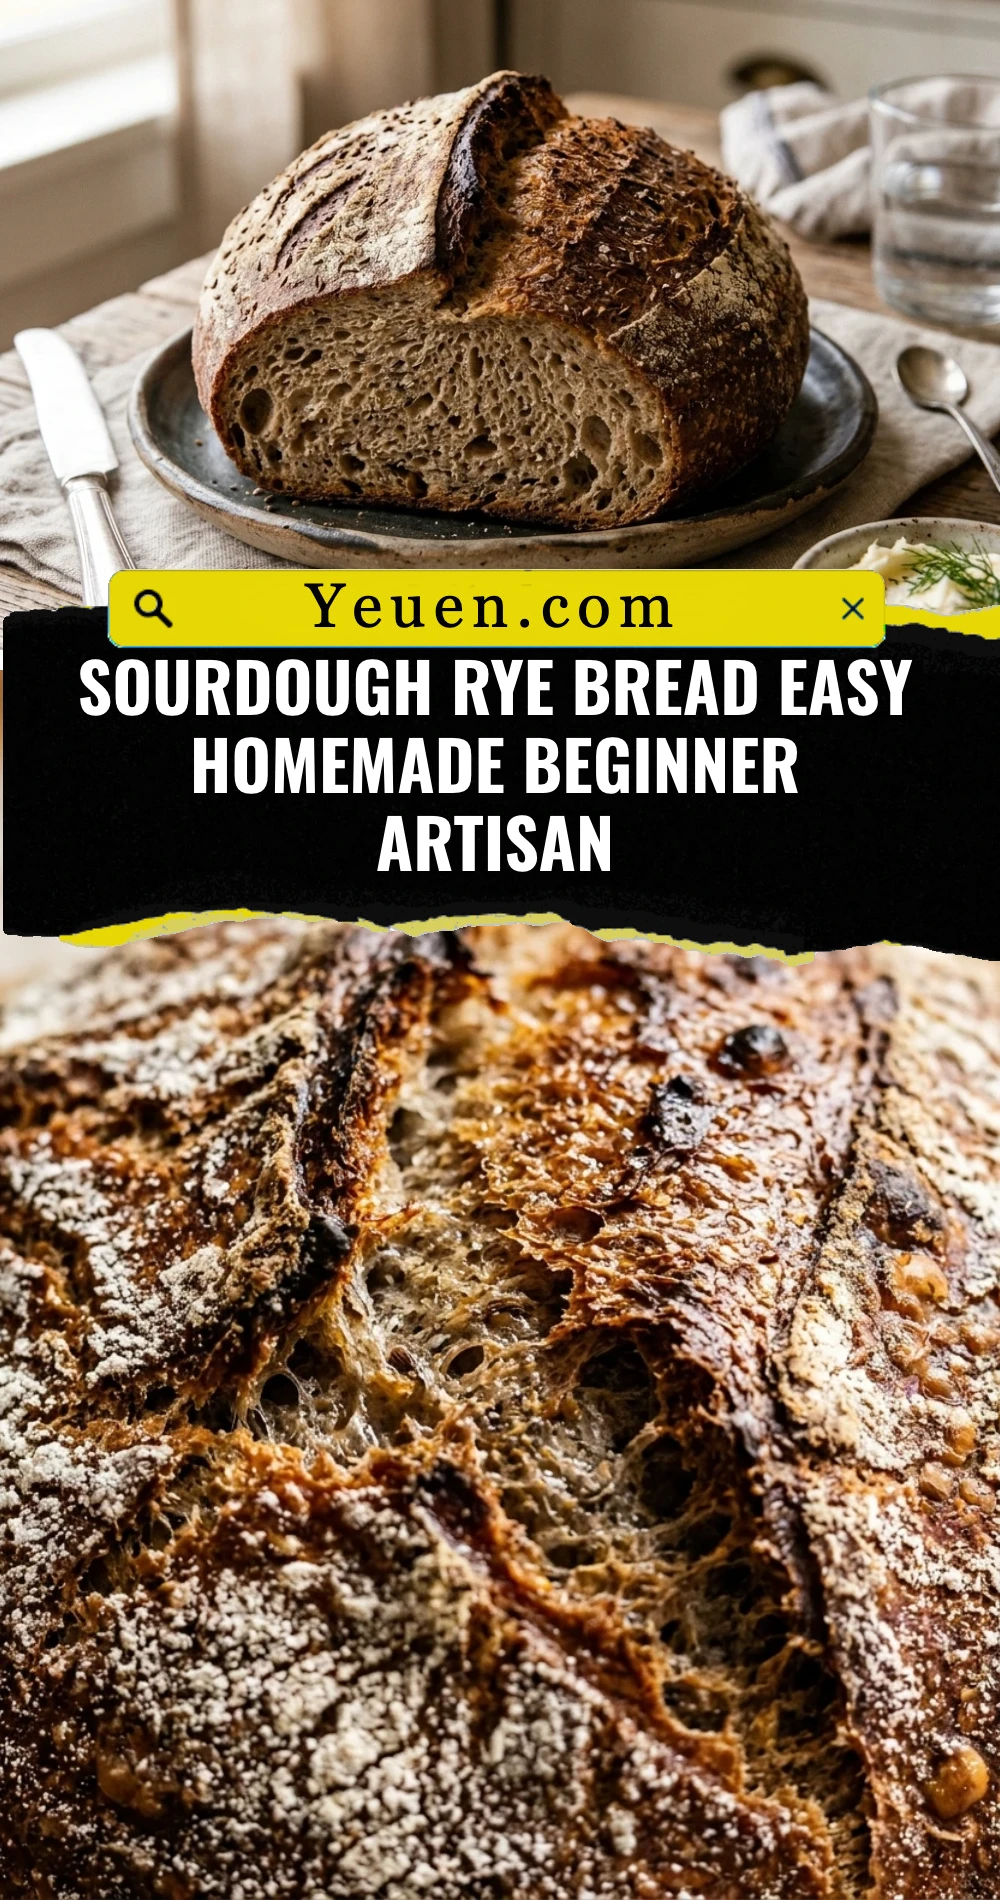
Sourdough Rye Bread Easy Homemade Beginner Artisan
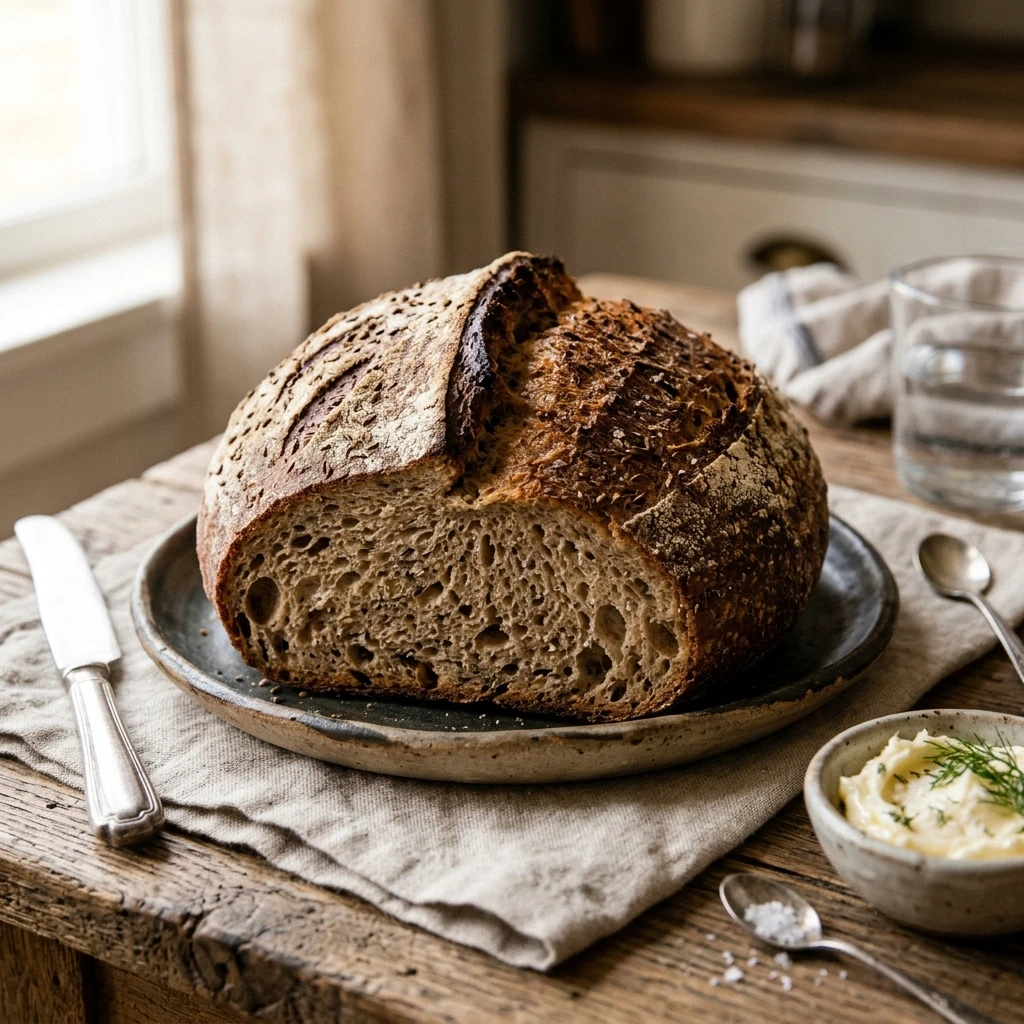
There is nothing quite like the aroma of freshly baked rye bread wafting through your kitchen. If you have ever felt intimidated by the world of sourdough, this recipe is your perfect entry point. We have simplified the process to ensure that even a total beginner can achieve that sought-after artisan crust and a tender, tangy interior. This Sourdough Rye Bread Easy Homemade Beginner Artisan loaf combines the earthy, deep flavors of rye with the complex acidity of a natural starter. It is a hearty bread that feels like it came straight from a professional bakery, but you can make it right in your own home with just a few simple tools and a little bit of patience.
Recipe Information
- Prep Time: 30 minutes (active time)
- Cook Time: 45 minutes
- Total Time: 24 hours (includes fermentation and proofing)
- Servings: 12 slices
- Difficulty: Easy
Nutrition values
- Calories: 185 kcal per slice
- Protein: 6g
- Carbs: 38g
Why Make This Sourdough Rye Bread Easy Homemade Beginner Artisan
This recipe bridges the gap between complex professional techniques and approachable home baking. Rye flour can be notoriously sticky and difficult to handle, but our specific ratios make the dough manageable for beginners. Making your own sourdough rye is significantly healthier than store-bought versions because it lacks preservatives and utilizes a long fermentation process that aids digestion. Plus, the satisfaction of slicing into a loaf you created from scratch is unmatched. It is the ultimate bread for Reuben sandwiches, avocado toast, or simply slathered with high-quality salted butter.
Ingredients
- 100g active, bubbly sourdough starter (100% hydration)
- 350g warm water (about 85°F)
- 100g dark or medium rye flour
- 400g high-protein bread flour
- 10g fine sea salt
- 1 tablespoon caraway seeds (optional, for traditional flavor)
- Extra flour for dusting
Directions
Step 1: Mix the Dough
In a large mixing bowl, whisk together your active sourdough starter and warm water until the starter mostly dissolves. Add the rye flour, bread flour, and salt. Use a sturdy spatula or your hands to mix until no dry flour remains and a shaggy ball forms. If you are using caraway seeds, fold them in now. Cover the bowl with a damp cloth or plastic wrap and let it rest for 30 minutes to allow the flour to hydrate.
Step 2: Stretch and Fold
Instead of traditional kneading, we use “stretch and folds” to build strength. Wet your hand, grab one side of the dough, pull it upward, and fold it over the center. Rotate the bowl and repeat this four times. Perform three sets of these folds, spaced 30 minutes apart. You will notice the dough becoming smoother and more elastic with each set. After the final fold, cover the bowl tightly.
Step 3: Bulk Fermentation
Let the dough sit at room temperature for 6 to 10 hours, or until it has grown in size by about 50-75%. The dough should look aerated and have a few visible bubbles on the surface. Because rye ferments faster than wheat, keep a close eye on it if your kitchen is warm. Once it reaches this stage, carefully tip the dough onto a lightly floured surface.
Step 4: Shaping and Final Proof
Gently fold the edges of the dough toward the center to create a round ball (boule). Flip it over so the seam side is down and use your hands to create tension by dragging the dough toward you on the counter. Place the shaped loaf upside down into a floured proofing basket (banneton) or a bowl lined with a floured kitchen towel. Let it proof in the refrigerator for 8 to 12 hours. This cold proof develops the flavor and makes the dough easier to score.
Step 5: Scoring and Baking
Preheat your oven to 450°F (230°C) with a Dutch oven inside for at least 45 minutes. Carefully flip the cold dough onto a piece of parchment paper. Use a sharp blade or “lamé” to make one long slash across the top about half an inch deep. Carefully lower the dough and parchment into the hot Dutch oven. Cover with the lid and bake for 20 minutes. Remove the lid and bake for another 20 to 25 minutes until the crust is a deep mahogany brown. Let the bread cool completely on a wire rack before slicing.
Expert Tips for Perfect Sourdough Rye Bread Easy Homemade Beginner Artisan
Always use a digital scale for measurements to ensure consistency, as volume measurements for flour can vary wildly. Rye flour contains less gluten than wheat, so do not expect the dough to feel as “bouncy” as a standard white loaf; it will naturally be a bit more slack and sticky. If the dough feels too difficult to handle, wet your hands frequently to prevent sticking rather than adding more flour. Finally, resist the urge to cut into the bread while it is hot. Rye bread needs several hours to “set” its internal structure, or the texture might turn gummy.
Delicious Variations
For a “Deli-Style” rye, add a tablespoon of molasses and a teaspoon of cocoa powder to the water; this creates a darker color and richer aroma. You can also incorporate toasted sunflower seeds or walnuts during the stretch and fold process for added crunch. If you prefer a lighter loaf, you can swap the dark rye flour for light rye flour. For a savory twist, add some dried onion flakes or a handful of grated sharp white cheddar into the dough during shaping.
Frequently Asked Questions
Can I use a starter that isn’t 100% rye?
Yes, you can use a standard wheat-based sourdough starter. The rye flour in the main recipe will provide plenty of that characteristic rye flavor. Your starter just needs to be active and bubbly.
What if I don’t have a Dutch oven?
You can bake the bread on a preheated baking stone or a heavy-duty baking sheet. To mimic the steam of a Dutch oven, place a shallow pan of boiling water on the bottom rack of the oven during the first 20 minutes of baking.
How do I know when the bulk fermentation is finished?
Look for signs of life rather than just size. The dough should feel light, jiggly when you shake the bowl, and you should see small air bubbles trapped just beneath the surface. It should not look flat or soupy.
Is rye flour gluten-free?
No, rye flour contains gluten, though it contains less than wheat flour. It also contains different types of proteins that make the dough stickier and less elastic than standard bread dough.
How should I store this bread?
Store the bread cut-side down on a wooden cutting board for the first day. For longer storage, wrap it in a linen bag or a paper bag and keep it at room temperature. Avoid the refrigerator, as it will cause the bread to stale faster.
Conclusion
Mastering this Sourdough Rye Bread Easy Homemade Beginner Artisan recipe is a rewarding journey into traditional baking. By following these steps, you have created a loaf that is rich in nutrients and bursting with complex flavors. Whether you enjoy it as the base for a gourmet sandwich or as a simple snack, this bread is sure to become a staple in your kitchen. Keep practicing your shaping and scoring, and soon you will be baking artisan loaves that rival any local bakery. Happy baking!