Follow Me On Pinterest!
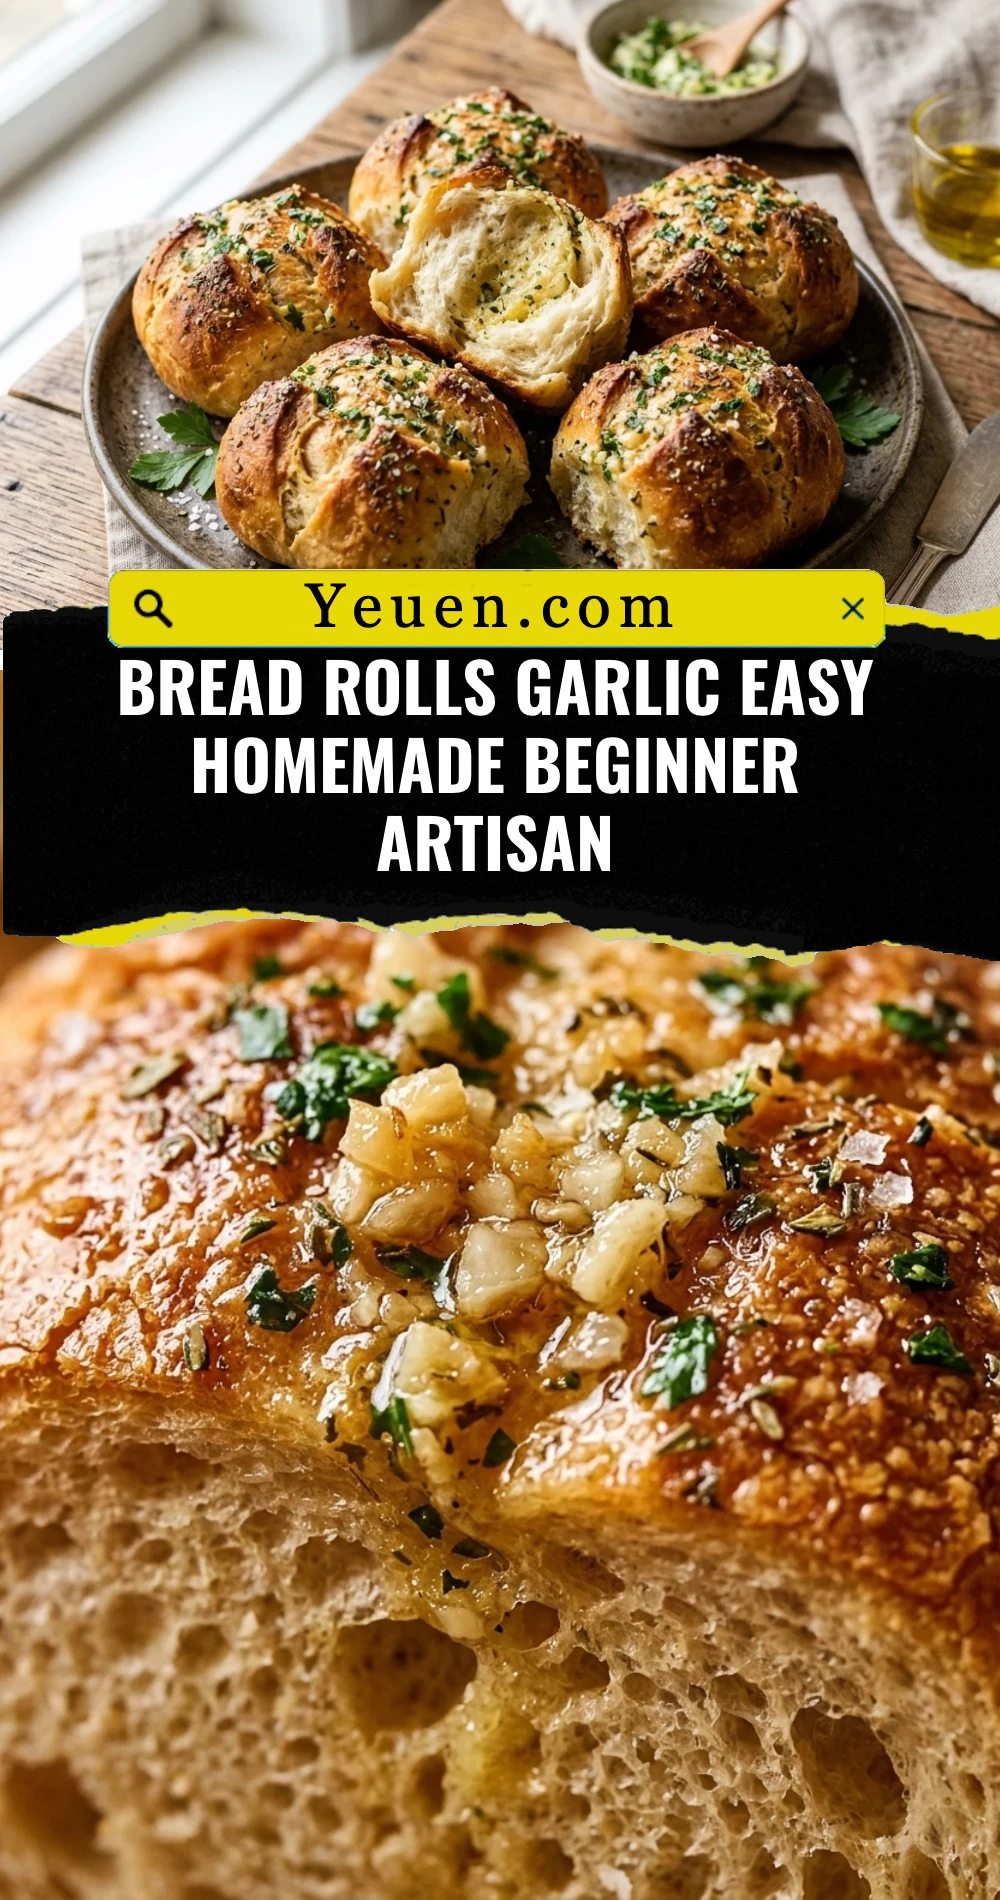
Bread Rolls Garlic Easy Homemade Beginner Artisan
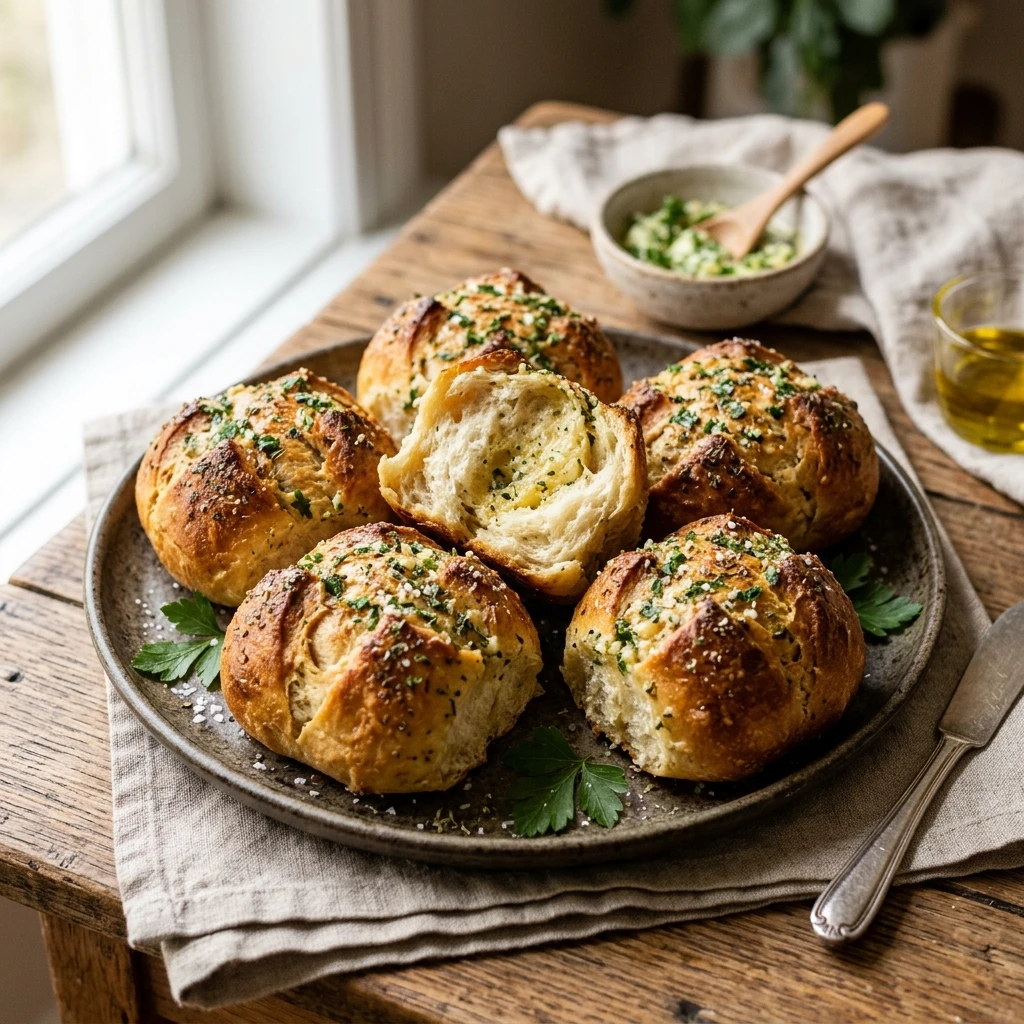
Imagine walking into your kitchen and being greeted by the intoxicating aroma of warm yeast and roasted garlic. There is truly nothing quite like the satisfaction of pulling a tray of golden, crusty artisan rolls out of your own oven. If you have always been intimidated by bread making, this recipe is your golden ticket to success. We have stripped away the complexity to bring you a foolproof, beginner-friendly method that yields professional bakery results without the stress. Get ready to impress your family with these pillowy, garlic-infused delights that pair perfectly with pasta, soup, or a simple Sunday roast.
Recipe Information
- Prep Time: 20 minutes (plus 90 minutes rising time)
- Cook Time: 20 minutes
- Total Time: 2 hours 10 minutes
- Servings: 12 rolls
- Difficulty: Easy
Nutrition values
- Calories: 185 kcal
- Protein: 5g
- Carbs: 28g
Why Make This Bread Rolls Garlic Easy Homemade Beginner Artisan
This recipe is designed specifically for the home cook who wants that “artisan” look and taste without needing years of experience or expensive equipment. You don’t need a heavy-duty stand mixer; your own two hands will do just fine. These rolls feature a thin, crispy crust and a soft, airy interior that creates the perfect vessel for garlic-infused butter. Since we use basic pantry staples, you can whip these up whenever the craving strikes. They are far superior to store-bought options and contain no preservatives, just pure, delicious flavor.
Ingredients
- 3 ½ cups Bread Flour (or All-Purpose Flour)
- 1 ½ cups Warm Water (105°F to 115°F)
- 2 ¼ teaspoons Active Dry Yeast (1 packet)
- 1 tablespoon Granulated Sugar
- 1 ½ teaspoons Salt
- 2 tablespoons Olive Oil
- 4 tablespoons Unsalted Butter, melted
- 3 cloves Garlic, minced
- 1 tablespoon Fresh Parsley, finely chopped
- ½ teaspoon Garlic Powder
Directions
Step 1: Activate the Yeast
In a large mixing bowl, combine the warm water, sugar, and active dry yeast. Stir gently and let it sit for about 5 to 10 minutes. You will know it is ready when the mixture becomes foamy and smells earthy. This “blooming” process ensures your yeast is alive and ready to make your bread rise.
Step 2: Mix and Knead the Dough
Add the olive oil, salt, and garlic powder to the yeast mixture. Gradually stir in the flour, one cup at a time, until a shaggy dough forms. Turn the dough out onto a lightly floured surface. Knead the dough by hand for about 8 to 10 minutes. Push the dough away from you with the heels of your hands, fold it back, and rotate. Repeat until the dough is smooth, elastic, and slightly tacky but not sticky.
Step 3: The First Rise
Lightly grease a clean bowl with a little oil. Place the dough inside and turn it to coat it in the oil. Cover the bowl with a clean kitchen towel or plastic wrap. Place it in a warm, draft-free spot and let it rise for about 60 minutes, or until it has doubled in size.
Step 4: Shape the Rolls
Gently punch down the risen dough to release the air. Divide the dough into 12 equal pieces. Roll each piece into a smooth ball by tucking the edges underneath. Place the balls on a baking sheet lined with parchment paper, leaving about two inches of space between each roll for expansion.
Step 5: The Second Rise
Cover the shaped rolls with a light towel and let them rise again for 30 minutes. This second rise is crucial for a light and airy texture. While the rolls rise, preheat your oven to 400°F (200°C).
Step 6: Bake to Golden Perfection
Place the baking sheet in the center rack of the oven. Bake for 18 to 20 minutes. The rolls should be golden brown on top and sound hollow when you gently tap the bottom. For an extra artisan touch, you can spray a little water into the oven during the first minute of baking to create steam.
Step 7: The Garlic Butter Finish
While the rolls are baking, whisk together the melted butter, minced fresh garlic, and chopped parsley. As soon as the rolls come out of the oven, brush them generously with the garlic butter mixture. Let them cool for at least 10 minutes before serving to allow the crumb to set.
Expert Tips for Perfect Bread Rolls Garlic Easy Homemade Beginner Artisan
- Check Your Water Temp: Use a thermometer to ensure your water is between 105°F and 115°F. If it is too hot, it will kill the yeast; if it is too cold, the yeast won’t activate.
- Don’t Over-Flour: It is tempting to keep adding flour while kneading, but too much flour makes for heavy, dense rolls. Use just enough to keep it from sticking to your hands.
- Use Bread Flour: While All-Purpose works, Bread Flour has a higher protein content, which creates more gluten and a better “chew” for that artisan texture.
- Fresh Garlic is Best: For the topping, use fresh cloves rather than the jarred variety for a much punchier, authentic flavor.
Delicious Variations
- Cheesy Garlic Rolls: Add a half-cup of shredded mozzarella or parmesan cheese into the dough during the kneading process.
- Everything Bagel Style: Sprinkle everything bagel seasoning over the garlic butter for an extra crunch and savory kick.
- Herb Garden: Replace parsley with fresh rosemary, thyme, or oregano for a more sophisticated Mediterranean flavor profile.
- Spicy Garlic: Mix a teaspoon of red pepper flakes into the butter topping if you enjoy a little heat.
Frequently Asked Questions
Can I use All-Purpose flour instead of Bread Flour?
Yes, you can! The rolls will be slightly softer and less chewy, but they will still be delicious. You may need slightly less water, so add the flour gradually.
How do I know if my yeast is still good?
If your yeast mixture doesn’t become foamy after 10 minutes in warm water with sugar, the yeast is likely dead. Toss it out and start over with a fresh packet to avoid wasting your flour.
Can I make the dough ahead of time?
Absolutely. You can let the dough do its first rise in the refrigerator overnight. Cold fermentation actually develops more flavor. Just let it come to room temperature before shaping the rolls.
How should I store leftover rolls?
Keep them in an airtight bag at room temperature for up to 3 days. To revive that “just baked” feel, pop them in a 350°F oven for 5 minutes before eating.
Can I freeze these bread rolls?
Yes! These freeze beautifully. Once cooled, place them in a freezer-safe bag for up to 3 months. Thaw at room temperature and reheat in the oven for the best results.
Conclusion
Mastering the art of the Bread Rolls Garlic Easy Homemade Beginner Artisan recipe is a rewarding journey that begins with simple ingredients and ends with a masterpiece. Whether you are hosting a dinner party or just want to level up your weekday meal, these rolls provide that perfect touch of homemade warmth. Once you taste the difference between these fresh rolls and the store-bought variety, you will never want to go back. Happy baking!