
Follow Me On Pinterest!
10 Min Prep Cherry Pie Store Crust No Rolling Easy Thanksgiving No Fail
Thanksgiving is the ultimate marathon for home cooks, and usually, the dessert table is the most stressful part. Between the turkey, the sides, and the seating charts, nobody has time to spend hours chilling and rolling out fussy homemade dough. That is why this 10 Min Prep Cherry Pie Store Crust No Rolling Easy Thanksgiving No Fail recipe is an absolute lifesaver. It gives you that classic, deep-red cherry filling and a perfectly golden, flaky crust without the kitchen floor being covered in flour. Whether you are a baking novice or a seasoned host looking to cut corners without sacrificing flavor, this recipe delivers a show-stopping dessert in record time.
Recipe Information
- Prep Time: 10 minutes
- Cook Time: 50 minutes
- Total Time: 1 hour
- Servings: 8 servings
- Difficulty: Easy
Nutrition values
- Calories: 315 kcal
- Protein: 3g
- Carbs: 48g
Why Make This 10 Min Prep Cherry Pie Store Crust No Rolling Easy Thanksgiving No Fail
This recipe is the ultimate solution for holiday stress. By using a high-quality store-bought refrigerated crust, you bypass the most difficult part of pie-making. There is no rolling pin required, no worrying about “cutting in” cold butter, and no shrinkage in the oven. The canned cherry filling is enhanced with a few simple pantry staples to make it taste completely homemade. It is a “no-fail” method because the ingredients are consistent and the steps are foolproof. When you need a reliable, delicious, and beautiful dessert for your Thanksgiving spread but only have ten minutes to spare, this is the recipe you grab.
Ingredients
- 1 box (14.1 oz) refrigerated pie crusts (contains two crusts)
- 2 cans (21 oz each) premium cherry pie filling
- 1/2 teaspoon almond extract
- 1 teaspoon lemon juice
- 1 egg (for egg wash)
- 1 tablespoon water
- 2 tablespoons coarse sparkling sugar
Directions
Step 1: Preparation
Preheat your oven to 425°F (220°C). Remove the refrigerated pie crusts from the box and let them sit at room temperature for about 15 minutes so they become pliable. Gently unroll one crust and press it into a 9-inch glass or ceramic pie plate. Do not stretch the dough; simply let it fall into the corners of the dish.
Step 2: Enhance the Filling
In a medium mixing bowl, empty both cans of cherry pie filling. Stir in the almond extract and lemon juice. These two small additions brighten the flavor of the canned fruit and give it a sophisticated, “from-scratch” taste. Pour the mixture into the prepared bottom crust.
Step 3: Top and Seal
Unroll the second pie crust and place it directly over the cherry filling. Trim any excess dough hanging over the edge to about half an inch. Fold the top crust under the bottom crust edge and crimp them together with your fingers or a fork to seal. Use a sharp knife to cut 4 or 5 small slits in the center of the top crust to allow steam to escape.
Step 4: The Finishing Touch
Whisk the egg and water together in a small bowl to create an egg wash. Brush the entire top of the pie lightly with the egg wash using a pastry brush. Sprinkle the coarse sparkling sugar generously over the top. This provides a professional crunch and a beautiful holiday shimmer.
Step 5: Baking
Place the pie on a baking sheet to catch any potential drips. Bake at 425°F for the first 15 minutes, then reduce the oven temperature to 375°F. Continue baking for another 30 to 35 minutes, or until the crust is a deep golden brown and the filling is bubbling through the vents. If the edges brown too quickly, cover them with a pie shield or aluminum foil.
Step 6: Plating
Remove the pie from the oven and place it on a wire rack. Let the pie cool completely—at least 2 to 3 hours—before slicing. This allows the filling to set so you get clean, beautiful slices. Serve as is or with a large scoop of vanilla bean ice cream.
Expert Tips for Perfect 10 Min Prep Cherry Pie Store Crust No Rolling Easy Thanksgiving No Fail
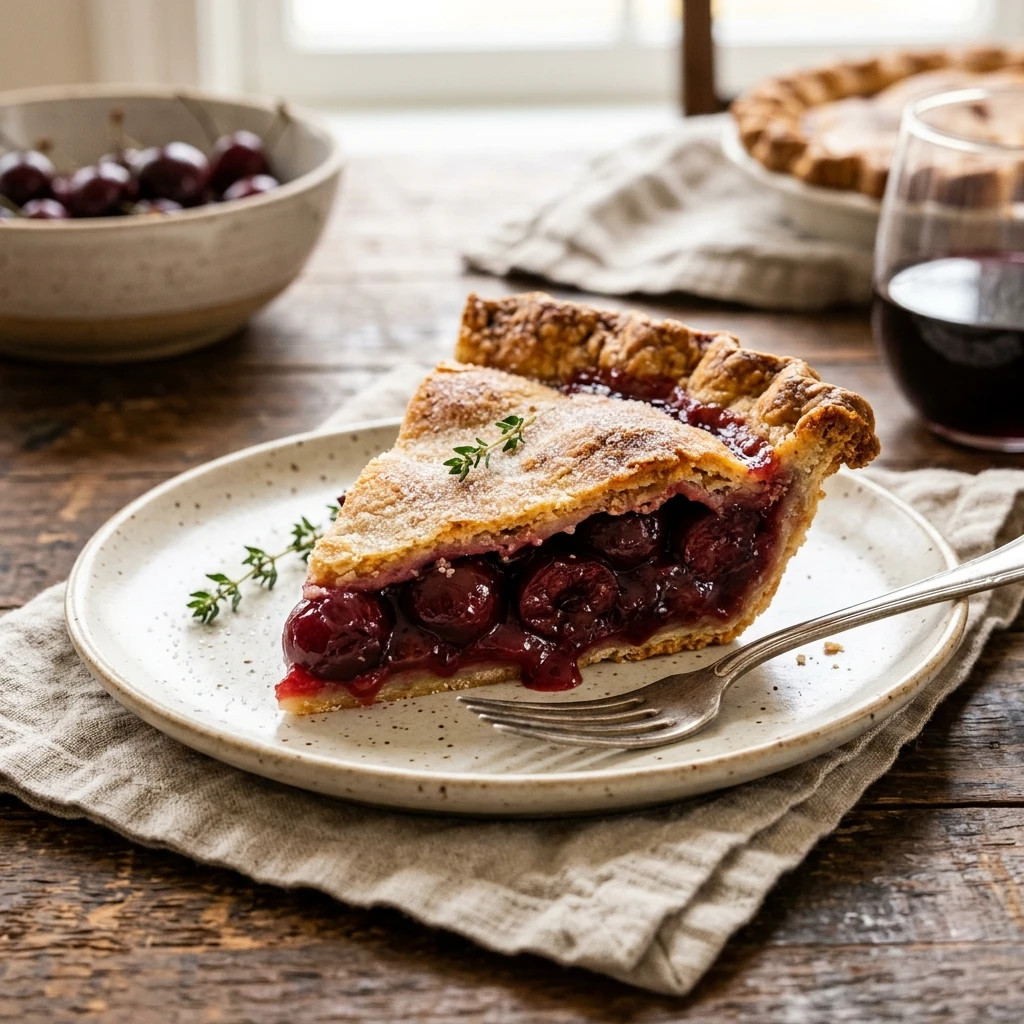
To ensure your pie looks as good as it tastes, always use an egg wash. This is the secret to that glossy, bakery-style finish. If you want to avoid a “soggy bottom,” bake your pie on the lowest rack of the oven for the first 15 minutes. This helps the bottom crust crisp up before the fruit juices soak in. Finally, don’t skip the cooling time! A hot pie will run all over the plate, but a cooled pie holds its shape perfectly for your Thanksgiving guests.
Delicious Variations
- Chocolate Cherry: Stir 1/2 cup of semi-sweet chocolate chips into the cherry filling before baking.
- Lattice Top: Instead of a solid top crust, cut the second crust into strips and weave them for a more intricate look.
- Crumb Topping: Replace the top crust with a mixture of flour, brown sugar, and cold butter for a Dutch Cherry Pie style.
- Holiday Spice: Add 1/4 teaspoon of ground cinnamon and a pinch of nutmeg to the filling for a warmer flavor profile.
Frequently Asked Questions
Can I use frozen pie crust instead of refrigerated?
Yes, but make sure to thaw the frozen crust completely according to the package instructions so it does not crack when you unroll it.
How do I store leftovers?
You can store this pie at room temperature for up to two days, covered loosely with foil or plastic wrap. For longer storage, keep it in the refrigerator for up to 5 days.
Do I need to grease the pie pan?
No, refrigerated pie crusts have enough fat content that they generally do not stick to the pan. However, you can lightly grease it if you are using an older ceramic dish.
Can I make this pie ahead of time?
Absolutely. You can bake this pie a full day before Thanksgiving. It actually slices better after sitting overnight at room temperature.
What if I don’t have almond extract?
You can substitute it with vanilla extract, though the almond extract provides that classic “cherry” flavor profile that most people love.
Conclusion
The 10 Min Prep Cherry Pie Store Crust No Rolling Easy Thanksgiving No Fail is proof that you don’t need to spend all day in the kitchen to produce a stunning holiday dessert. By utilizing smart shortcuts and simple flavor enhancers, you can serve a pie that looks like it came from a high-end bakery. Save your energy for the main course and let this easy, delicious cherry pie be the stress-free star of your Thanksgiving table this year.









