Follow Me On Pinterest!
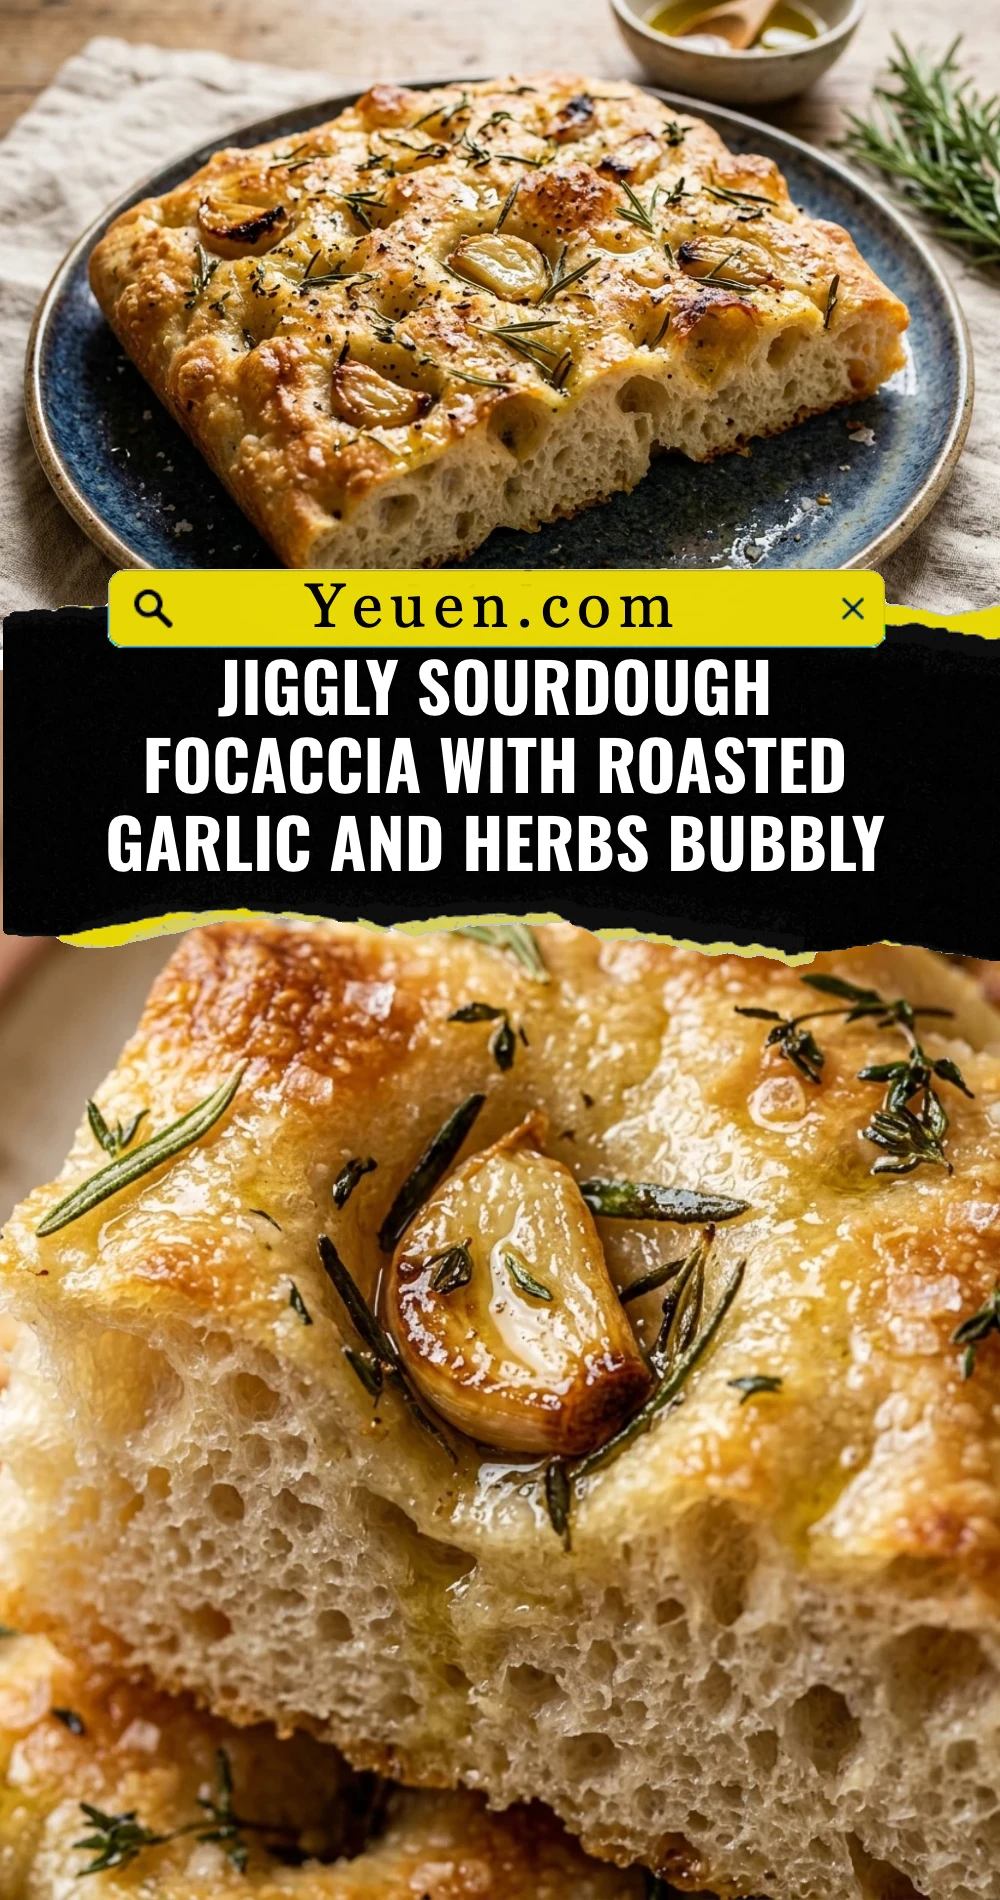
Jiggly Sourdough Focaccia With Roasted Garlic And Herbs Bubbly
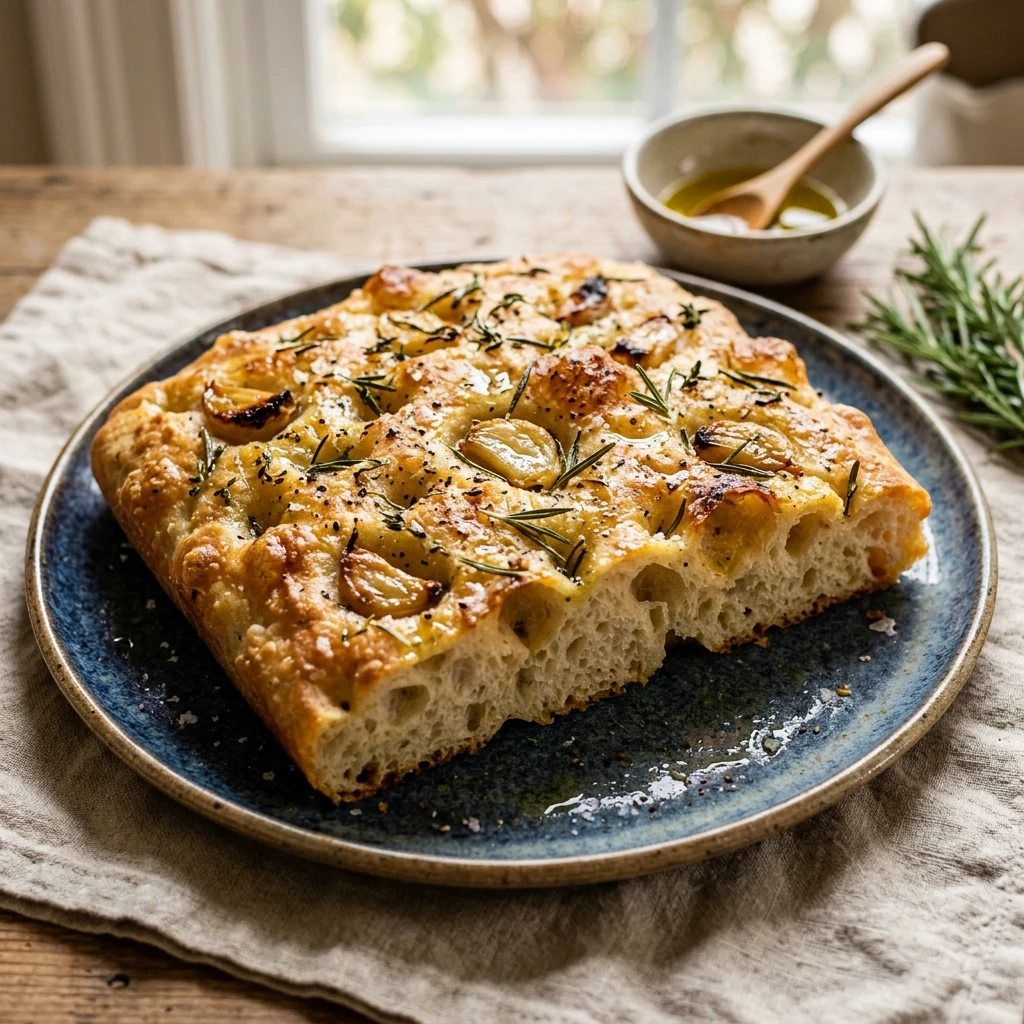
There is something incredibly therapeutic about poking your fingers into a cold, bubbly sourdough dough. This jiggly sourdough focaccia is the ultimate labor of love, combining the tangy complexity of a slow-fermented starter with the mellow, buttery sweetness of roasted garlic. When you pull this out of the oven, the crust crackles under your knife, revealing a soft, airy interior that practically bounces back. It is the kind of bread that demands to be the center of the table, shimmering with golden olive oil and fragrant with toasted herbs. Whether you are a seasoned bread baker or just starting your sourdough journey, this recipe yields that elusive, “shatteringly crisp yet pillow-soft” texture every single time.
Recipe Information
- Prep Time: 18 hours (includes active mixing and long fermentation)
- Cook Time: 25 minutes
- Total Time: 18 hours 25 minutes
- Servings: 10 servings
- Difficulty: Medium
Nutrition values
- Calories: 265 kcal per serving
- Protein: 7g
- Carbs: 42g
Why Make This Jiggly Sourdough Focaccia With Roasted Garlic And Herbs Bubbly
This recipe stands out because it prioritizes hydration and patience to achieve the “jiggly” characteristic that social media dreams are made of. By using a high-hydration dough and a long cold ferment, you develop deep flavors that a quick-rise yeast bread simply cannot match. The addition of roasted garlic provides a creamy, savory element that melts into the dough during baking. It is not just bread; it is a sensory experience. Plus, it is naturally vegan and uses simple, wholesome ingredients that transform into something gourmet.
Ingredients
- 100g active, bubbly sourdough starter (fed within 4-6 hours)
- 400g warm water (about 85°F)
- 500g high-quality bread flour
- 10g fine sea salt
- 50g extra virgin olive oil (plus more for the pan and drizzling)
- 1 whole head of garlic
- 1 tablespoon fresh rosemary, chopped
- 1 tablespoon fresh thyme leaves
- Flaky sea salt for finishing
Directions
Step 1: Roast the Garlic
Preheat your oven to 400°F (200°C). Cut the top off the head of garlic to expose the cloves. Place it on a piece of aluminum foil, drizzle with a little olive oil, and wrap it tightly. Bake for 35-40 minutes until the cloves are golden and soft. Once cool, squeeze the roasted cloves out of the skin into a small bowl and mash them into a paste. Set this aside for later.
Step 2: Mix the Initial Dough
In a large mixing bowl, whisk together the active sourdough starter and the warm water until the starter mostly dissolves. Add the bread flour and sea salt. Mix by hand or with a sturdy spatula until a shaggy dough forms and no dry flour remains. Cover the bowl with a damp cloth and let it rest for 30 minutes to autolyse.
Step 3: Stretch and Folds
Over the next 2 hours, perform 4 sets of “stretch and folds” every 30 minutes. Wet your hands to prevent sticking, grab one side of the dough, pull it upward, and fold it over itself. Rotate the bowl and repeat four times per set. During the final set, gently fold in the roasted garlic paste. The dough will become smoother and more elastic with each set.
Step 4: Cold Fermentation
Drizzle two tablespoons of olive oil into a 9×13 inch metal baking pan or a large glass dish. Transfer the dough to the pan, turning it once to coat it in oil. Do not worry about spreading it to the corners yet. Cover the pan tightly with plastic wrap and place it in the refrigerator for 12 to 24 hours. This slow rise is the secret to the big bubbles and “jiggly” texture.
Step 5: Final Proof and Dimpling
Remove the dough from the fridge 2 to 3 hours before you plan to bake. Let it sit in a warm spot. As it warms up, it will naturally spread to the edges of the pan. Once the dough is room temperature and looks very bubbly (and jiggles when you shake the pan), preheat your oven to 425°F (220°C). Drizzle more olive oil over the top. Use your fingertips to press straight down into the dough to create deep dimples. Sprinkle with fresh rosemary, thyme, and flaky sea salt.
Step 6: Baking
Place the pan in the center of the oven and bake for 20-25 minutes. The top should be deeply golden brown, and the edges should look crispy. For an extra-crispy bottom, you can move the pan to the lowest rack for the last 5 minutes. Remove from the oven and let it cool in the pan for 5 minutes before transferring it to a wire rack. This prevents the bottom from getting soggy.
Expert Tips for Perfect Jiggly Sourdough Focaccia With Roasted Garlic And Herbs Bubbly
To get those massive bubbles, ensure your sourdough starter is at its absolute peak activity before mixing. Always use a high-protein bread flour rather than all-purpose flour; the extra gluten is necessary to hold the air bubbles. If your dough feels too sticky to handle during the dimpling process, oil your hands generously. Finally, do not be afraid of the olive oil. Focaccia is essentially fried in the pan, and the oil is what creates that signature golden crust.
Delicious Variations
- Tomato and Pesto: Press halved cherry tomatoes and dollops of basil pesto into the dimples before baking.
- Jalapeño and Cheddar: Top with thin slices of jalapeño and a handful of sharp white cheddar cheese for a spicy kick.
- Caramelized Onion: Sauté thinly sliced red onions in balsamic vinegar until sweet and jammy, then spread them over the dough before dimpling.
- Lemon and Olive: Use Castelvetrano olives and very thin slices of lemon for a bright, Mediterranean flair.
Frequently Asked Questions
Can I use active dry yeast instead of a sourdough starter?
Yes, you can substitute the 100g of starter with 7g of active dry yeast mixed with an extra 50g of flour and 50g of water. However, the flavor will be less complex, and you may only need 1-2 hours for the initial rise instead of the overnight ferment.
Why didn’t my focaccia get big bubbles?
This usually happens if the starter wasn’t active enough or if the dough didn’t proof long enough at room temperature after coming out of the fridge. The dough must be very wiggly and visible bubbles should be present before you dimple it.
How do I store leftovers?
Store leftovers in an airtight container at room temperature for up to 2 days. To revive the texture, toast slices in a pan with a little butter or in a 350°F oven until warmed through and crispy again.
Can I bake this in a cast-iron skillet?
Absolutely! A large cast-iron skillet creates an incredibly crispy, almost deep-fried bottom crust. Just ensure the skillet is well-oiled before adding the dough.
What if my dough is too sticky to stretch?
High hydration dough is naturally very sticky. Avoid adding more flour. Instead, keep your hands wet with water during the stretch and fold phase, and use plenty of olive oil during the final shaping phase.
Conclusion
Mastering this jiggly sourdough focaccia is a rewarding journey that fills your kitchen with the most incredible aroma of roasted garlic and fresh herbs. The combination of the long cold ferment and the high hydration results in a bread that is as beautiful to look at as it is delicious to eat. Serve it alongside a bowl of pasta, use it for the ultimate sandwich, or simply enjoy it warm with a side of balsamic vinegar and oil. Once you taste the difference that sourdough makes, you will never go back to basic focaccia again!