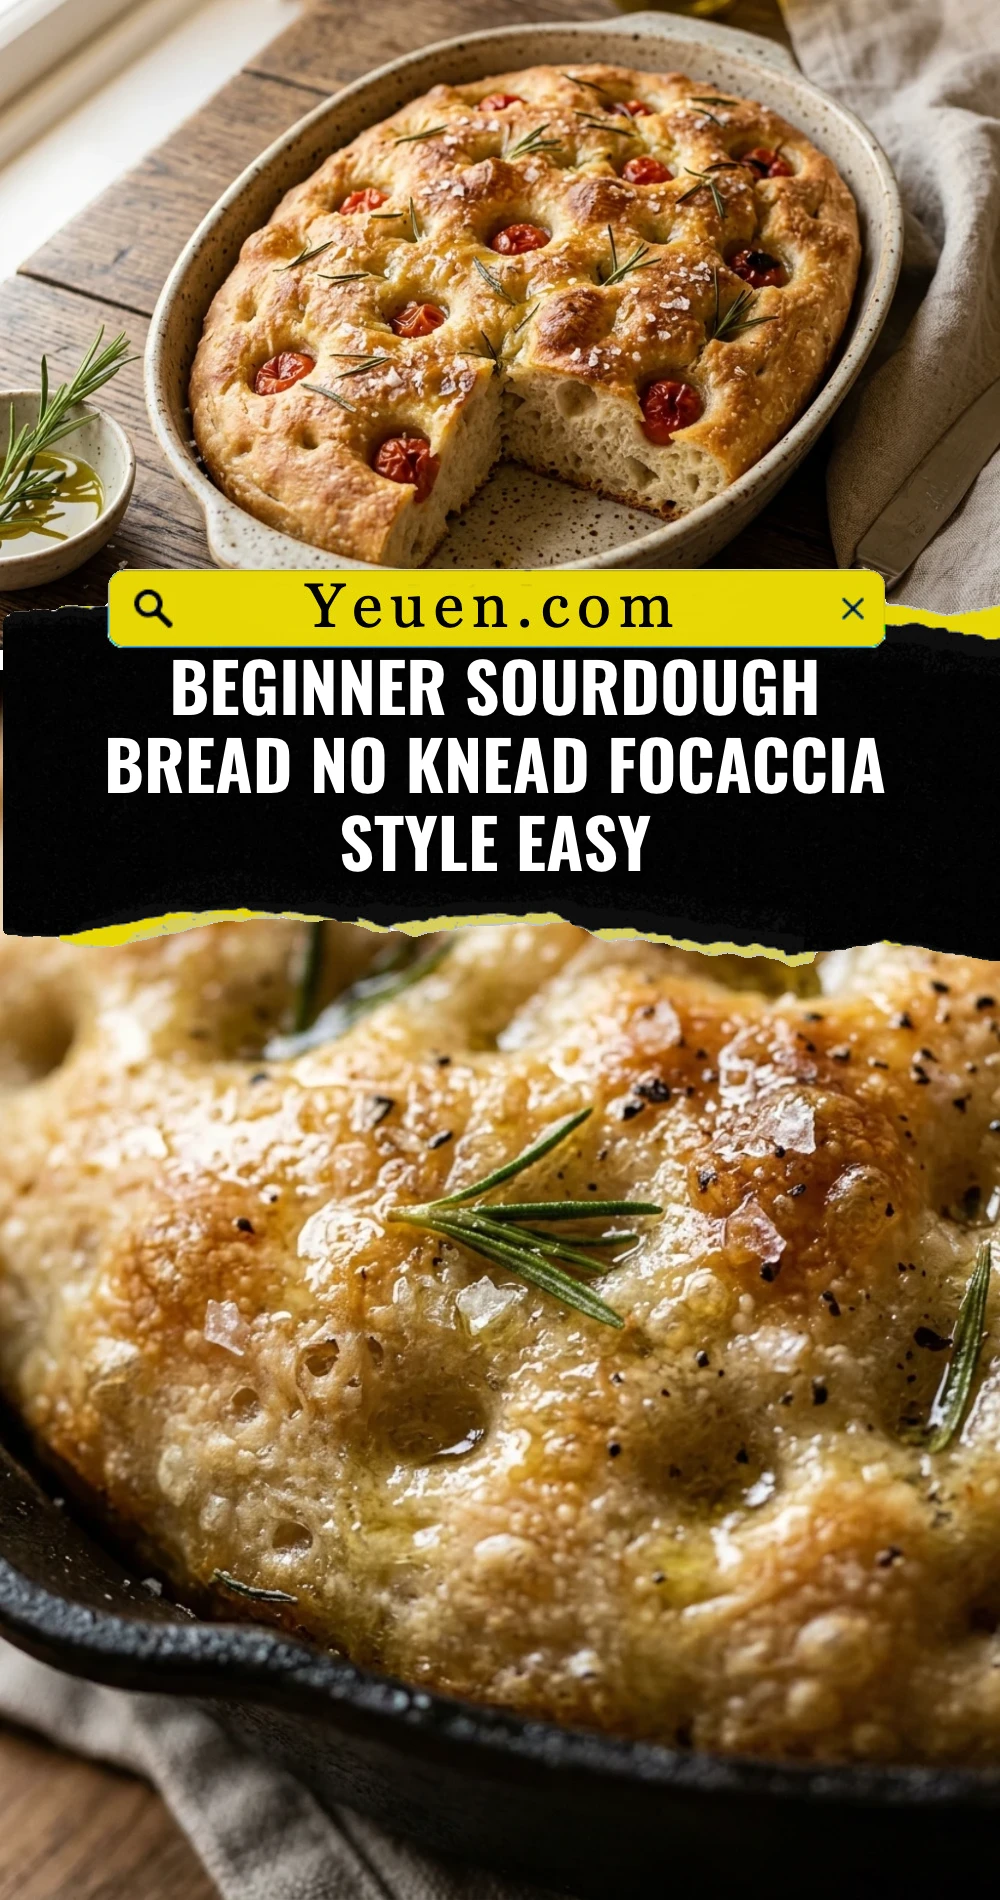
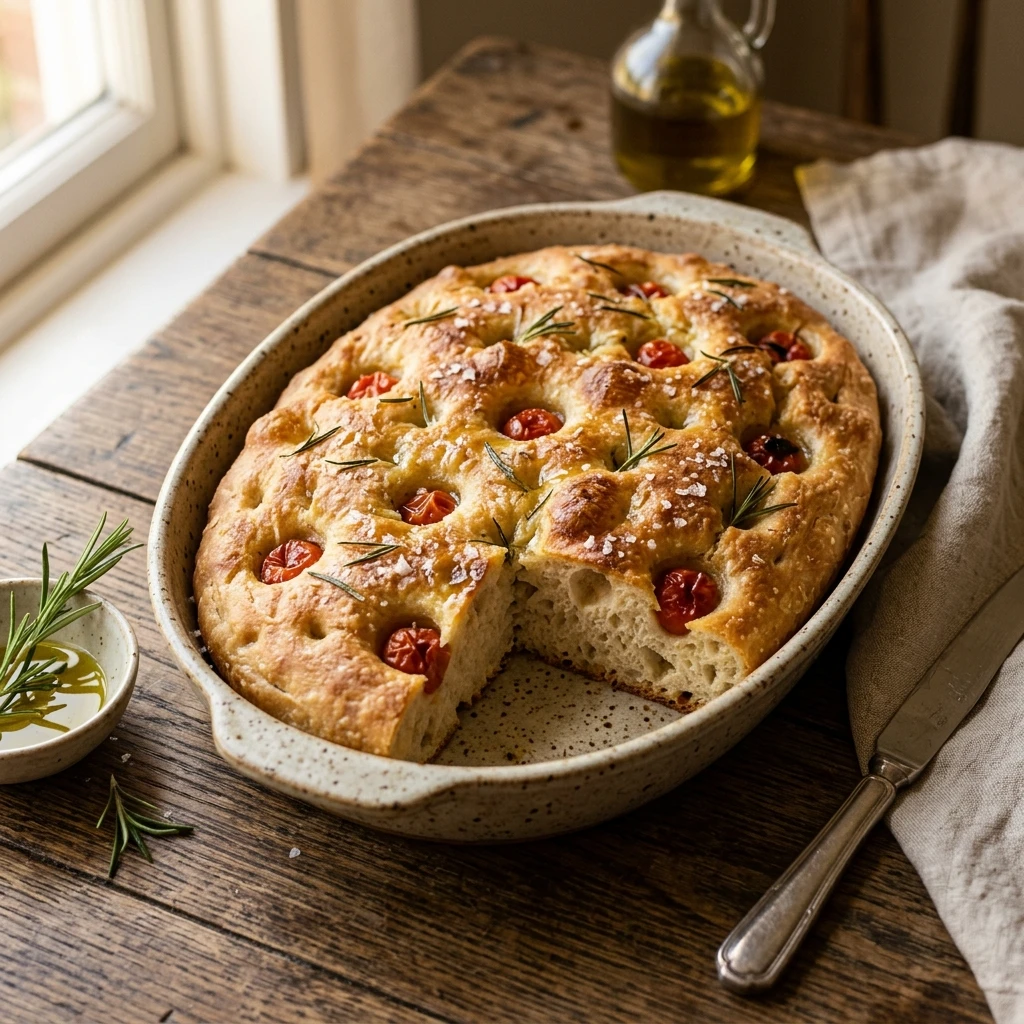
Beginner Sourdough Bread No Knead Focaccia Style Easy
If you have ever felt intimidated by the complex world of sourdough, this beginner-friendly, no-knead focaccia is your perfect entry point. Forget the stressful shaping techniques and the delicate scoring of traditional boules; this recipe embraces the natural, bubbly chaos of high-hydration dough. With a golden, crispy bottom and a soft, pillowy interior, this bread delivers all the tangy complexity of sourdough with a fraction of the effort. It is the ultimate “set it and forget it” bread that will make you look like a pro baker on your very first try.
Recipe Information
Prep Time: 20 minutes (active time)
Cook Time: 25 minutes
Total Time: 18 hours (includes proofing)
Servings: 8 servings
Difficulty: Easy
Nutrition values
Calories: 210 kcal per serving
Protein: 6g
Carbs: 38g
Why Make This Beginner Sourdough Bread No Knead Focaccia Style Easy
This recipe removes the steep learning curve usually associated with sourdough. You do not need a Dutch oven, a proofing basket, or even a bench scraper. The high hydration level ensures a moist crumb, while the olive oil creates a decadent, fried-bottom crust that is impossible to resist. It is incredibly forgiving—if your dough looks a bit messy, the dimpling process hides all flaws. Plus, the slow fermentation process makes the gluten easier to digest and enhances the flavor naturally.
Ingredients
100g active sourdough starter (bubbly and fed)
375g warm filtered water
500g all-purpose flour or bread flour
10g fine sea salt
20g extra virgin olive oil (for the dough)
Additional 3-4 tablespoons olive oil (for the pan and drizzling)
Flaky sea salt and fresh rosemary for topping
Directions
Step 1: Mix the Initial Dough
In a large glass bowl, whisk together the warm water and active sourdough starter until the starter mostly dissolves and the water looks milky. Add the 500g of flour and 10g of salt. Use a sturdy spatula or your hands to mix until no dry flour remains. Drizzle 20g of olive oil over the top and squeeze the dough to incorporate the oil. Cover the bowl with a damp cloth or plastic wrap and let it rest for 30 minutes.
Step 2: Perform Stretch and Folds
After the rest, perform one set of “stretch and folds.” Reach under one side of the dough, pull it upward, and fold it over the center. Rotate the bowl and repeat this 4 times until the dough feels slightly tighter. Cover and let it sit for another 30 minutes. Repeat this process one or two more times to build strength without kneading. Once finished, cover the bowl and let the dough ferment at room temperature for 8 to 12 hours (or until it has doubled in size and looks bubbly).
Step 3: Transfer and Pan Proof
Generously coat a 9×13 inch baking pan with 2 tablespoons of olive oil. Gently tip the fermented dough into the pan. Do not force it to the corners yet. Flip the dough once so it is coated in oil. Let it rest, uncovered, for 2 to 4 hours. During this time, the dough will naturally spread to fill the pan and become very jiggly and full of air bubbles.
Step 4: Dimple and Season
Preheat your oven to 425°F (220°C). Drizzle the top of the dough with another tablespoon of olive oil. Grease your fingers and press them straight down into the dough to create deep dimples all over the surface. The dough should bubble up around your fingers. Sprinkle generously with flaky sea salt and fresh rosemary needles.
Step 5: Bake and Cool
Place the pan on the middle rack of the oven. Bake for 20 to 25 minutes, or until the top is deeply golden brown and the edges are crispy. For an extra-crispy bottom, you can move the pan to the lowest rack for the last 5 minutes. Remove from the oven and let it cool in the pan for 10 minutes before transferring it to a wire rack. This prevents the bottom from getting soggy.
Expert Tips for Perfect Beginner Sourdough Bread No Knead Focaccia Style Easy
Always use a kitchen scale for the most accurate results; volume measurements can vary wildly with flour. Ensure your starter is at its peak—meaning it has doubled in size and passes the “float test” in water. If your kitchen is cold, your bulk fermentation might take longer than 12 hours. Look for bubbles on the surface and a wobbly texture rather than just watching the clock. Finally, do not be afraid of the olive oil; it is the key to that signature focaccia crunch.
Delicious Variations
Garlic and Parmesan: Press thinly sliced garlic cloves into the dimples and top with grated parmesan cheese before baking.
Cherry Tomato and Basil: Halve cherry tomatoes and press them into the dough, then garnish with fresh basil leaves after the bread comes out of the oven.
Everything Bagel Style: Skip the rosemary and use a generous coating of everything bagel seasoning for a savory twist.
Caramelized Onion: Sauté onions until dark and sweet, then spread them over the dough before the final dimpling.
Frequently Asked Questions
Can I use discard instead of active starter?
For this specific no-knead recipe, an active, bubbly starter is highly recommended to ensure the dough rises properly. If you use discard, the bread will be much denser and won’t have the signature airy bubbles.
What if my dough is too sticky to handle?
Sourdough focaccia is naturally a high-hydration (sticky) dough. Do not add more flour! Wet your hands with water or oil before touching the dough to prevent it from sticking to your skin.
How do I store the leftovers?
Store the focaccia in an airtight container at room temperature for up to two days. To revive the crispy texture, toast it in a 350°F oven for 5 minutes.
Can I let the dough rise in the fridge?
Yes! After the initial mix and stretch-and-folds, you can put the covered bowl in the fridge for up to 3 days. This “cold ferment” actually improves the flavor significantly. Just let it come to room temperature before the final pan proof.
Why didn’t my dough get big bubbles?
This usually happens if the starter wasn’t active enough or if the room was too cold during the bulk ferment. Ensure your starter is vigorous and give the dough more time to rise if necessary.
Conclusion
This beginner sourdough focaccia is the perfect bridge between simple baking and the art of sourdough. It requires very little active work but rewards you with a professional-quality loaf that tastes like it came from an artisanal bakery. Whether you serve it alongside a warm bowl of soup or use it for the ultimate sandwich bread, this recipe is sure to become a staple in your kitchen. Grab your starter, get mixing, and enjoy the wonderful aroma of fresh sourdough wafting through your home.