Follow Me On Pinterest!
No Knead Sourdough Focaccia With Garlic And Rosemary Jiggly
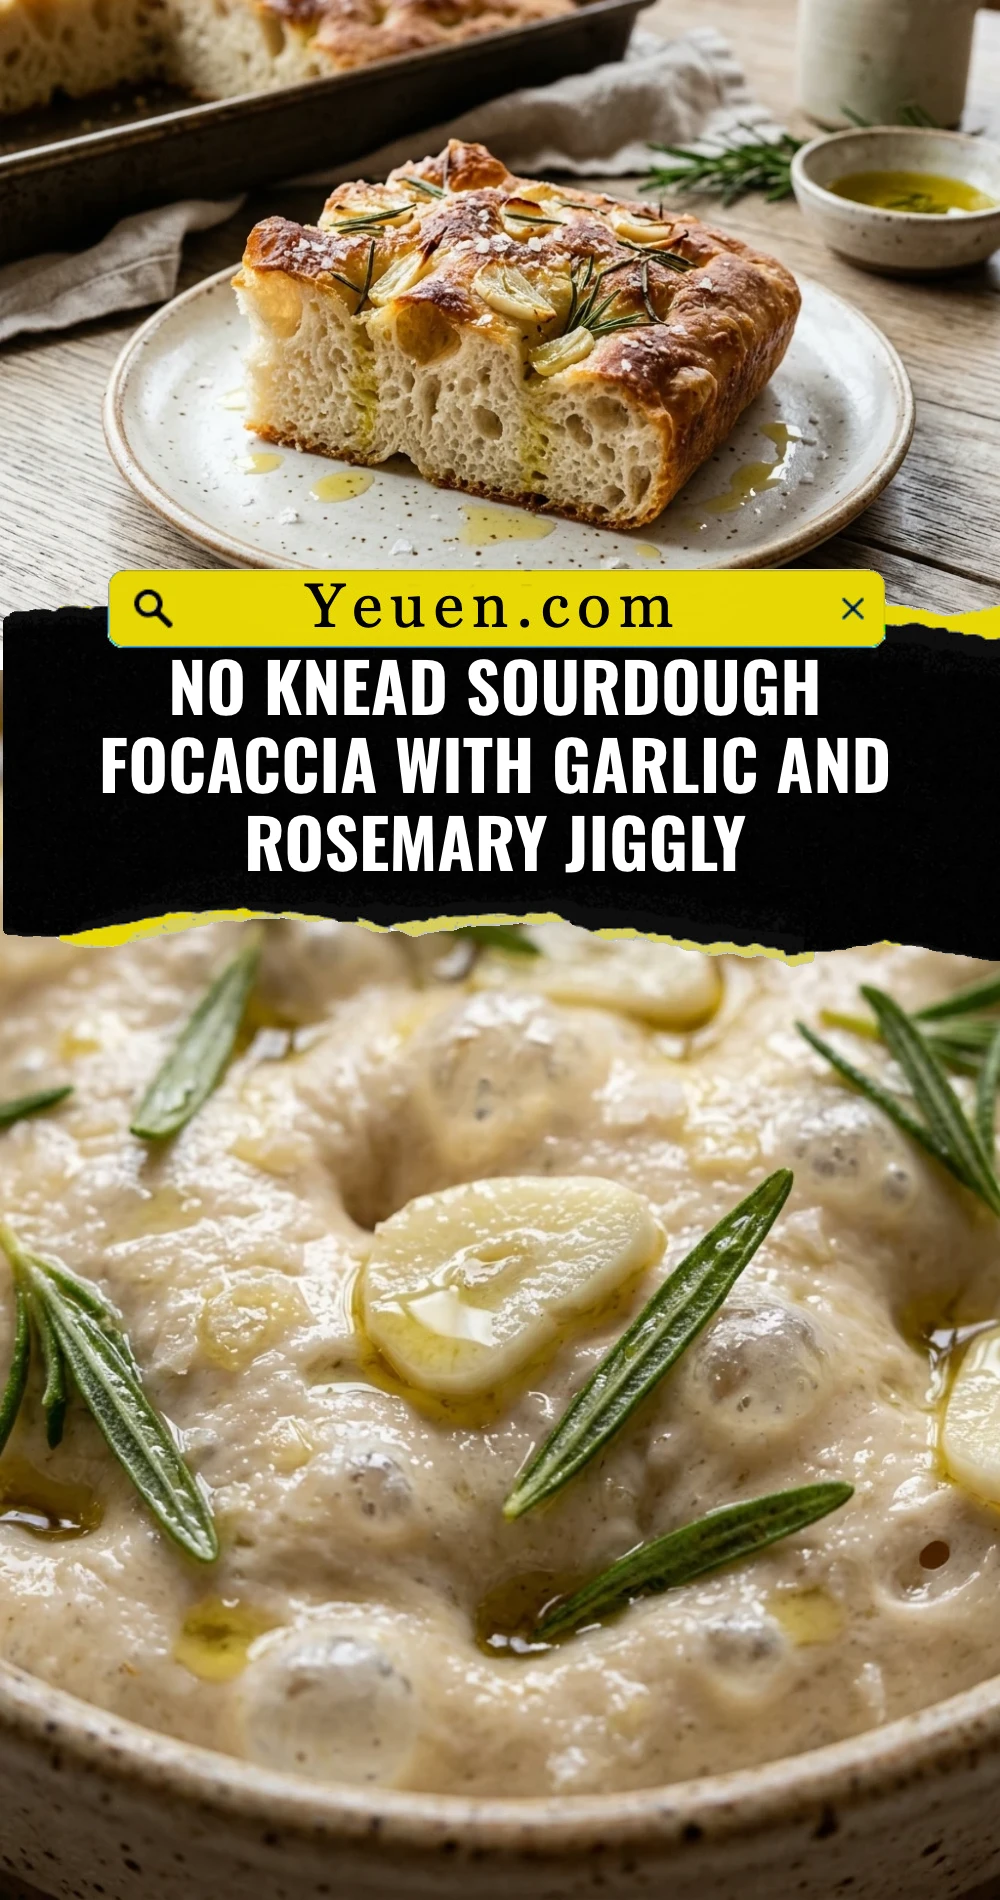
There is nothing quite like the sight of a sourdough focaccia dough that is so hydrated and bubbly it literally jiggles when you move the pan. This No Knead Sourdough Focaccia with Garlic and Rosemary is the ultimate “set it and forget it” bread project. By leveraging the power of a long, cold fermentation, we develop deep flavor and that signature airy crumb without ever having to break a sweat kneading. Imagine a golden, olive oil-soaked crust that shatters when you bite into it, giving way to a soft, pillowy interior infused with the earthy aroma of fresh rosemary and toasted garlic. It is the perfect side dish, sandwich bread, or standalone snack that looks like it came from a professional bakery but requires minimal active effort in your own kitchen.
Recipe Information
- Prep Time: 18 hours (includes fermentation time)
- Cook Time: 25 minutes
- Total Time: 18 hours 25 minutes
- Servings: 12 servings
- Difficulty: Medium
Nutrition values
- Calories: 210 kcal
- Protein: 5g
- Carbs: 38g
Why Make This No Knead Sourdough Focaccia With Garlic And Rosemary Jiggly
This recipe is a game-changer for anyone who loves sourdough but hates the complex shaping and high-maintenance schedules of traditional loaves. The “no-knead” method relies on time and hydration to build gluten structure, resulting in a “jiggly” dough that is incredibly fun to work with. The addition of fresh garlic and rosemary creates a timeless flavor profile that appeals to everyone. Furthermore, because this dough undergoes a long cold ferment in the refrigerator, it is much easier to digest and develops those beautiful fermentation bubbles that everyone loves to see on social media. It is foolproof, impressive, and deeply satisfying.
Ingredients
- 100g active sourdough starter (bubbly and fed)
- 400g warm water
- 500g bread flour (or all-purpose flour)
- 10g sea salt
- 20g extra virgin olive oil (for the dough)
- 1/4 cup extra virgin olive oil (for the pan and drizzling)
- 3 cloves garlic, thinly sliced
- 2 sprigs fresh rosemary, leaves stripped
- Flaky sea salt for finishing
Directions
Step 1: Mixing the Dough
In a large mixing bowl, whisk together the active sourdough starter and warm water until the starter is mostly dissolved and the water looks milky. Add the bread flour and 10g of sea salt. Use a sturdy spatula or your hands to mix until a shaggy dough forms and no dry flour remains. Drizzle 20g of olive oil over the dough, turn it once to coat, then cover the bowl with a damp cloth or plastic wrap. Let it rest for 30 minutes to autolyse.
Step 2: Stretch and Folds
Over the next 2 hours, perform three sets of “stretch and folds” every 30 to 45 minutes. To do this, wet your hand, grab one side of the dough, pull it upward, and fold it over toward the center. Rotate the bowl and repeat this four times until you have gone all the way around. This builds strength in the dough without kneading. After the final set, the dough should look smoother and more cohesive.
Step 3: The Cold Ferment
Cover the bowl tightly with plastic wrap or a lid. Place it in the refrigerator for 12 to 14 hours (up to 24 hours). This slow fermentation is the secret to the “jiggly” texture and the complex sourdough tang. The cold temperature allows the gluten to relax while flavor-producing bacteria work their magic.
Step 4: The Pan Proof
Generously coat a 9×13 inch baking pan with olive oil. Gently transfer the cold dough into the pan. Do not force it to the corners yet; just flip it once to coat it in oil. Cover the pan and let the dough rise at room temperature for 2 to 4 hours. During this time, the dough will warm up, expand, and naturally fill the corners of the pan. It should look very bubbly and “jiggle” when the pan is shaken.
Step 5: Dimpling and Toppings
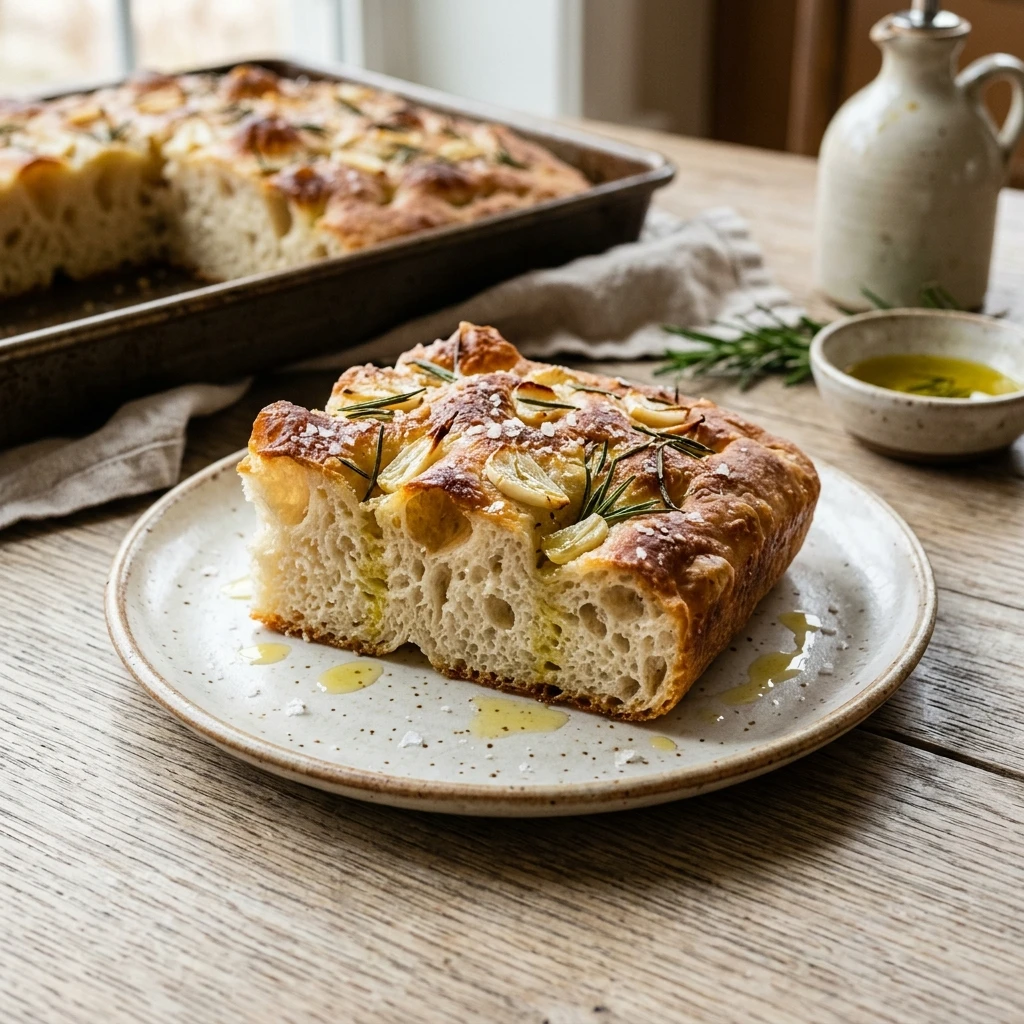
Preheat your oven to 425°F (220°C). Drizzle the top of the dough with more olive oil. Grease your fingers and press them straight down into the dough to create deep dimples all over the surface. Press the sliced garlic and rosemary leaves into the dimples so they don’t burn easily. Sprinkle generously with flaky sea salt.
Step 6: Baking to Perfection
Place the pan in the center of the oven and bake for 20 to 25 minutes. The focaccia is done when the top is a deep golden brown and the edges are crispy. For an extra-crispy bottom, you can bake it on the lowest rack for the last 5 minutes. Remove from the oven and let it cool in the pan for 5 minutes before transferring it to a wire rack to maintain the crispy crust.
Expert Tips for Perfect No Knead Sourdough Focaccia With Garlic And Rosemary Jiggly
- Use a High-Hydration Starter: Ensure your starter is active and fed about 4-6 hours before mixing. A liquid-like starter helps contribute to the high hydration needed for those big bubbles.
- Don’t Scrimp on Oil: Focaccia is essentially fried bread. Use high-quality extra virgin olive oil to ensure the bottom gets crispy and the flavor is rich.
- Wet Your Hands: When handling the dough during stretch and folds or dimpling, keep your hands wet or oiled to prevent the sticky dough from clinging to your skin.
- The Poke Test: If the dough springs back immediately when poked during the pan proof, it needs more time. It should leave a slight indentation that slowly fills back in.
- Avoid Burnt Garlic: If you find your garlic slices burn too quickly, soak them in a little olive oil for 10 minutes before placing them on the dough.
Delicious Variations
- Tomato and Pesto: Dot the surface with halved cherry tomatoes and swirls of basil pesto before baking.
- Caramelized Onion and Gruyere: Top with slow-cooked balsamic onions and a handful of shredded Gruyere cheese for a savory treat.
- Olive and Lemon: Use pitted Kalamata olives and very thin slices of lemon with extra cracked black pepper.
- Hot Honey and Pepperoni: Add crispy pepperoni slices before baking and drizzle with spicy honey immediately after taking it out of the oven.
Frequently Asked Questions
- Can I use sourdough discard instead of active starter? It is best to use an active, bubbly starter for the most lift. However, if your discard is relatively fresh, you can use it, but your proofing times will likely be much longer.
- Why didn’t my dough get big bubbles? This is usually due to an inactive starter or under-proofing during the final pan rise. Make sure the dough is truly “jiggly” and airy before you put it in the oven.
- Can I bake this in a cast iron skillet? Absolutely! A 12-inch cast iron skillet works wonderfully and produces an even crispier, fried-bottom crust.
- How do I store leftovers? Store in an airtight container at room temperature for up to 2 days. To reheat, place slices in a 350°F oven or a toaster oven until the crust crisps back up.
- My garlic turned blue, is it safe? Yes! This is a natural reaction between the sulfur in garlic and the acidity in the sourdough. It is perfectly safe to eat.
Conclusion
Mastering the No Knead Sourdough Focaccia with Garlic and Rosemary is a rewarding journey that proves you don’t need a stand mixer or intense labor to create artisanal bread. The combination of the long cold ferment and the high hydration results in a texture that is light, airy, and incredibly addictive. Whether you are serving it at a dinner party or enjoying a slice with your morning coffee, this jiggly sourdough focaccia is sure to become a staple in your baking repertoire. Give it time, use plenty of oil, and enjoy the process of watching your dough come to life!