Follow Me On Pinterest!
Bubbly Jiggly Sourdough Focaccia No Knead For Beginners No Fail
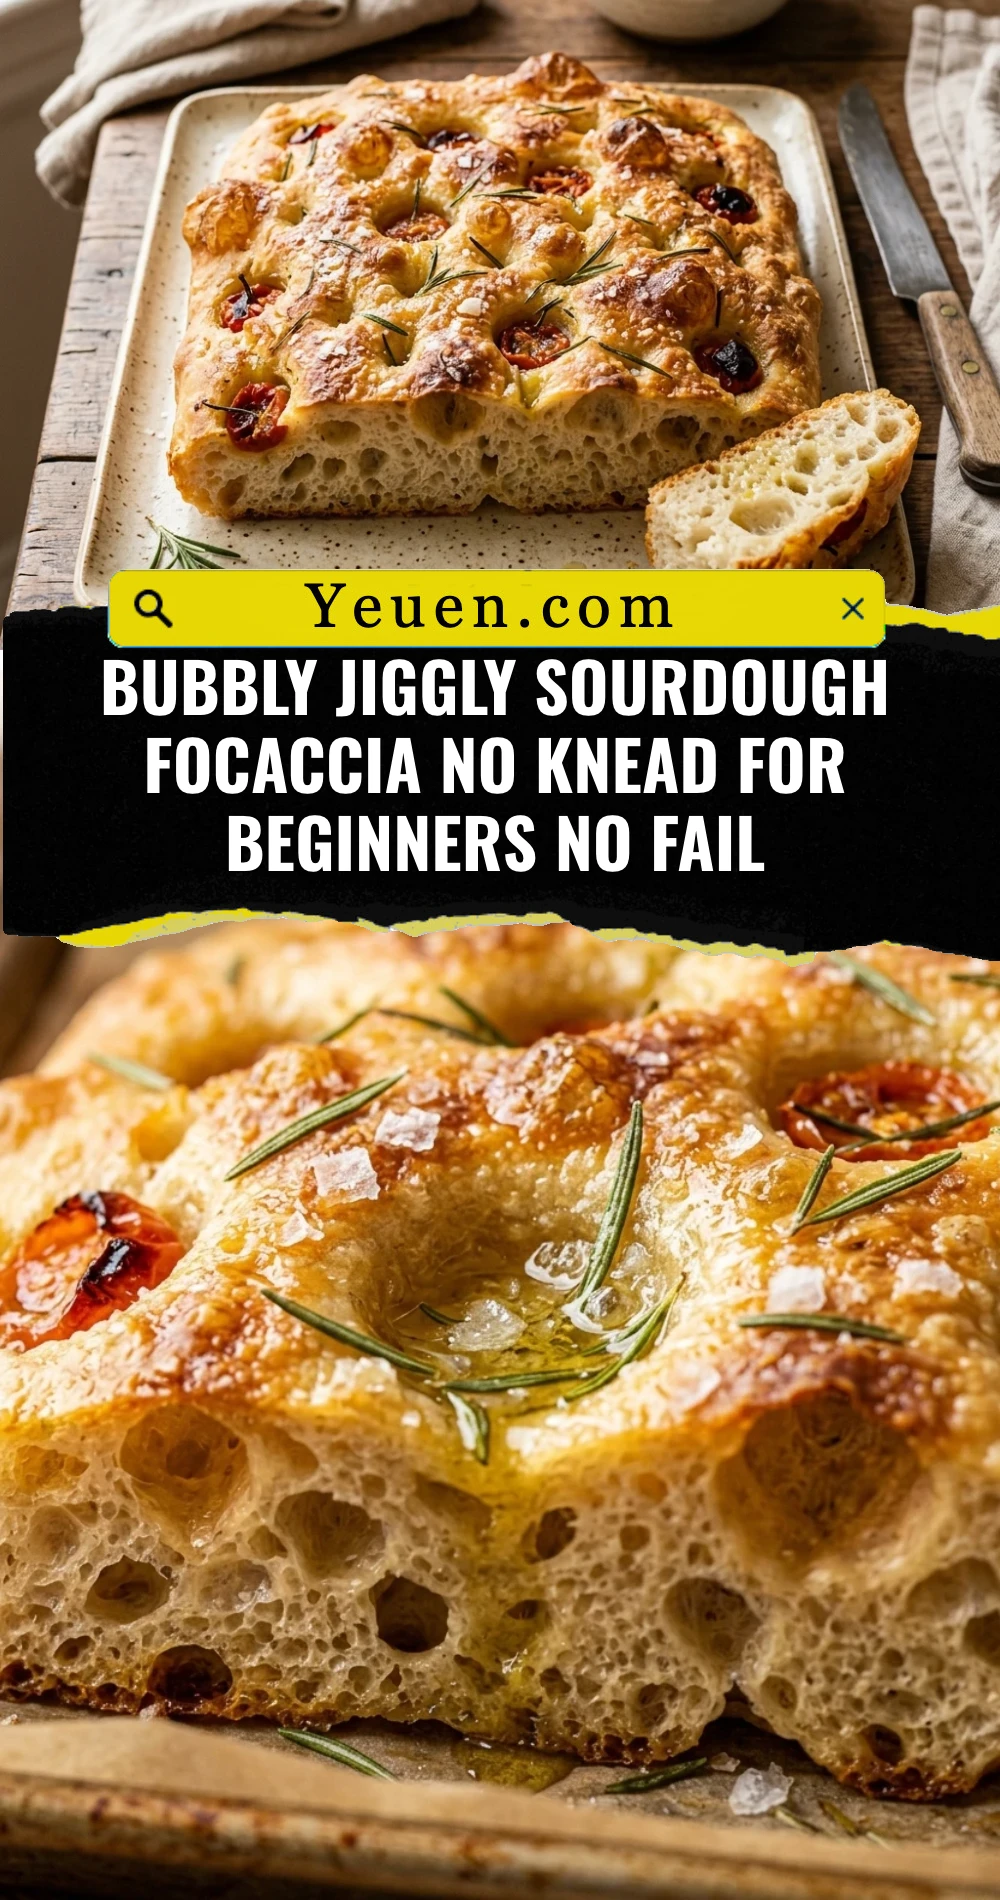
Imagine a bread so light it literally jiggles when you shake the pan. This bubbly sourdough focaccia is the ultimate entry point for any aspiring baker. If you have been intimidated by sourdough in the past, this recipe is your safety net. We skip the intense kneading and the complex shaping. Instead, we rely on time and hydration to create those massive, signature air bubbles that make focaccia so iconic. With a crispy, olive-oil-fried bottom and a pillowy, soft interior, this recipe delivers bakery-quality results right in your home kitchen without the stress.
Recipe Information
- Prep Time: 20 minutes (active time)
- Cook Time: 25 minutes
- Total Time: 18 hours 45 minutes (includes overnight fermentation)
- Servings: 12 servings
- Difficulty: Easy
Nutrition values
- Calories: 210 kcal
- Protein: 5g
- Carbs: 36g
Why Make This Bubbly Jiggly Sourdough Focaccia No Knead For Beginners No Fail
This recipe is designed specifically for success. First, the “no-knead” method uses simple stretches to build strength, which means you do not need a stand mixer or tired arms. Second, the long cold ferment in the refrigerator develops a deep, tangy flavor that quick-rise breads just cannot match. Most importantly, it is incredibly forgiving. Even if your dough looks like a sticky mess at the start, the magic of sourdough fermentation transforms it into a bubbly masterpiece. It is the perfect way to use your active starter and impress your friends with a professional-looking loaf.
Ingredients
- 100g active sourdough starter (bubbly and fed)
- 375g warm water
- 500g bread flour (all-purpose also works)
- 10g fine sea salt
- 20g extra virgin olive oil (for the dough)
- Additional extra virgin olive oil (for the pan and drizzling)
- Flaky sea salt for topping
- Fresh rosemary sprigs (optional)
Directions
Step 1: Mixing the Initial Dough
In a large glass bowl, whisk together your active sourdough starter and warm water until the starter mostly dissolves. Add the flour and sea salt. Use a sturdy spatula or your hands to mix until no dry flour remains. The dough will be shaggy and very sticky. Cover the bowl with a damp cloth or plastic wrap and let it rest for 30 minutes to allow the flour to hydrate.
Step 2: Stretch and Folds
After the rest, reach under one side of the dough, pull it up, and fold it over the center. Rotate the bowl and repeat this 4 times. This replaces traditional kneading. Perform 3 sets of these “stretch and folds” every 30 minutes. You will notice the dough becoming smoother and more elastic with each set. After the final set, cover the bowl tightly.
Step 3: Overnight Cold Fermentation
Place the covered bowl in the refrigerator for 12 to 14 hours. This cold ferment is the secret to the “jiggly” texture and those massive bubbles. It slows down the yeast, allowing the gluten to relax while the flavor intensifies. Do not skip this step if you want the best results.
Step 4: The Pan Rise
Generously coat a 9×13 inch metal baking pan with olive oil. Gently transfer the cold dough into the pan. Do not force it to the corners yet. Flip the dough once so it is coated in oil. Cover it and let it rise in a warm spot for 2 to 4 hours. The dough is ready when it has doubled in size, looks jiggly, and fills most of the pan naturally.
Step 5: Dimpling and Topping
Preheat your oven to 425°F (220°C). Drizzle a little more olive oil over the top of the dough. Grease your fingers well. Press your fingertips straight down into the dough to create deep dimples all over the surface. You should see large bubbles popping up. Sprinkle generously with flaky sea salt and add fresh rosemary or your favorite toppings.
Step 6: Baking to Golden Perfection
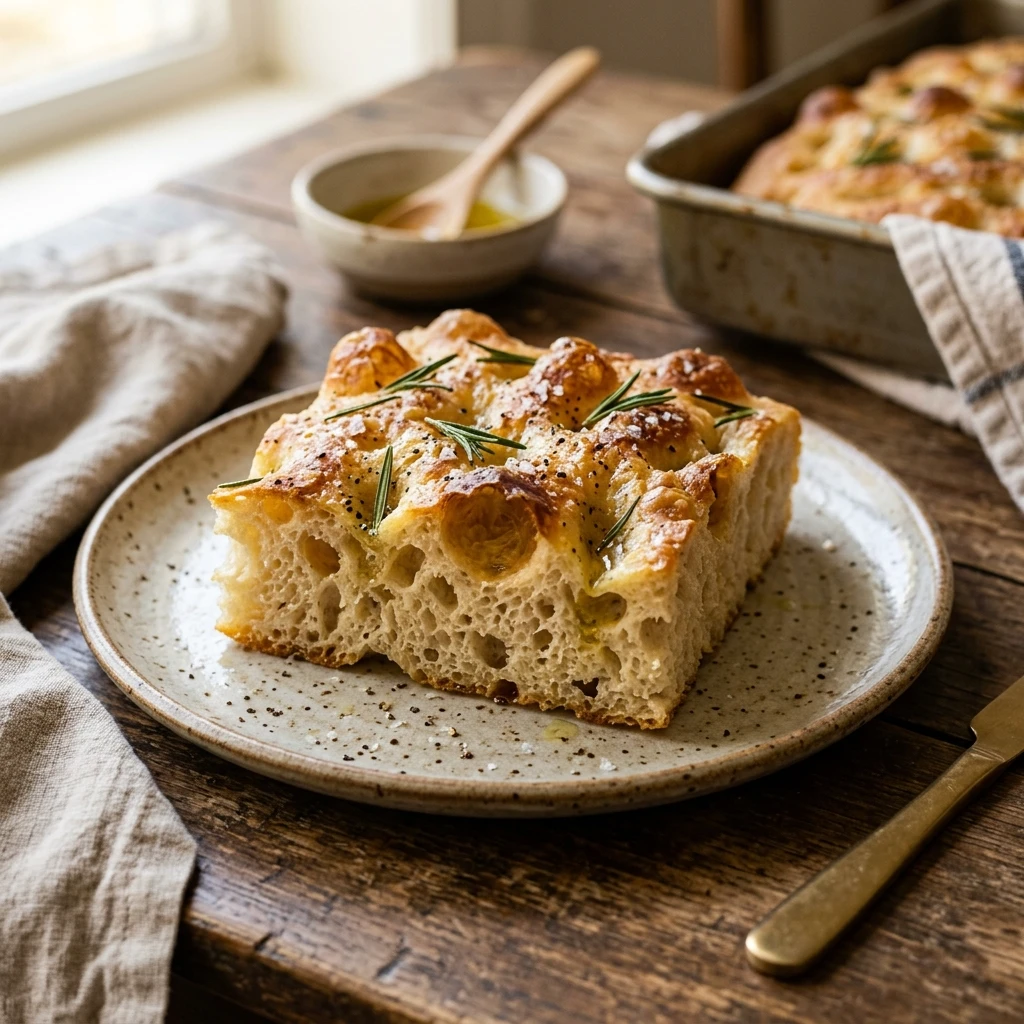
Place the pan on the middle rack of the oven. Bake for 20 to 25 minutes, or until the top is deep golden brown and the bottom is crispy. If you use a glass pan, it may take a few extra minutes. Remove from the oven and let it cool in the pan for 5 minutes before transferring to a wire rack. This prevents the bottom from getting soggy.
Expert Tips for Perfect Bubbly Jiggly Sourdough Focaccia No Knead For Beginners No Fail
- Use a Metal Pan: Metal conducts heat better than glass or ceramic, ensuring a crispier bottom crust.
- Don’t Be Shy with Oil: Olive oil is a primary ingredient here, not just a non-stick agent. It “fries” the bottom of the dough for that signature crunch.
- Check Your Starter: Ensure your starter is at its peak (doubled in size and bubbly) before mixing to ensure a strong rise.
- Wet Your Hands: When handling the dough during the stretch and fold phase, keep your hands wet to prevent the dough from sticking to your skin.
- Temperature Matters: If your house is cold, the pan rise will take longer. Be patient and wait for the jiggle!
Delicious Variations
- Garlic and Herb: Press sliced garlic cloves and dried oregano into the dimples before baking.
- Tomato and Pesto: Dot the surface with halved cherry tomatoes and swirls of basil pesto.
- Caramelized Onion: Sauté onions until brown and sweet, then spread them over the dough before the final bake.
- Cheesy Jalapeño: Top with fresh jalapeño slices and a heavy dusting of shredded cheddar cheese.
- Everything Bagel: Sprinkle everything bagel seasoning over the top for a savory, salty crunch.
Frequently Asked Questions
Can I use a sourdough starter straight from the fridge?
It is best to use a fed, active starter for this recipe. If you use discard, the bread will be much denser and will not achieve the “jiggly” bubbly texture you want.
What if my dough is too sticky to handle?
Sourdough focaccia is a high-hydration dough, so it is supposed to be sticky! Avoid adding more flour. Instead, use wet hands or oiled hands to manage the dough during the folding process.
How do I get those huge bubbles on top?
The bubbles come from a long fermentation and gentle handling. When you dimple the dough, be firm but do not “degas” or flatten the entire loaf. The cold ferment is also crucial for gas retention.
Can I bake this the same day?
Technically yes, but the flavor and texture will suffer. If you must, let the dough rise in a warm spot for 4-6 hours after mixing, then move to the pan rise. However, the overnight fridge stay is highly recommended.
How should I store leftovers?
Store leftover focaccia in an airtight container at room temperature for up to 2 days. To revive it, toast it in a 350°F oven for 5 minutes to restore the crispy exterior.
Conclusion
Mastering this bubbly jiggly sourdough focaccia is a rewarding experience that proves you do not need to be a professional baker to create incredible bread. By following this no-knead, beginner-friendly method, you take the guesswork out of sourdough. The result is a stunning, golden-brown loaf that is as fun to make as it is to eat. Get your starter ready, embrace the stickiness, and enjoy the most satisfying crunch of your life!