Follow Me On Pinterest!
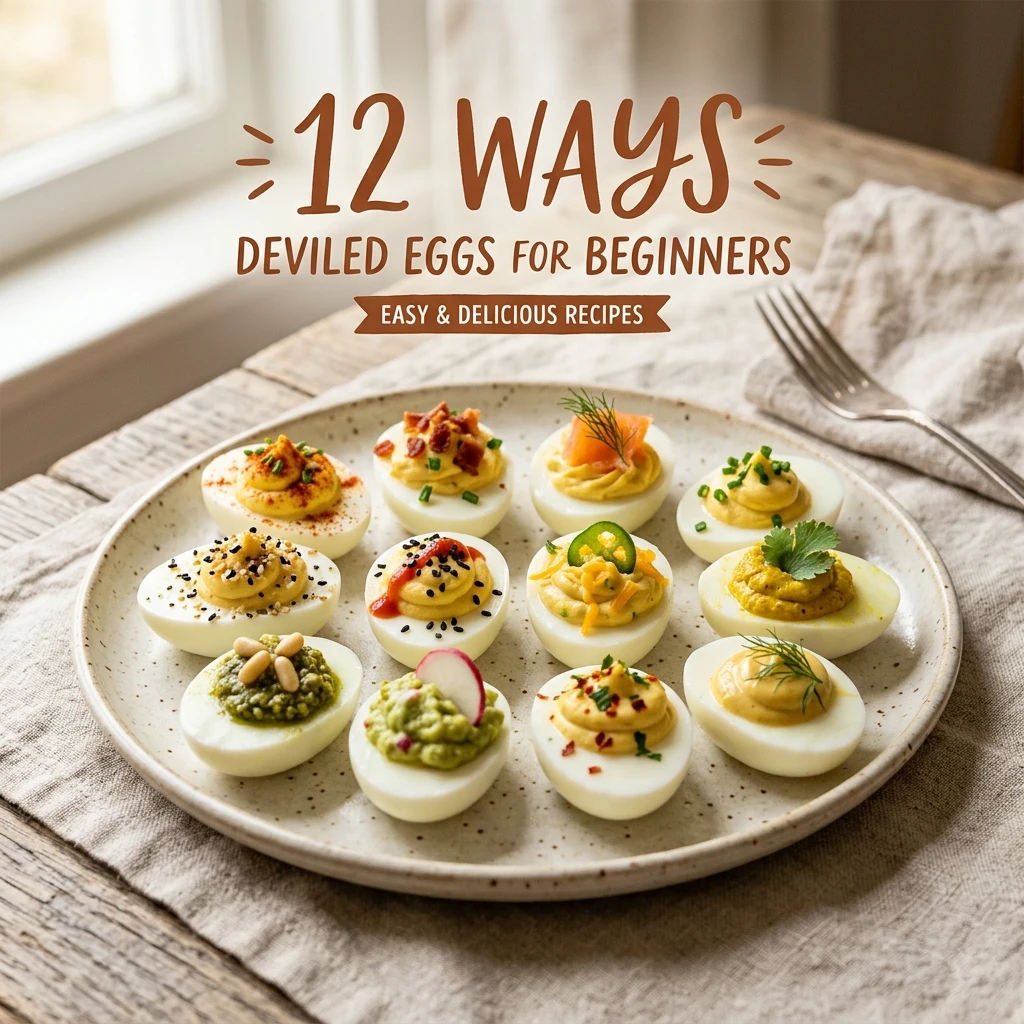
12 Ways Deviled Eggs For Beginners
Deviled eggs are the ultimate party snack. They look fancy on a platter, but they are actually one of the simplest appetizers you can master. Whether you are hosting a summer barbecue or a holiday dinner, these bite-sized treats always disappear first. Many beginners feel intimidated by getting the perfect hard-boiled egg or create a smooth filling, but the process is surprisingly foolproof. Once you learn the base recipe, you can unlock a world of flavor with just a few simple pantry additions. Let’s dive into the classic method and then explore twelve delicious ways to level up your deviled egg game.
Recipe Information
- Prep Time: 20 minutes
- Cook Time: 12 minutes
- Total Time: 32 minutes
- Servings: 24 halves
- Difficulty: Easy
Nutrition values
- Calories: 72 kcal per half
- Protein: 6g
- Carbs: 1g
Why Make This 12 Ways Deviled Eggs For Beginners
This recipe is a lifesaver for any home cook. First, it uses budget-friendly ingredients that you likely already have in your kitchen. Second, it is naturally low-carb and gluten-free, making it a safe bet for guests with dietary restrictions. The real magic, however, lies in the versatility. By making one large batch of the base filling, you can divide it and create a variety of flavors. It keeps your appetizer spread exciting without requiring hours of extra work. Plus, mastering the art of the perfect hard-boiled egg is a fundamental kitchen skill that will serve you well for years to come.
Ingredients
The Base:
- 12 large eggs
- 1/2 cup high-quality mayonnaise
- 2 teaspoons yellow or Dijon mustard
- 1 teaspoon apple cider vinegar or pickle juice
- Salt and black pepper to taste
- Paprika (for garnish)
The 12 Variations (Toppings/Mix-ins):
- Bacon & Chive: Crispy bacon bits and fresh snipped chives.
- Spicy Jalapeño: Thinly sliced fresh jalapeño and a dash of cayenne.
- Everything Bagel: A sprinkle of everything bagel seasoning.
- Sriracha: A drizzle of sriracha and a slice of green onion.
- Smoked Salmon: A small piece of smoked salmon and fresh dill.
- Buffalo Style: A dash of hot sauce in the mix and blue cheese crumbles on top.
- Pesto: Swirl a teaspoon of basil pesto into the yolk mixture.
- Curry: Add 1/2 teaspoon of yellow curry powder to the filling.
- Pickle Lovers: Finely chopped dill pickles and a sprig of fresh dill.
- Guacamole: Replace half the mayo with mashed avocado and lime juice.
- Old Bay: A dusting of Old Bay seasoning and a tiny piece of cooked shrimp.
- Truffle: A drop of truffle oil and cracked black pepper.
Directions
Step 1: Boiling the Eggs
Place your eggs in a single layer in a large saucepan. Cover them with cold water, ensuring there is at least an inch of water above the eggs. Bring the water to a full rolling boil over high heat. As soon as it boils, turn off the heat and cover the pan with a lid. Let the eggs sit in the hot water for exactly 12 minutes. This “off-heat” method prevents the rubbery texture and the unsightly green ring around the yolk.
Step 2: The Ice Bath and Peeling
While the eggs sit, prepare a large bowl filled with ice and water. Once the 12 minutes are up, use a slotted spoon to transfer the eggs immediately into the ice bath. Let them chill for at least 10 minutes. To peel, gently tap the egg on a hard surface to crack the shell all over. Peel under cold running water to help the shell slide right off. Pat the peeled eggs dry with a paper towel.
Step 3: Preparing the Filling
Slice each egg in half lengthwise. Gently squeeze the egg to pop the yolks into a medium mixing bowl. Set the whites aside on a serving platter. Use a fork to mash the yolks until they turn into fine crumbles. Add the mayonnaise, mustard, vinegar, salt, and pepper. Stir vigorously or use a hand mixer until the filling is completely smooth and creamy.
Step 4: Customizing and Piping
If you are making multiple variations, divide your base yolk mixture into smaller bowls. Add your specific seasonings or mix-ins to each bowl. Transfer the filling to a piping bag fitted with a star tip (or a plastic bag with the corner snipped off). Pipe the mixture generously into the hollow of each egg white. Top with your chosen garnishes like bacon, herbs, or spices.
Expert Tips for Perfect 12 Ways Deviled Eggs For Beginners
To get the smoothest filling possible, use a fine-mesh sieve. Push the hard-boiled yolks through the sieve with the back of a spoon before adding your wet ingredients. This removes every single lump. Also, remember that older eggs are actually easier to peel than fresh-from-the-farm eggs. If you are buying eggs specifically for this recipe, try to get them a week in advance. Finally, if your filling feels too stiff, add an extra teaspoon of mayo or a splash of heavy cream to reach that perfect velvety consistency.
Delicious Variations
Beyond the twelve listed above, don’t be afraid to raid your pantry! You can create a Mediterranean version by adding sun-dried tomatoes and kalamata olives. For a smoky profile, try mixing in a little chipotle in adobo sauce. If you want a crunch, finely minced celery or red onion adds a great texture contrast to the creamy filling. You can even change the “vessel” by lightly pickling the egg whites in beet juice for a vibrant pink color and a tangy bite.
Frequently Asked Questions
How far in advance can I make deviled eggs?
You can boil and peel the eggs up to two days in advance. However, for the best texture, it is recommended to fill the eggs no more than 6 to 8 hours before serving. Keep them tightly covered in the refrigerator until the moment you serve them.
Why did my egg yolks turn green?
A green or grayish ring around the yolk usually means the eggs were overcooked or not cooled fast enough. Stick to the 12-minute timer and the immediate ice bath to ensure bright, sunny yellow centers every time.
Can I make these without mayonnaise?
Yes! You can substitute the mayonnaise with Greek yogurt, mashed avocado, or even sour cream. Keep in mind that these substitutions will slightly change the flavor profile and tanginess of the filling.
How do I transport deviled eggs to a party?
The best way to transport them is using a dedicated deviled egg carrier with individual slots. If you don’t have one, transport the empty whites in a container and the filling in a sealed piping bag. Pipe the filling onto the eggs once you arrive at your destination.
How long do leftovers last?
Leftover deviled eggs should be consumed within 2 days. Because they contain eggs and mayonnaise, they should never sit out at room temperature for more than 2 hours.
Conclusion
Mastering deviled eggs is a rite of passage for any home cook. With this simple base recipe and twelve creative variations, you are ready to impress at any gathering. Remember that the secret lies in the cooling process and the creaminess of your yolk mixture. Once you feel comfortable with these basics, start experimenting with your own unique toppings and flavors. These tiny bites are a canvas for your culinary creativity, so have fun and enjoy the process!