Follow Me On Pinterest!
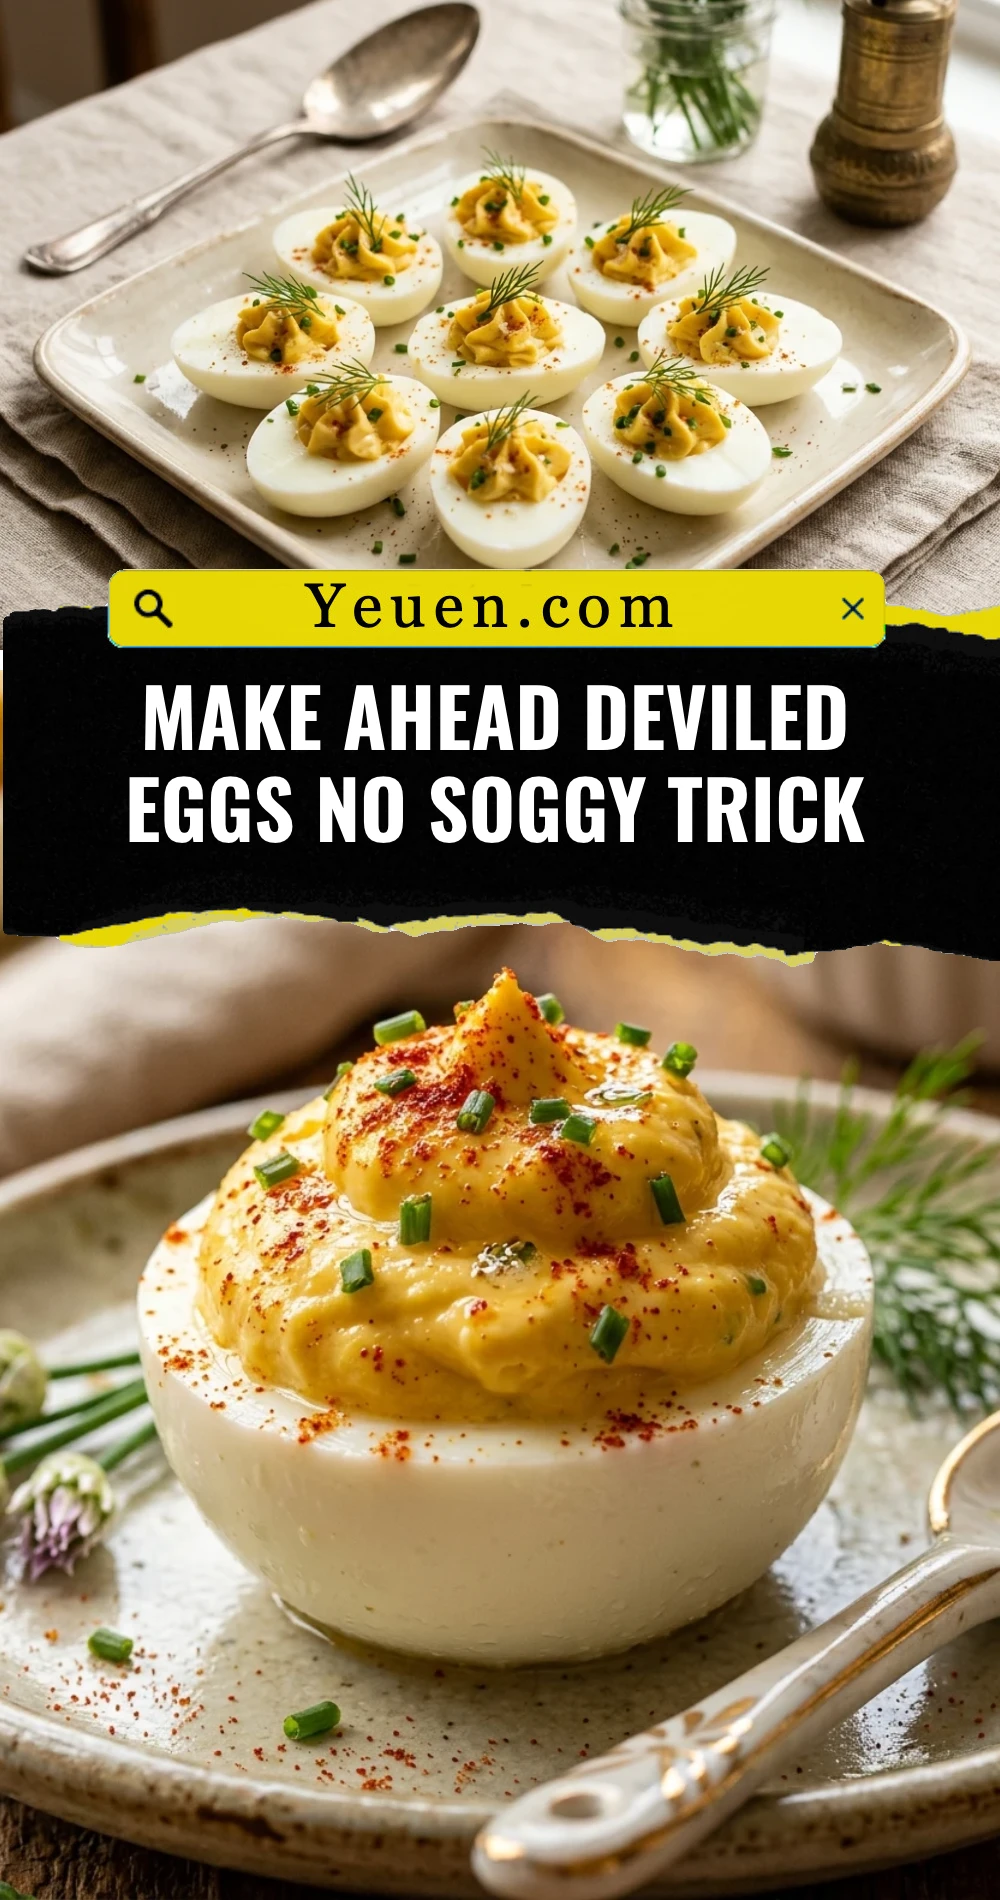
Make Ahead Deviled Eggs No Soggy Trick
We’ve all been there—you spend time carefully piping deviled eggs only to find them swimming in a puddle of watery liquid an hour later. It’s a common party disaster that ruins both the texture and the presentation. But what if you could prep everything a day in advance and still serve firm, creamy, and picture-perfect appetizers? This “no soggy” trick is a total game-changer for your next holiday gathering or summer potluck. Let’s dive into how to keep those egg whites crisp and the yolk filling fluffy every single time without the stress of last-minute assembly.
Recipe Information
- Prep Time: 20 minutes
- Cook Time: 12 minutes
- Total Time: 32 minutes
- Servings: 12 halves
- Difficulty: Easy
Nutrition values
- Calories: 72 kcal
- Protein: 6g
- Carbs: 1g
Why Make This Make Ahead Deviled Eggs No Soggy Trick
The biggest problem with make-ahead deviled eggs is “weeping.” Salt in the yolk mixture draws moisture out of the egg whites, leading to that unappetizing puddle in the tray. This method avoids that entirely by separating the components. You get to enjoy the convenience of early preparation without sacrificing quality. This trick ensures your eggs look like they were just made, even if you prepped them 24 hours ago. It is perfect for busy hosts who want to minimize kitchen chaos right before guests arrive.
Ingredients
- 6 large eggs (older eggs are better for peeling)
- 3 tablespoons high-quality mayonnaise
- 1 teaspoon Dijon mustard
- 1 teaspoon apple cider vinegar or lemon juice
- 1/4 teaspoon salt
- 1/8 teaspoon black pepper
- Smoked paprika for garnish
- Optional: Fresh chives or parsley for garnish
Directions
Step 1: Hard Boiling and Peeling
Place your eggs in a single layer in a saucepan and cover them with one inch of cold water. Bring the water to a rolling boil over high heat. Once boiling, turn off the heat, cover the pan with a lid, and let them sit for exactly 12 minutes. Immediately transfer the eggs to an ice bath for at least 10 minutes. This stops the cooking process and prevents the green ring around the yolk. Crack the shells gently and peel them under cool running water.
Step 2: Preparing the Filling
Slice each egg in half lengthwise. Carefully pop the yolks out into a small mixing bowl and set the whites aside. Use a fork or a potato masher to crumble the yolks until no large lumps remain. Add the mayonnaise, Dijon mustard, apple cider vinegar, salt, and pepper. Mix vigorously until the filling is silky smooth. For an extra creamy texture, you can even pulse the mixture in a small food processor.
Step 3: The Secret No-Soggy Storage Trick
This is the most important part! Do not fill the eggs yet. Instead, place the empty egg white halves in an airtight container lined with a dry paper towel. The paper towel absorbs any excess moisture the whites release overnight. Take your yolk filling and transfer it into a plastic piping bag or a heavy-duty Ziploc bag. Squeeze the air out and seal the bag tightly. Store both the container of whites and the bag of filling in the refrigerator for up to 24 hours.
Step 4: Final Assembly and Plating
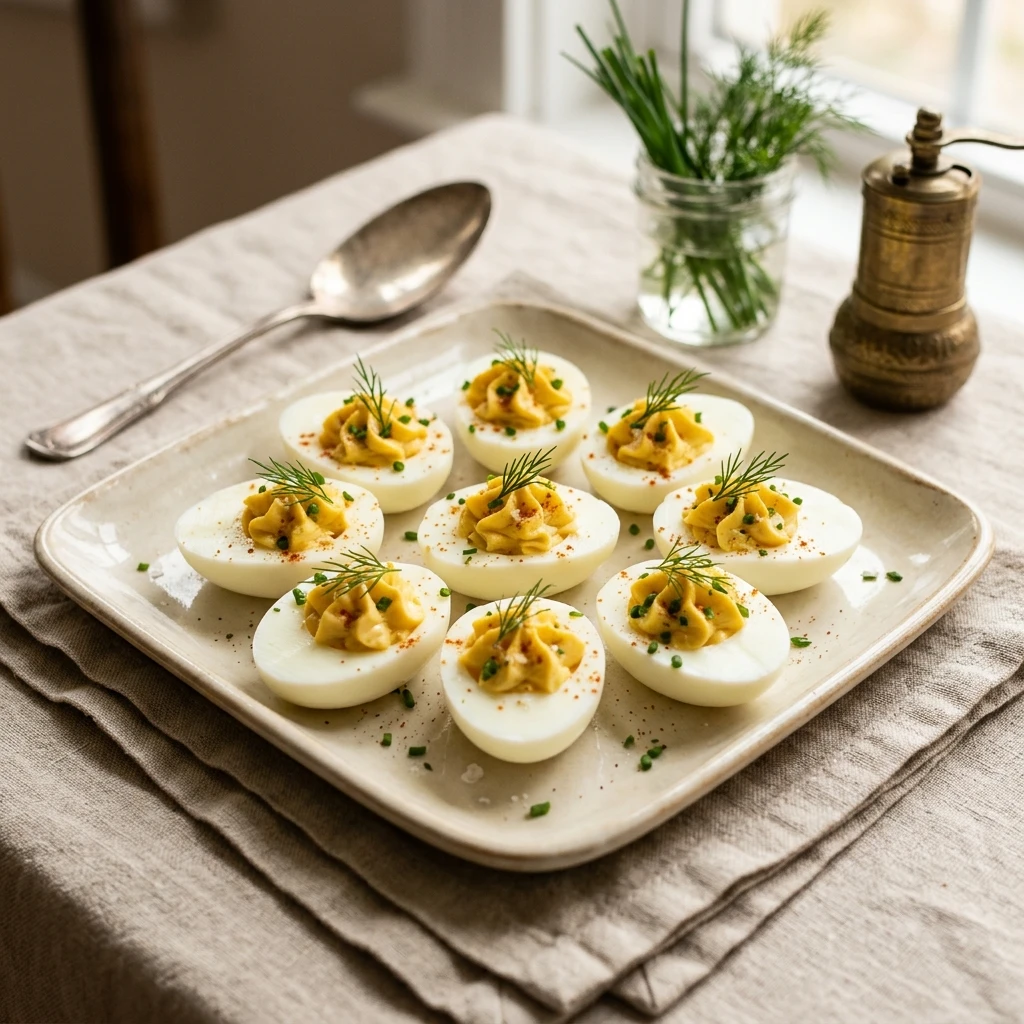
When you are ready to serve, take the egg whites out of the fridge. If you see any moisture, gently pat the “well” of the egg white with a clean paper towel. Snip the corner off your filling bag and pipe the yolk mixture into the whites. Because you haven’t stored them together, the whites remain firm and the filling stays light. Dust with smoked paprika and top with fresh herbs just before placing them on your serving platter.
Expert Tips for Perfect Make Ahead Deviled Eggs No Soggy Trick
Always use eggs that have been in your fridge for a week or two; very fresh eggs are notoriously difficult to peel. To get a perfectly centered yolk, stir the eggs gently in the boiling water for the first minute of cooking. If you want a truly professional look, use a star-shaped piping tip inside your plastic bag. Most importantly, never salt the egg whites directly; only salt the filling mixture to prevent the whites from breaking down and becoming watery.
Delicious Variations
Once you master the base recipe, you can get creative with flavors. Add crispy bacon bits and chopped jalapeños for a “Jalapeño Popper” style egg. For a sophisticated twist, stir in a teaspoon of truffle oil or top with a small dollop of caviar. If you like heat, add a dash of Sriracha or cayenne pepper to the yolk mixture. You can also swap the mayo for mashed avocado for a healthier, green-hued version of this classic appetizer.
Frequently Asked Questions
How long can I store the whites and filling separately?
You can store them separately for up to 2 days, but for the freshest taste and best texture, 24 hours is the sweet spot.
Can I freeze deviled eggs?
No, freezing is not recommended. Cooked egg whites become rubbery and tough when frozen and thawed, which ruins the dish.
Why do my egg whites have a rubbery texture?
This usually happens from overcooking. Stick to the 12-minute timer and the immediate ice bath to keep the whites tender and the yolks bright yellow.
How do I transport these to a party?
Keep the whites in their container and the filling in the bag during transport. Assemble them quickly once you arrive at your destination for the best results.
What if I don’t have a piping bag?
A simple sandwich bag with the corner cut off works perfectly. You can also use two small spoons to scoop the filling, though it won’t look as “fancy” as piping.
Conclusion
Mastering the make-ahead deviled egg is all about moisture management. By storing the whites and the filling separately and using the paper towel trick, you eliminate the soggy mess that plagues most party platters. This method allows you to be the relaxed host who serves a perfect, gourmet-looking appetizer without any last-minute stress. Give this trick a try for your next event, and you will never go back to the old way of making deviled eggs again!