Follow Me On Pinterest!
10 Min Prep Pumpkin Pie No Rolling
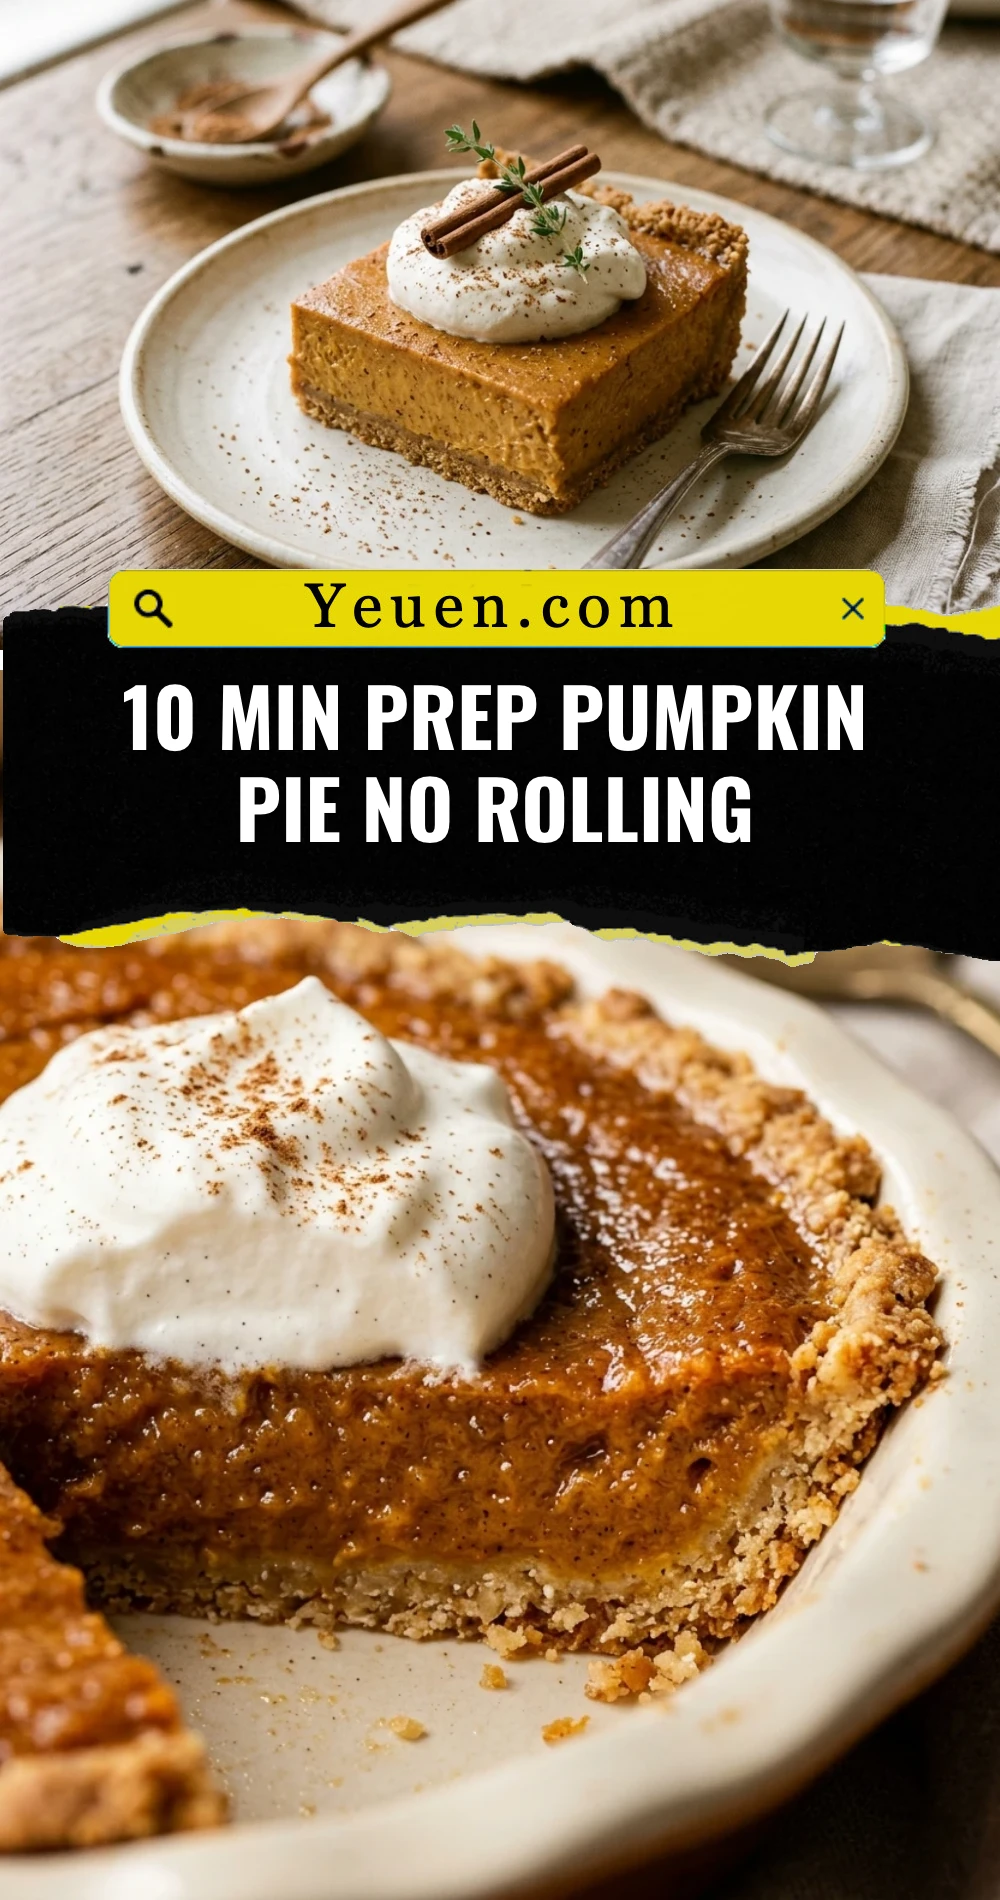
Forget the flour-covered countertops and the frustration of a tearing pie crust. This 10-minute prep pumpkin pie is a total game-changer for busy holiday hosts and dessert lovers alike. You get all the velvety, spiced goodness of a traditional pumpkin pie without the stress of rolling out dough. It is the perfect solution for when you want a homemade treat but lack the time or patience for classic pastry techniques. By using a simple press-in crust, you bypass the hardest part of baking while still delivering a dessert that tastes like it took hours to prepare.
Recipe Information
- Prep Time: 10 minutes
- Cook Time: 50 minutes
- Total Time: 60 minutes
- Servings: 8
- Difficulty: Easy
Nutrition values
- Calories: 295 kcal
- Protein: 5g
- Carbs: 36g
Why Make This 10 Min Prep Pumpkin Pie No Rolling
This recipe removes the biggest barrier to pie making: the rolling pin. Traditional pastry requires chilling, rolling, and delicate handling that often ends in cracks. This version uses a press-in method that guarantees a crunchy, buttery base every time. It is incredibly beginner-friendly and frees up your schedule during hectic holiday prep. Plus, you only need one bowl for the filling, meaning cleanup is just as fast as the preparation.
Ingredients
For the No-Roll Crust:
- 1.5 cups graham cracker crumbs (or crushed gingersnaps)
- 1/3 cup granulated sugar
- 6 tablespoons unsalted butter, melted
For the Filling:
- 1 can (15 oz) 100% pure pumpkin puree
- 1 can (12 oz) evaporated milk
- 2 large eggs
- 3/4 cup granulated sugar
- 1 teaspoon ground cinnamon
- 1/2 teaspoon ground ginger
- 1/4 teaspoon ground cloves
- 1/2 teaspoon salt
Directions
Step 1: Prepare the Press-In Crust
Preheat your oven to 350°F (175°C). In a medium mixing bowl, combine the graham cracker crumbs, 1/3 cup sugar, and melted butter. Stir until the mixture looks like wet sand. Pour the mixture into a 9-inch pie plate. Use the bottom of a measuring cup to press the crumbs firmly into the bottom and up the sides of the dish. Bake the crust for 5 minutes to set it, then remove it from the oven and let it cool slightly while you make the filling.
Step 2: Whisk the Pumpkin Filling
In a large mixing bowl, beat the two eggs lightly. Add the pumpkin puree, 3/4 cup sugar, cinnamon, ginger, cloves, and salt. Whisk until the ingredients are fully combined and the color is uniform. Gradually stir in the evaporated milk until the mixture is smooth and liquid. Pour the filling carefully into your prepared crust. If you have extra filling, do not overfill; leave about a quarter-inch of space at the top of the crust to prevent spilling.
Step 3: Bake and Cool
Place the pie on the middle rack of the oven. Bake for 40 to 50 minutes. The pie is done when the edges are set and the center has a slight jiggle like gelatin. Remove the pie from the oven and place it on a wire rack. Let it cool completely at room temperature for at least 2 hours. This step is crucial because the custard continues to set as it cools. Chill in the refrigerator before serving for the cleanest slices.
Expert Tips for Perfect 10 Min Prep Pumpkin Pie No Rolling
Always use pure pumpkin puree, not “pumpkin pie filling,” which already contains sugar and spices. For the smoothest texture, ensure your eggs and evaporated milk are at room temperature before mixing. If you notice the edges of your crust browning too quickly, loosely cover them with strips of aluminum foil. To avoid a cracked surface, do not overbake the pie; it should still look slightly “undone” in the very center when you pull it out. Finally, always wipe your knife with a warm, damp cloth between slices to get those perfect, bakery-style edges.
Delicious Variations
You can easily customize this recipe to suit your taste. Swap the graham cracker crumbs for crushed gingersnap cookies to add a spicy kick to the crust. If you prefer a deeper flavor, use brown sugar instead of granulated sugar in the filling for a caramel-like undertone. For a dairy-free version, use full-fat coconut milk instead of evaporated milk. You can also add a teaspoon of vanilla extract or a tablespoon of bourbon to the filling for a sophisticated twist on the classic flavor profile.
Frequently Asked Questions
Can I make this pie ahead of time?
Yes, this pie is actually better when made a day in advance. It needs several hours to set fully in the refrigerator, which makes it an ideal “make-ahead” dessert for Thanksgiving or parties.
How do I know if the pie is fully cooked?
Insert a knife near the edge; it should come out clean. The center should still jiggle slightly when you gently shake the pan. If the center is liquid, it needs more time. If the center is firm and cracked, it is overbaked.
Do I need to blind bake the crust?
A quick 5-minute pre-bake is recommended to help the crust stay crisp under the moist pumpkin filling. However, if you are in a massive rush, you can skip it, though the crust may be slightly softer.
Can I freeze this pumpkin pie?
Yes, pumpkin pie freezes well because of its high fat and sugar content. Wrap the completely cooled pie tightly in plastic wrap and then aluminum foil. Freeze for up to one month. Thaw in the refrigerator overnight before serving.
What is the best way to serve this pie?
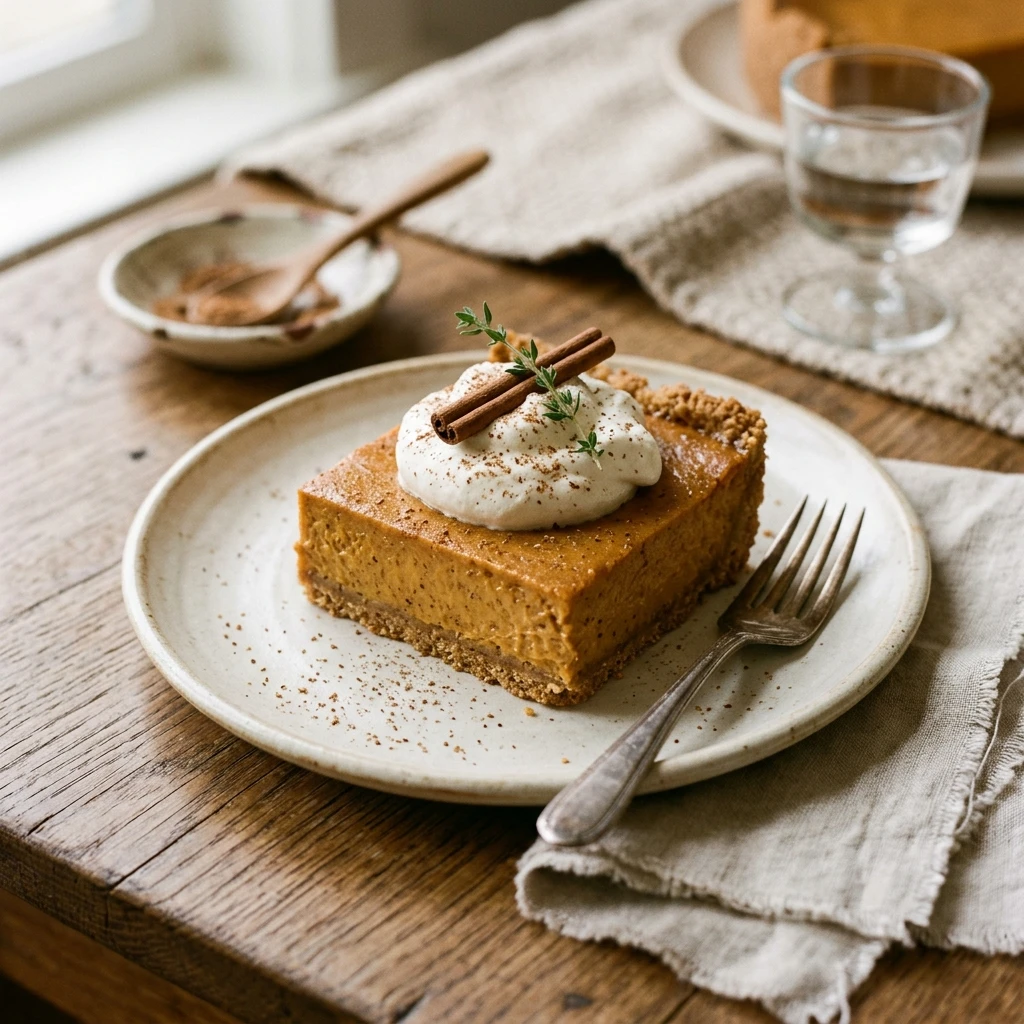
This pie is best served chilled or at room temperature. Top each slice with a generous dollop of homemade whipped cream and a light dusting of cinnamon or nutmeg for a beautiful presentation.
Conclusion
This 10-minute prep pumpkin pie proves that you don’t need to spend hours in the kitchen to create a spectacular dessert. By eliminating the rolling process, you take the stress out of baking and focus on the flavors that matter. Whether you are a novice baker or a seasoned pro looking for a shortcut, this recipe delivers a creamy, spiced, and satisfying result every time. Grab your whisk and your pie dish, and enjoy the easiest holiday dessert you have ever made!