Follow Me On Pinterest!
No Fail Pumpkin Pie Store Crust Hack
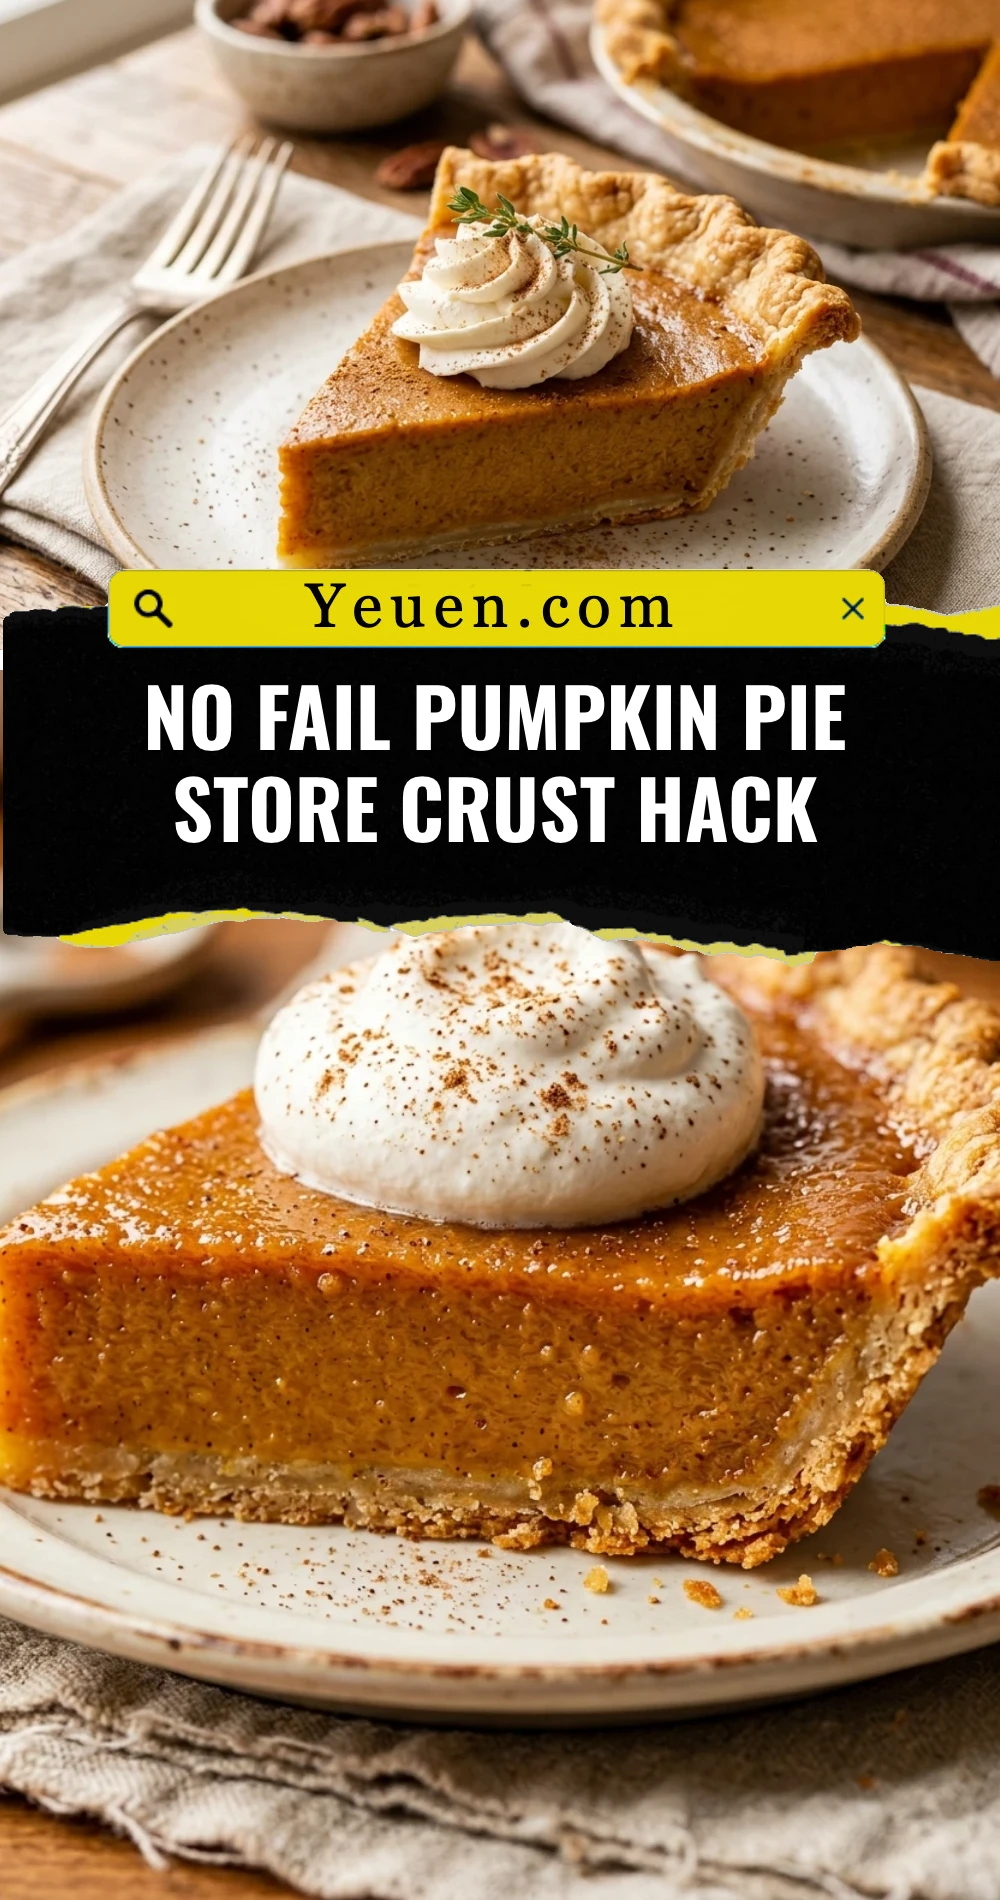
Let’s be honest: the holidays are stressful enough without wrestling with homemade pie dough that refuses to cooperate. While we all love the idea of a from-scratch crust, sometimes you just need a shortcut that actually works. This “No Fail Pumpkin Pie Store Crust Hack” is the ultimate secret weapon for your Thanksgiving table. It takes a standard refrigerated dough and transforms it into a flaky, buttery, professional-looking masterpiece that avoids the dreaded soggy bottom. You get all the credit for a stunning dessert with only a fraction of the effort.
Recipe Information
- Prep Time: 15 minutes
- Cook Time: 55 minutes
- Total Time: 1 hour 10 minutes
- Servings: 8 servings
- Difficulty: Easy
Nutrition values
- Calories: 325 kcal
- Protein: 5g
- Carbs: 44g
Why Make This No Fail Pumpkin Pie Store Crust Hack
This recipe bridges the gap between convenience and quality. Many store-bought crusts end up pale and limp because they aren’t treated correctly. By using a specific sealing technique and a simple flavor boost, you ensure the crust stays crisp even under a heavy pumpkin custard. It saves you an hour of chilling and rolling dough, giving you more time to enjoy your guests while still serving a pie that looks like it came from a high-end bakery.
Ingredients
- 1 box refrigerated pie crust (9-inch, softened to room temperature)
- 1 can (15 oz) 100% pure pumpkin puree
- 1 can (12 oz) evaporated milk
- 2 large eggs
- 3/4 cup granulated sugar
- 1 teaspoon ground cinnamon
- 1/2 teaspoon ground ginger
- 1/4 teaspoon ground cloves
- 1/2 teaspoon salt
- 1 egg (for egg wash)
- 1 tablespoon coarse sanding sugar (optional, for the rim)
Directions
Step 1: Prepare the Crust Hack
Preheat your oven to 425°F (218°C). Unroll the room-temperature pie crust and place it into a 9-inch glass pie plate. Gently press the dough into the corners without stretching it. Fold the excess dough under itself and crimp the edges using your thumb and forefinger. Use a fork to poke several holes in the bottom of the crust to prevent air bubbles.
Step 2: Seal and Par-Bake
Beat one egg with a teaspoon of water to create an egg wash. Lightly brush the entire interior and the crimped edges of the crust with the egg wash. This “seals” the dough and prevents the pumpkin filling from soaking in. Place the crust in the oven for exactly 5 minutes. This quick par-bake ensures a crisp base. Remove from the oven and reduce the temperature to 350°F (175°C).
Step 3: Mix the Pumpkin Filling
In a large mixing bowl, whisk the two eggs. Add the pumpkin puree, sugar, cinnamon, ginger, cloves, and salt. Gradually stir in the evaporated milk until the mixture is completely smooth and combined. Avoid over-whisking to prevent air bubbles from forming in your custard.
Step 4: The Final Bake
Pour the pumpkin mixture into the warm, par-baked crust. If you have extra egg wash, brush the edges one more time and sprinkle with coarse sanding sugar for a bakery-style finish. Place the pie on the middle oven rack. Bake for 40 to 50 minutes, or until the edges are set but the center still has a slight jiggle. If the crust edges brown too quickly, tent them with aluminum foil.
Step 5: Cool and Set
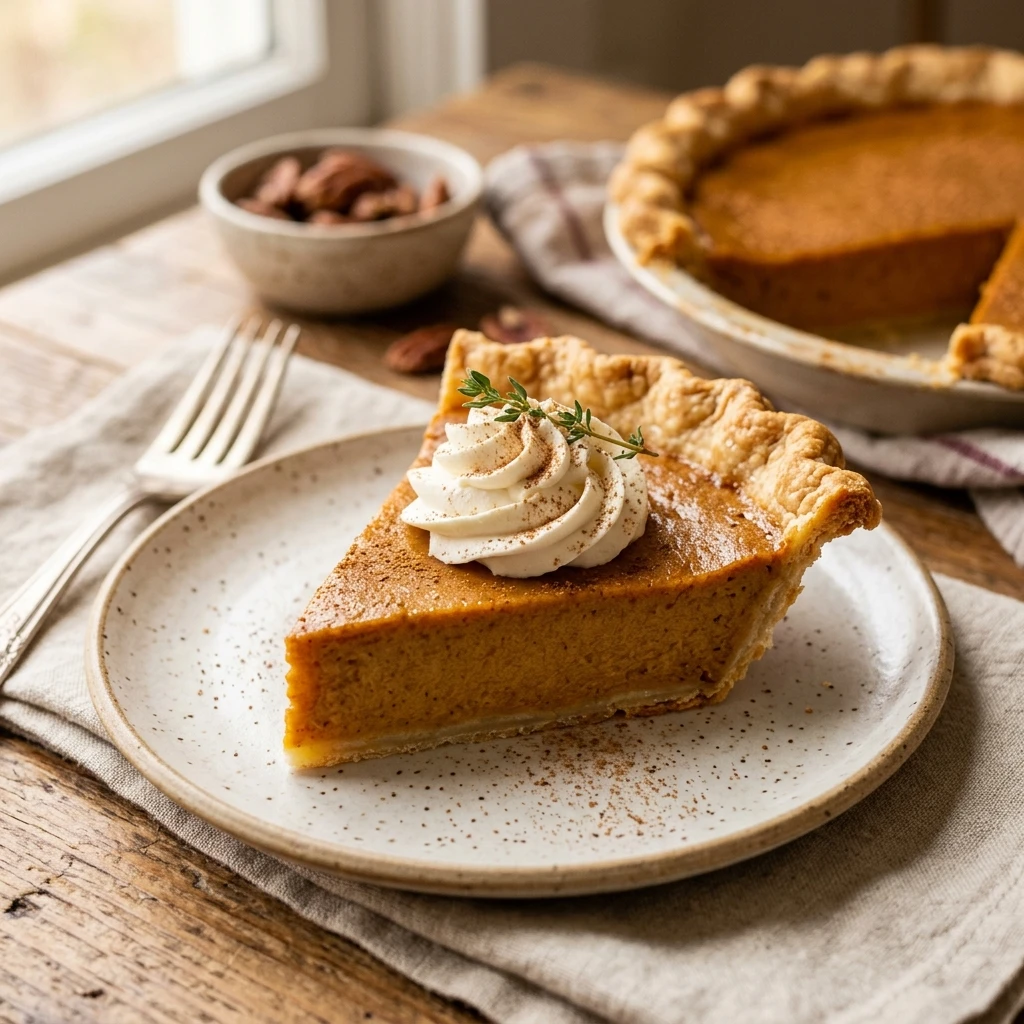
Remove the pie from the oven and place it on a wire rack. Allow the pie to cool completely at room temperature for at least 2 hours. This is crucial for the custard to set properly. Serve with a dollop of whipped cream or store in the refrigerator for up to two days.
Expert Tips for Perfect No Fail Pumpkin Pie Store Crust Hack
Always let your store-bought dough sit on the counter for about 15-20 minutes before unrolling. If it is too cold, it will crack. Use a glass pie plate if possible, as it conducts heat more evenly and allows you to check if the bottom crust is golden brown. Finally, don’t skip the egg wash seal; it is the most important part of the “hack” to prevent a soggy bottom.
Delicious Variations
- Bourbon Pumpkin: Add 1 tablespoon of high-quality bourbon to the filling for a smoky, adult depth of flavor.
- Ginger Crust: Crush 1/4 cup of gingersnap cookies into fine crumbs and press them into the bottom of the store-bought crust before adding the filling.
- Maple Twist: Replace half of the granulated sugar with pure maple syrup for a rich, autumnal sweetness.
- Chai Spice: Swap the cinnamon, ginger, and cloves for 2 teaspoons of pre-mixed chai spice powder.
Frequently Asked Questions
Can I use pumpkin pie mix instead of puree?
No, this recipe is designed for 100% pure pumpkin puree. Pumpkin pie mix already contains sugar and spices, which would make this recipe overly sweet and throw off the liquid ratios.
How do I know when the pie is done?
The “jiggle test” is best. The edges should look firm and slightly puffed, while the center should wobble slightly like Jell-O when you move the pan. It will finish firming up as it cools.
Why did my pumpkin pie crack on top?
Cracks usually happen from over-baking. The eggs in the custard tighten too much and pull apart. To avoid this, pull the pie out while the center is still slightly jiggly.
Can I make this pie a day in advance?
Yes! In fact, pumpkin pie often tastes better the next day because the spices have more time to meld. Once cooled, cover it loosely and store it in the fridge.
Do I need pie weights for the par-bake?
For this specific 5-minute hack, you don’t necessarily need weights if you prick the bottom thoroughly with a fork. However, if you want a perfectly flat bottom, you can use parchment paper and beans for that initial 5-minute stint.
Conclusion
Mastering the perfect holiday dessert doesn’t have to involve hours of labor in the kitchen. With this “No Fail Pumpkin Pie Store Crust Hack,” you get a reliable, delicious, and beautiful pie every single time. By taking just a few extra minutes to seal and par-bake a store-bought crust, you elevate a simple convenience item into a gourmet treat. Grab your favorite refrigerated dough and get baking—your guests will never know the difference!