Follow Me On Pinterest!
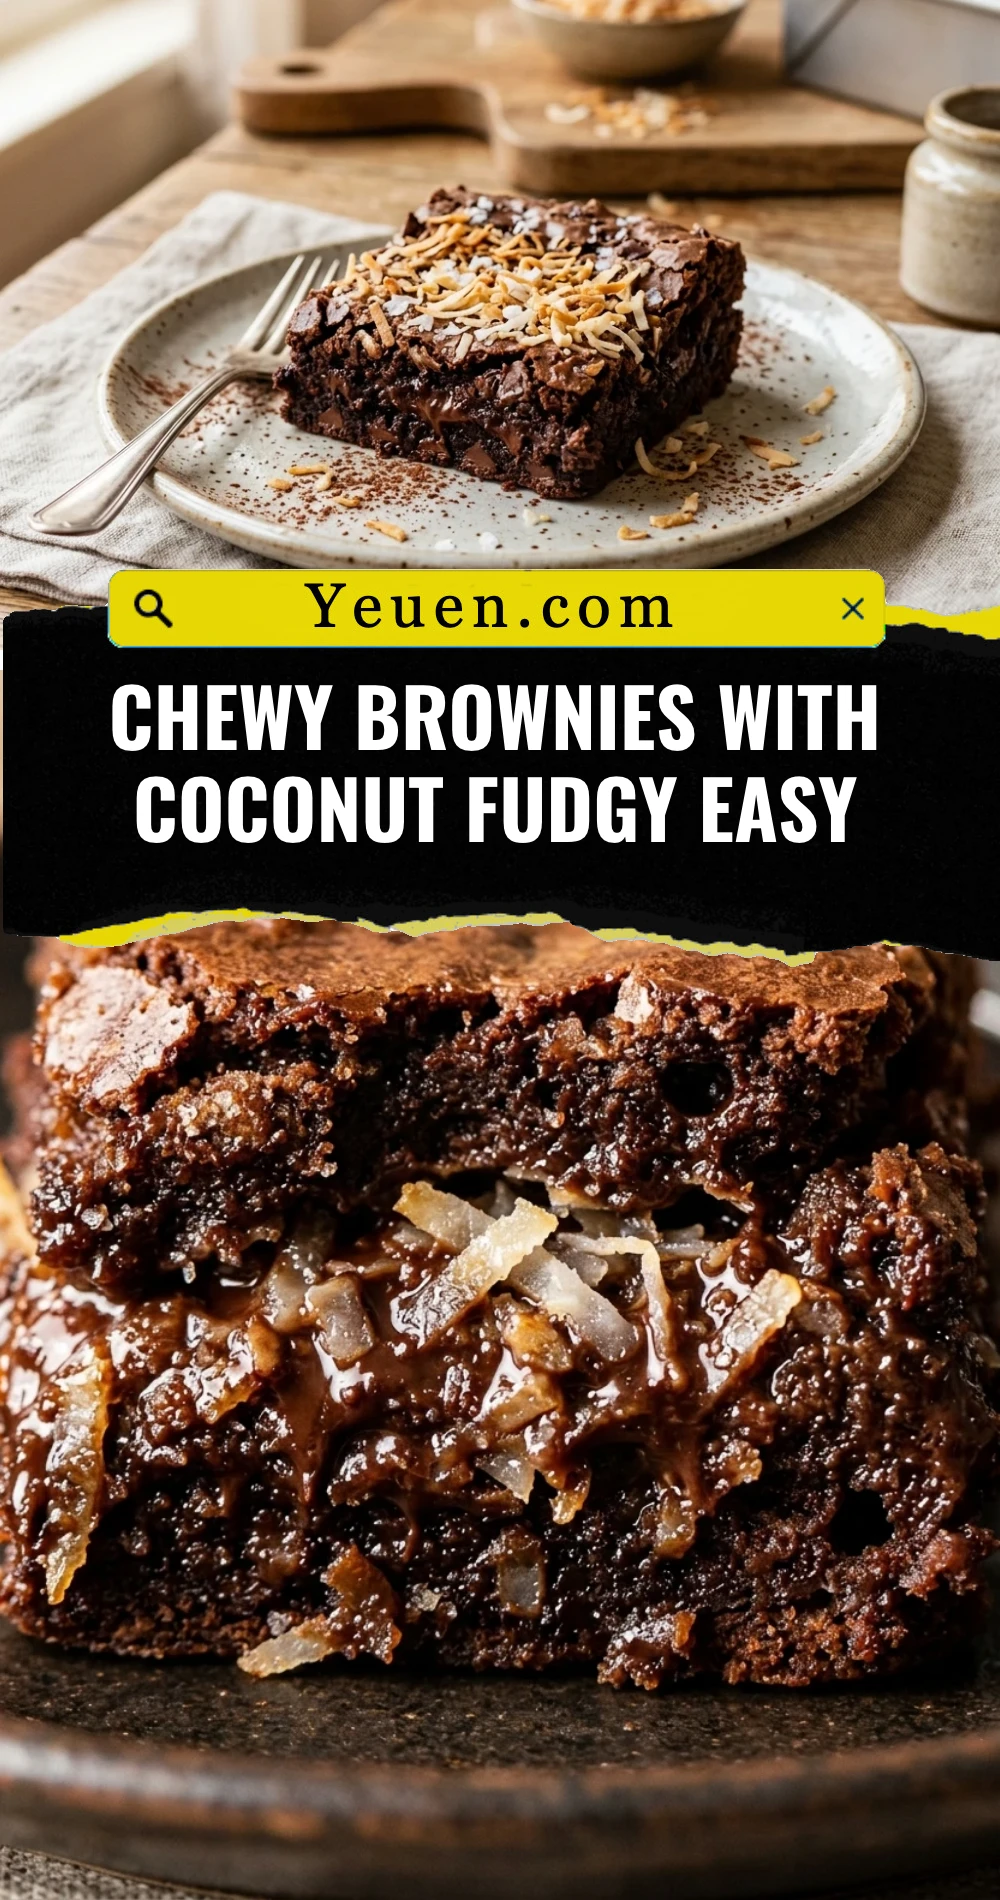
Chewy Brownies With Coconut Fudgy Easy
Imagine a brownie that balances a rich, fudgy center with a subtle tropical crunch. These chewy brownies with coconut are a total game changer for any chocolate lover. They combine the deep, intense flavor of dark cocoa with the sweet, nutty texture of shredded coconut. Best of all, this recipe is incredibly easy to follow and requires only basic pantry staples. Whether you are baking for a bake sale or just satisfying a late-night craving, these brownies deliver a professional-grade result with very little effort. Get ready to experience the ultimate chocolate-coconut indulgence that will have everyone asking for your secret recipe.
Recipe Information
- Prep Time: 15 minutes
- Cook Time: 25 minutes
- Total Time: 40 minutes
- Servings: 16 squares
- Difficulty: Easy
Nutrition values
- Calories: 210 kcal
- Protein: 3g
- Carbs: 26g
Why Make This Chewy Brownies With Coconut Fudgy Easy
You should make this recipe because it offers a unique twist on the classic brownie. The addition of coconut doesn’t just add flavor; it enhances the moisture levels, ensuring every bite stays fudgy for days. Unlike complicated desserts, this recipe uses a one-bowl method that minimizes cleanup. It is the perfect “entry-level” recipe for new bakers who want to impress. Plus, the combination of textures—the crackly top, the chewy edges, and the soft coconut interior—creates a sensory experience that standard brownies simply cannot match.
Ingredients
- 1/2 cup unsalted butter, melted and slightly cooled
- 1 cup granulated sugar
- 2 large eggs, room temperature
- 1 teaspoon pure vanilla extract
- 1/3 cup high-quality unsweetened cocoa powder
- 1/2 cup all-purpose flour
- 1/4 teaspoon salt
- 1/4 teaspoon baking powder
- 1 cup sweetened shredded coconut
- 1/2 cup semi-sweet chocolate chips (optional)
Directions
Step 1: Preparation
Preheat your oven to 350°F (175°C). Line an 8×8-inch square baking pan with parchment paper, leaving a slight overhang on the sides for easy removal later. Lightly grease the parchment with butter or non-stick cooking spray to ensure the brownies release perfectly.
Step 2: Mixing the Wet Ingredients
In a large mixing bowl, whisk together the melted butter and granulated sugar until well combined. Add the eggs one at a time, beating vigorously after each addition. Stir in the vanilla extract. Beating the eggs well at this stage helps create that iconic shiny, crackly brownie top.
Step 3: Combining the Dry Ingredients
Sift the cocoa powder, flour, salt, and baking powder directly into the wet mixture. Use a rubber spatula to gently fold the dry ingredients into the batter. Stop mixing as soon as no more streaks of white flour are visible. Overmixing at this stage will result in a cakey texture rather than a fudgy one.
Step 4: Folding in the Coconut
Add the shredded coconut and the chocolate chips (if using) to the batter. Gently fold them in until they are evenly distributed. The batter will be thick and glossy. Pour the batter into your prepared baking pan and smooth the top with your spatula.
Step 5: Baking and Cooling
Place the pan in the center of the oven and bake for 22 to 25 minutes. To check for doneness, insert a toothpick into the center; it should come out with a few moist crumbs attached, but no raw batter. Remove the pan from the oven and let the brownies cool completely in the pan before lifting them out and slicing into 16 squares.
Expert Tips for Perfect Chewy Brownies With Coconut Fudgy Easy
To get the best results, always use room-temperature eggs. Cold eggs can seize the melted butter and result in an uneven batter. If you want an even deeper coconut flavor, try toasting the shredded coconut in a dry skillet for 2-3 minutes before adding it to the batter. Also, do not overbake! Brownies continue to set as they cool, so taking them out while they still look slightly soft in the middle is the secret to that perfect fudgy consistency. Finally, use a sharp knife and wipe it clean between each cut for perfectly clean edges.
Delicious Variations
You can easily customize these brownies to suit your taste. For a “Mounds” bar style, top the finished brownies with a layer of coconut cream frosting. If you love a salty-sweet combo, sprinkle a pinch of flaky sea salt over the batter before baking. You can also swap the semi-sweet chocolate chips for white chocolate chips to contrast with the dark cocoa. For a bit of extra crunch, add 1/2 cup of chopped toasted almonds or walnuts along with the coconut.

Frequently Asked Questions
Can I use unsweetened coconut instead of shredded sweetened coconut?
Yes, you can use unsweetened coconut. However, since sweetened coconut has more moisture, your brownies might be slightly drier. You may want to add an extra tablespoon of sugar to the batter to compensate for the lost sweetness.
How do I store these brownies to keep them chewy?
Store the brownies in an airtight container at room temperature for up to 4 days. To keep them extra moist, place a slice of white bread in the container; the brownies will absorb the moisture from the bread.
Can I freeze these coconut brownies?
Absolutely! Wrap individual squares tightly in plastic wrap and place them in a freezer-safe bag. They will stay fresh for up to 3 months. Thaw them at room temperature for about an hour before eating.
What type of cocoa powder works best?
Standard unsweetened cocoa powder works perfectly. If you want a darker, more intense chocolate flavor, you can use Dutch-processed cocoa powder, but ensure your baking powder is fresh to help with the lift.
Why are my brownies more cake-like than fudgy?
This usually happens if you use too much flour or overbeat the batter after adding the dry ingredients. Make sure to measure your flour using the “spoon and level” method rather than scooping directly with the measuring cup.
Conclusion
These chewy brownies with coconut are the ultimate easy treat for any occasion. By following these simple steps, you can create a dessert that tastes like it came from a high-end bakery. The rich chocolate and tropical coconut create a flavor profile that is both nostalgic and exciting. Give this recipe a try the next time you need a quick chocolate fix, and don’t forget to share them with friends—if you can resist eating the whole batch yourself!