Follow Me On Pinterest!
Sheet Pan Pancakes Meal Prep Freezer Friendly
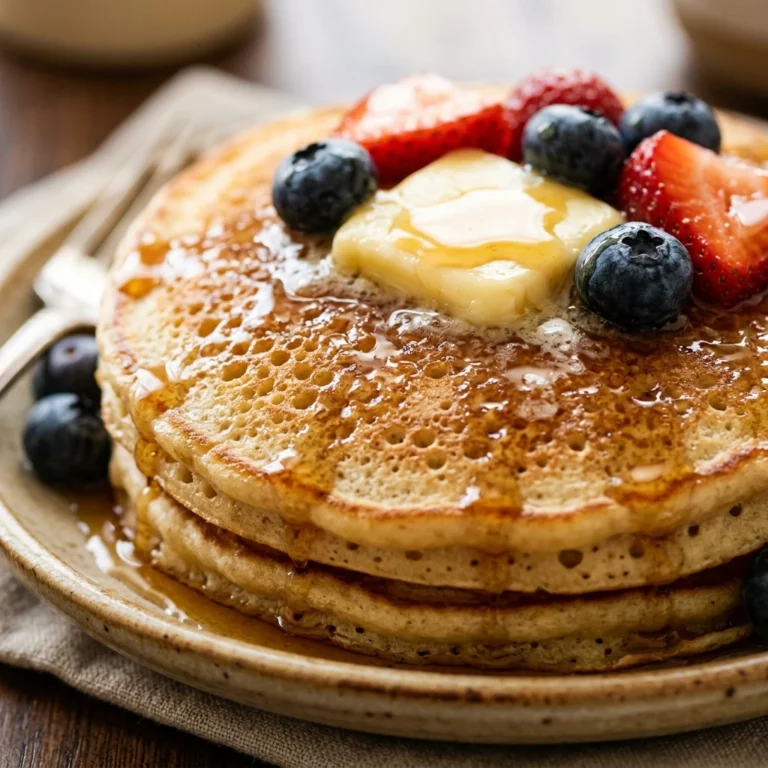
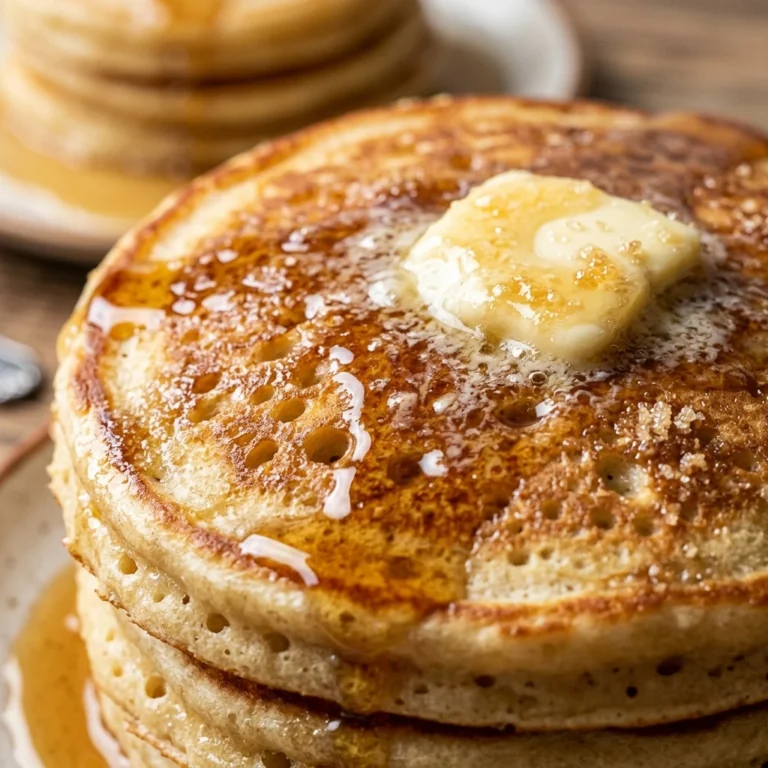
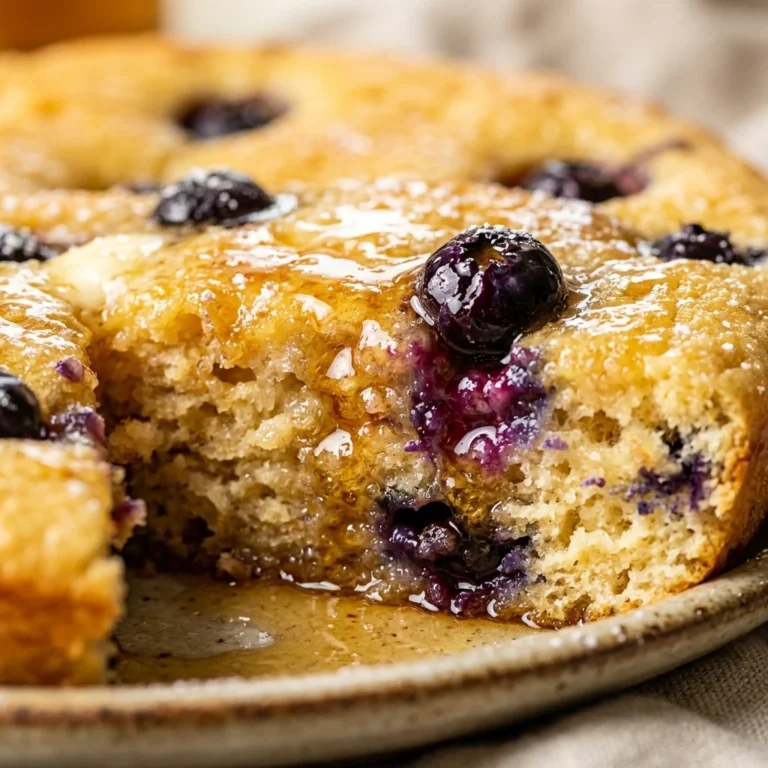
Tired of standing over a hot griddle flipping individual pancakes while your coffee gets cold? Sheet pan pancakes are the ultimate breakfast hack for busy families and meal prep enthusiasts. This recipe transforms the traditional pancake experience into a stress-free, one-pan wonder that yields perfectly fluffy, golden-brown results every single time. Whether you are feeding a hungry crowd on a Sunday morning or stocking your freezer for a hectic work week, these oven-baked pancakes eliminate the guesswork and the manual labor. Get ready to reclaim your mornings with a delicious, customizable breakfast that is as easy to make as it is to eat.
Recipe Information
- Prep Time: 10 minutes
- Cook Time: 15 minutes
- Total Time: 25 minutes
- Servings: 12 squares
- Difficulty: Easy
Nutrition values
- Calories: 185 kcal
- Protein: 5g
- Carbs: 26g
Why Make This Sheet Pan Pancakes Meal Prep Freezer Friendly
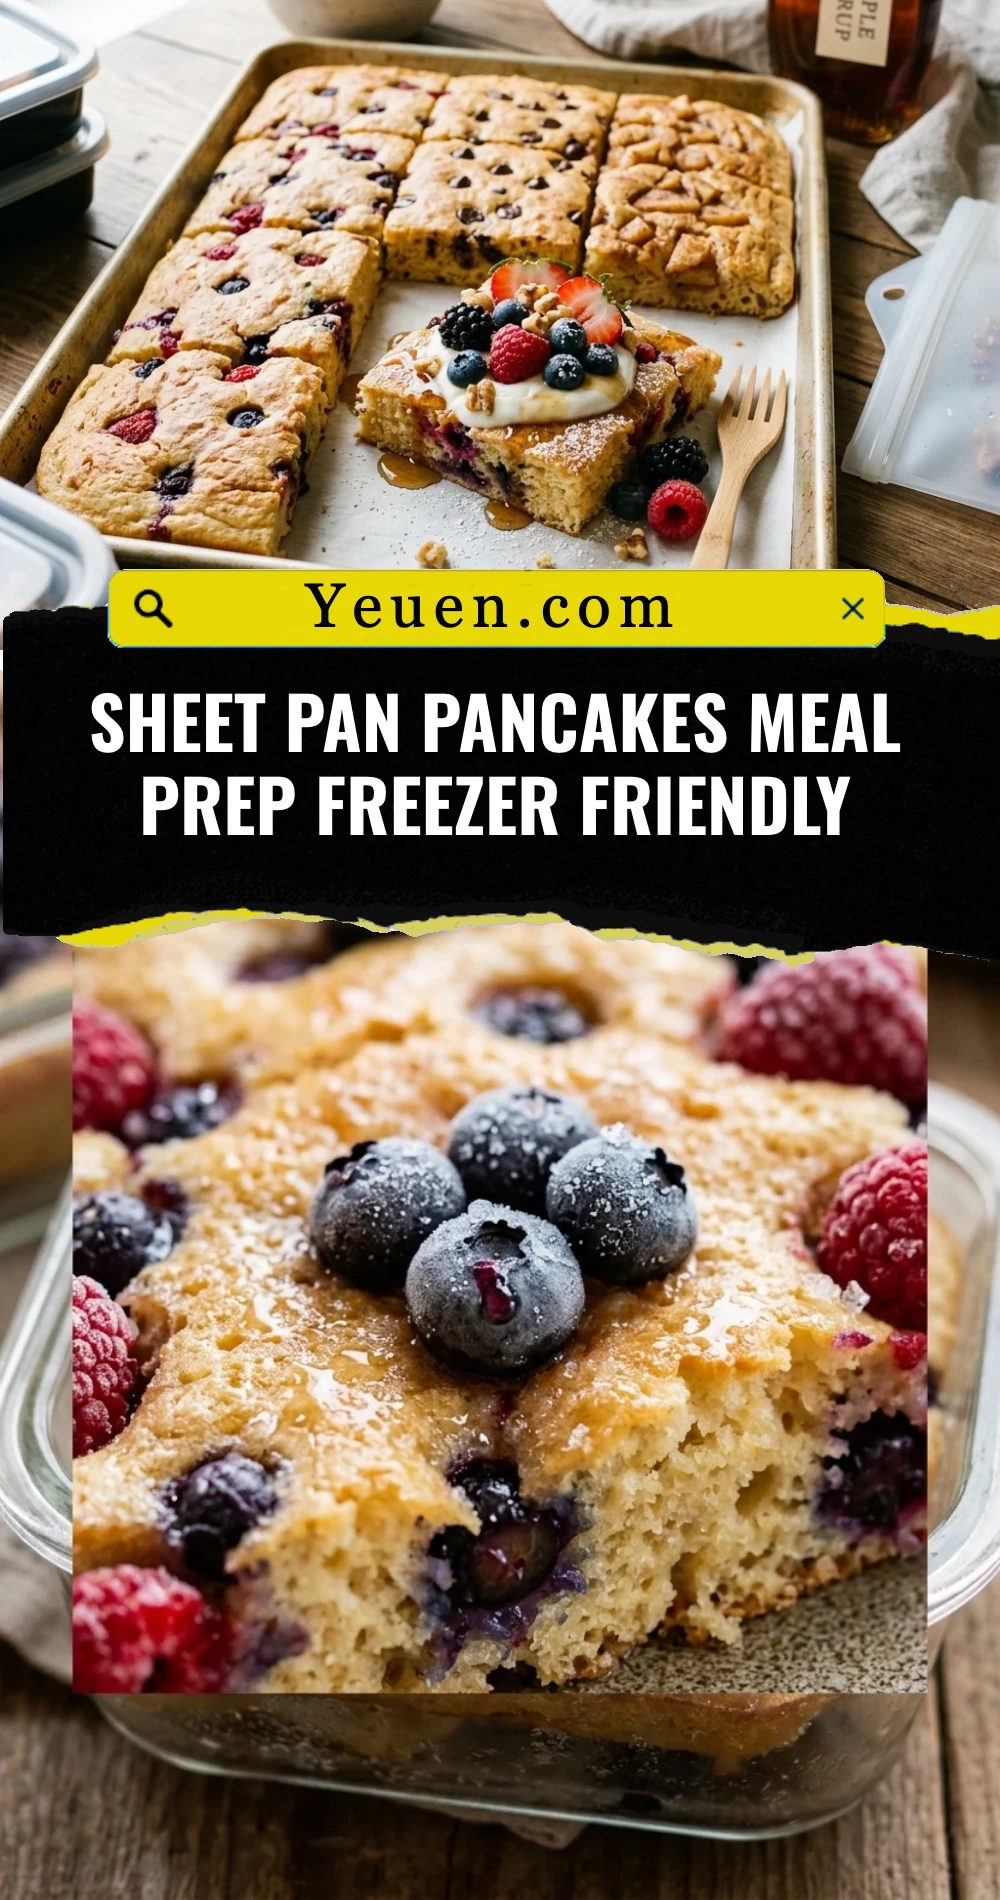
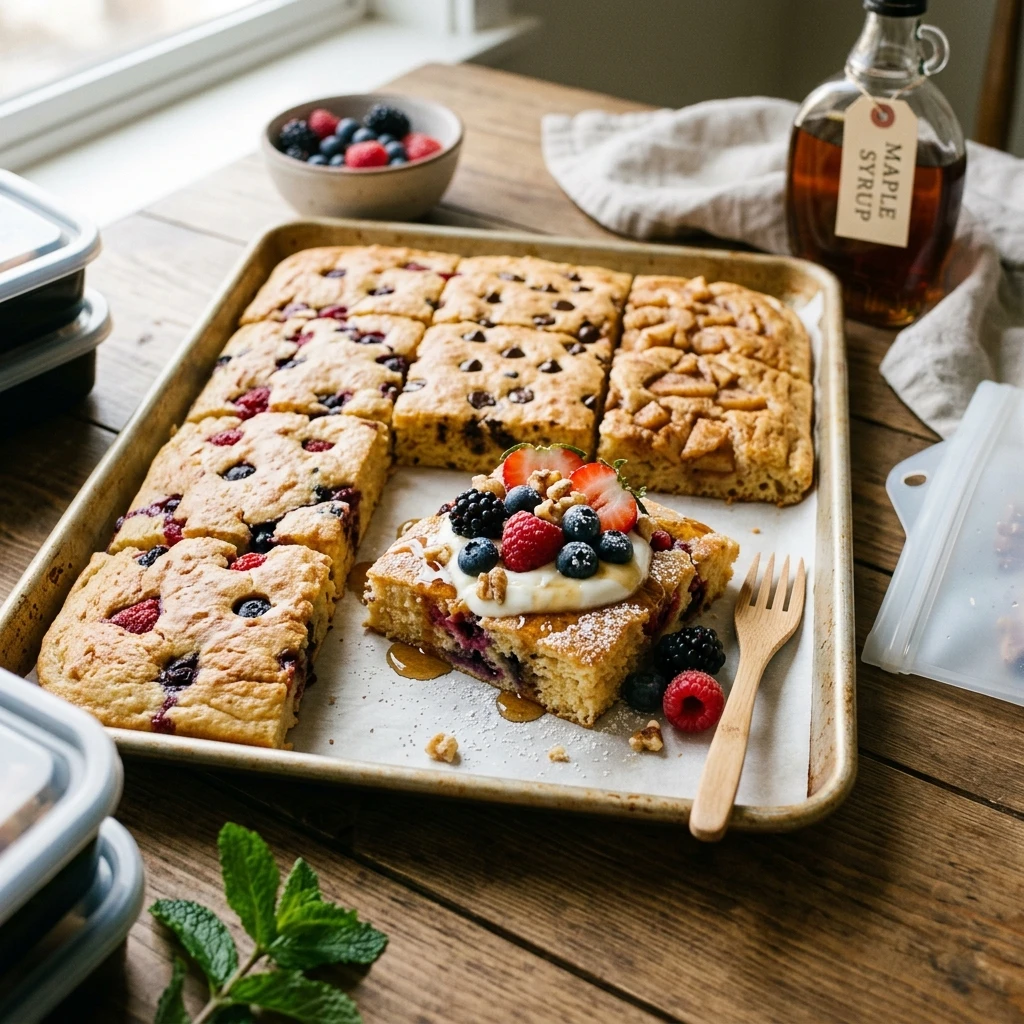
Making pancakes in a sheet pan is a total game-changer for several reasons. First, it allows you to cook an entire batch of pancakes at once, ensuring everyone eats at the same time. There is no more “chef’s tax” where you eat last! Second, this method is incredibly freezer-friendly. You can slice the giant pancake into perfect squares that fit perfectly in your toaster or microwave for a quick weekday breakfast. Finally, it is highly customizable. You can divide the pan into sections with different toppings like blueberries, chocolate chips, or strawberries to satisfy every picky eater in the house with just one tray.
Ingredients
- 2 cups all-purpose flour
- 2 tablespoons granulated sugar
- 2 teaspoons baking powder
- 1/2 teaspoon baking soda
- 1/2 teaspoon salt
- 1 1/2 cups milk (dairy or non-dairy)
- 2 large eggs
- 1/4 cup unsalted butter, melted and slightly cooled
- 1 teaspoon vanilla extract
- Optional toppings: Fresh berries, chocolate chips, sliced bananas, or chopped nuts
Directions
Step 1: Preheat and Prep the Pan
Preheat your oven to 425°F (220°C). Generously grease a 13×18 inch rimmed baking sheet (half-sheet pan) with butter or non-stick cooking spray. For even easier removal, line the bottom with parchment paper, leaving a slight overhang on the sides.
Step 2: Whisk the Dry Ingredients
In a large mixing bowl, whisk together the flour, sugar, baking powder, baking soda, and salt. Ensure there are no large clumps of flour to maintain a smooth batter consistency.
Step 3: Combine Wet Ingredients
In a separate medium bowl, beat the eggs. Whisk in the milk, melted butter, and vanilla extract until well combined. The melted butter should be cooled slightly so it does not scramble the eggs.
Step 4: Mix the Batter
Pour the wet ingredients into the dry ingredients. Use a spatula or whisk to gently fold the mixture together until just combined. Be careful not to overmix; a few small lumps in the batter are perfectly fine and actually help keep the pancakes fluffy.
Step 5: Pour and Add Toppings
Pour the batter onto the prepared sheet pan. Use a spatula to spread it evenly into the corners. Now is the time to add your toppings! Sprinkle berries, chocolate chips, or nuts over the entire surface, or create “zones” with different flavors.
Step 6: Bake and Slice
Place the pan in the center rack of the oven and bake for 12 to 15 minutes. The pancakes are done when they are golden brown on top and spring back when lightly touched. Remove from the oven and let cool for 5 minutes before slicing into 12 even squares.
Expert Tips for Perfect Sheet Pan Pancakes Meal Prep Freezer Friendly
To achieve the best results, always ensure your baking powder is fresh; this is what provides that signature lift in the oven. When spreading the batter, try to keep it as level as possible so the edges don’t brown too quickly before the center is cooked. If you are planning to freeze these, let the squares cool completely on a wire rack first. This prevents steam from being trapped in the storage bag, which causes freezer burn and sogginess.
Delicious Variations
- Lemon Poppy Seed: Add 1 tablespoon of lemon zest and 1 tablespoon of poppy seeds to the batter.
- Pumpkin Spice: Swap 1/4 cup of milk for pumpkin puree and add 1 teaspoon of pumpkin pie spice.
- Protein Boost: Replace half of the flour with your favorite vanilla protein powder and add a tablespoon of Greek yogurt to the wet ingredients.
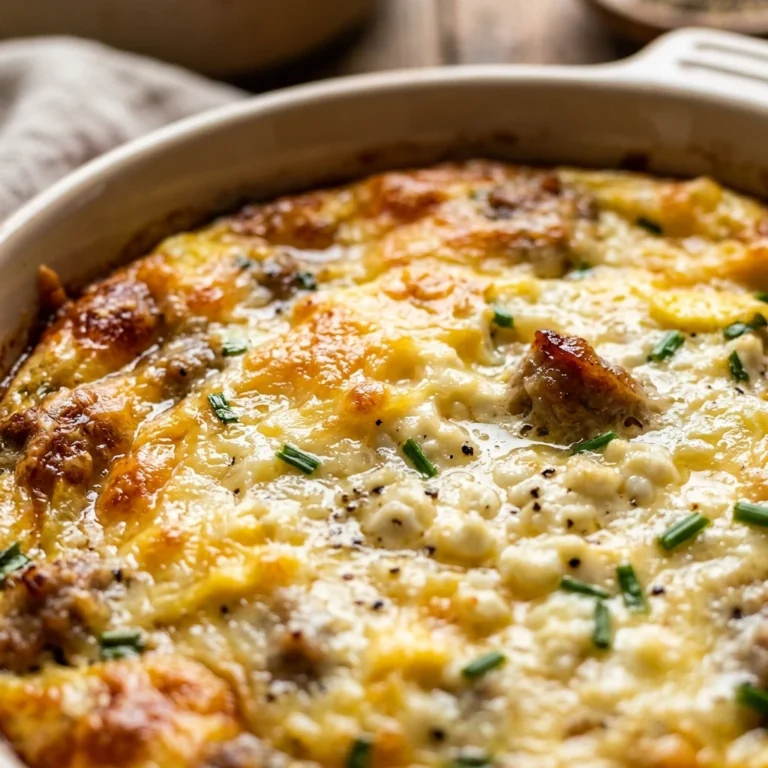
- Savory Style: Omit the sugar and vanilla, and top the batter with cooked bacon bits, shredded cheddar cheese, and chives.
Frequently Asked Questions
How do I store these for meal prep?
Once sliced and cooled, place the pancake squares in an airtight container or a heavy-duty freezer bag. If stacking them, place a piece of parchment paper between each layer to prevent sticking.
How long do they last in the freezer?
These sheet pan pancakes will stay fresh in the freezer for up to 3 months. In the refrigerator, they will last for about 4 to 5 days.
What is the best way to reheat frozen pancakes?
For the best texture, reheat them in a toaster or a toaster oven until warmed through and slightly crisp. You can also microwave them for 30-60 seconds on a paper towel-lined plate if you are in a rush.
Can I use a boxed pancake mix instead?
Yes! You can use your favorite boxed mix. Just follow the package instructions to make enough batter for about 10-12 standard pancakes, then pour it into the sheet pan and bake as directed here.
Why did my sheet pan pancakes turn out rubbery?
Rubbery pancakes are usually the result of overmixing the batter. When you mix too much, you develop the gluten in the flour, which leads to a tough texture. Mix until the ingredients are just combined for the fluffiest results.
Conclusion
Sheet pan pancakes are truly the ultimate time-saver for anyone who loves a hearty breakfast but hates the morning rush. By baking your batter all at once, you achieve a consistent, delicious meal that is perfect for feeding a family or stocking up your freezer. With endless topping possibilities and a simple cleanup, this recipe will quickly become a favorite in your household. Give it a try this weekend and enjoy the luxury of a stress-free, homemade breakfast all week long!