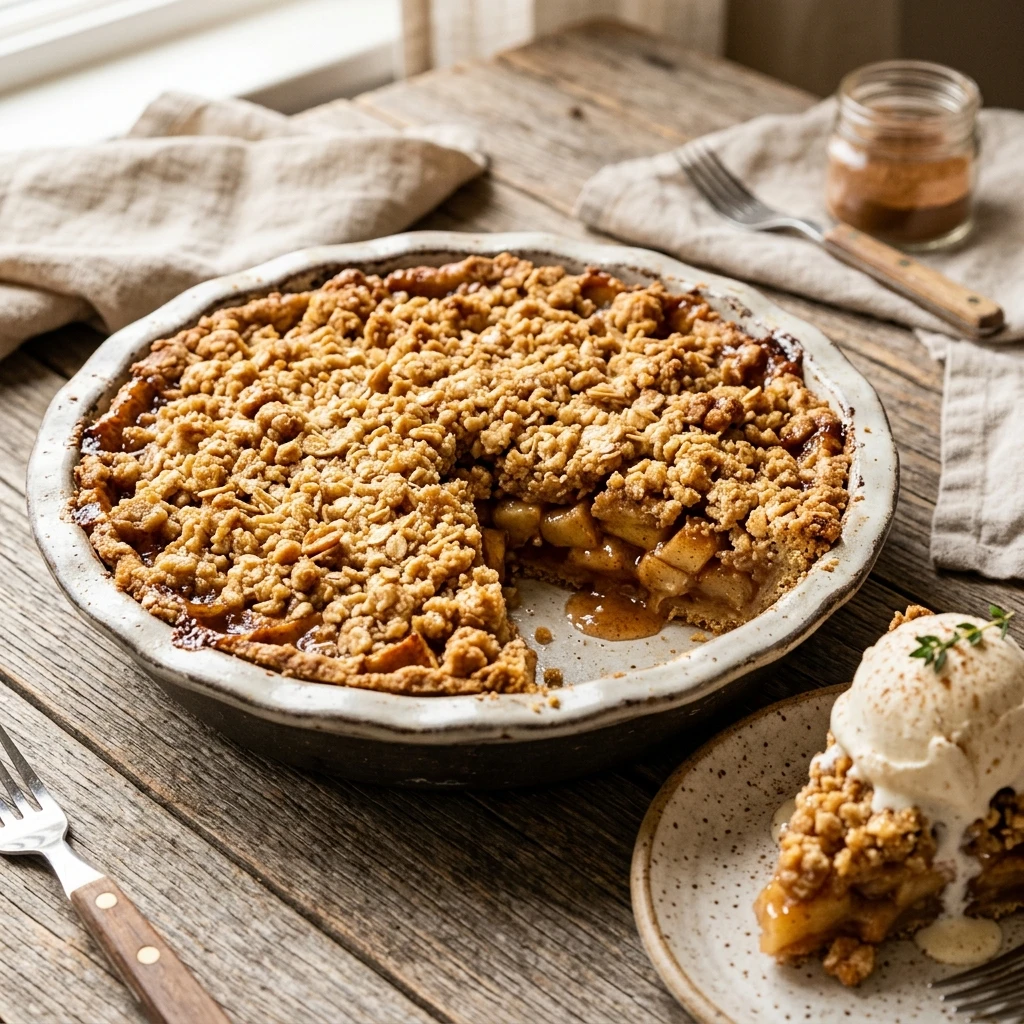
If you love the warm, spiced flavors of a classic apple pie but dread the hassle of chilling and rolling out a traditional crust, this recipe is your new best friend. This Apple Crumble Pie No Rolling Needed takes all the stress out of baking by using a simple press-in crust that tastes just like shortbread. It’s the perfect solution for busy weeknights or holiday gatherings where you want a show-stopping dessert without the extra elbow grease. Every bite features tender, cinnamon-flecked apples tucked under a buttery, golden-brown crumble that provides the ultimate crunch.
Recipe Information
Prep Time: 20 minutes
Cook Time: 50 minutes
Total Time: 1 hour 10 minutes
Servings: 8 servings
Difficulty: Easy
Nutrition values
Calories: 345 kcal
Protein: 3g
Carbs: 54g
Why Make This Apple Crumble Pie No Rolling Needed
This recipe eliminates the most intimidating part of pie making: the dough. You won’t need a rolling pin, a floured surface, or even any patience for dough-chilling. The press-in crust is foolproof and yields a consistent, crumbly texture that pairs beautifully with the soft fruit filling. It is also incredibly versatile; you can whip it up with pantry staples you likely already have on hand. Plus, the combination of a crisp bottom and a crunchy crumble top gives you double the texture of a standard pie.
Ingredients
For the Crust:
1 ½ cups all-purpose flour
½ cup unsalted butter, melted
¼ cup granulated sugar
¼ teaspoon salt
For the Apple Filling:
6 large Granny Smith apples, peeled, cored, and sliced
½ cup granulated sugar
1 tablespoon lemon juice
1 teaspoon ground cinnamon
2 tablespoons all-purpose flour
For the Crumble Topping:
¾ cup all-purpose flour
½ cup brown sugar, packed
½ cup cold unsalted butter, cubed
½ cup rolled oats (optional for extra crunch)
½ teaspoon cinnamon
Directions
Step 1: Preheat and Prepare the Pan
Start by preheating your oven to 350°F (175°C). Lightly grease a 9-inch pie dish or springform pan with butter or non-stick cooking spray. This ensures your no-roll crust releases easily after baking.
Step 2: Create the Press-In Crust
In a medium mixing bowl, whisk together the flour, sugar, and salt. Pour in the melted butter and stir with a fork until a soft dough forms. Transfer the dough to your prepared pie dish. Use your fingers or the bottom of a measuring cup to press the mixture firmly and evenly across the bottom and up the sides of the dish. Set this aside while you prepare the filling.
Step 3: Prepare the Spiced Apple Filling
Place your sliced apples into a large bowl. Toss them with the lemon juice to prevent browning. Add the sugar, cinnamon, and flour, then stir until every apple slice is well-coated. Pour the apple mixture into the prepared crust, smoothing them down into an even layer.
Step 4: Mix the Crumble Topping
In another bowl, combine the flour, brown sugar, cinnamon, and oats. Add the cold, cubed butter. Use a pastry cutter or your clean fingertips to work the butter into the dry ingredients until the mixture resembles coarse crumbs with some pea-sized chunks remaining. Sprinkle this topping generously over the apples.
Step 5: Bake to Golden Perfection
Place the pie in the center rack of the oven and bake for 45 to 55 minutes. You are looking for a golden-brown topping and bubbling juices around the edges. If the top browns too quickly, tent it loosely with aluminum foil for the last 10 minutes. Remove from the oven and let it cool for at least 30 minutes before slicing to allow the filling to set.
Expert Tips for Perfect Apple Crumble Pie No Rolling Needed
For the best results, use a mix of apple varieties. While Granny Smiths provide a great tartness, adding a few Honeycrisp or Braeburn apples adds depth of flavor and different textures. Make sure your butter for the topping is very cold; this creates those distinct “clumps” that make a crumble so satisfying. If you want a more caramelized flavor, swap the granulated sugar in the filling for light brown sugar. Finally, don’t rush the cooling process, as the juices need time to thicken so the pie holds its shape when sliced.
Delicious Variations
You can easily customize this recipe to suit your cravings. Add half a cup of chopped pecans or walnuts to the crumble topping for an earthy crunch. For a “Caramel Apple” version, drizzle salted caramel sauce over the apples before adding the topping. If you enjoy a bit of warmth, add a pinch of ground nutmeg or ginger to the filling. You can also swap out two of the apples for a cup of fresh cranberries or blackberries to add a tart pop of color and flavor.
Frequently Asked Questions
Can I make this pie gluten-free?
Yes, you can substitute the all-purpose flour with a 1:1 gluten-free baking flour blend. Ensure the blend contains xanthan gum for the best crust structure. Also, make sure your oats are certified gluten-free.
How should I store the leftovers?
Store any remaining pie in the refrigerator, covered tightly with plastic wrap or foil, for up to 4 days. You can reheat individual slices in the oven or microwave to restore the warmth.
Do I need to blind bake the crust first?
No, one of the best parts of this no-roll recipe is that the crust and filling bake together perfectly. The crust stays crisp on the bottom without a pre-bake.
Can I freeze this apple crumble pie?
Yes. You can freeze the baked and cooled pie for up to 3 months. Wrap it tightly in several layers of plastic wrap and then foil. Thaw in the fridge overnight and reheat in the oven at 350°F until warm.
Why is my crumble topping soggy?
Soggy topping usually happens if the butter was too soft when mixing or if the pie didn’t bake long enough. Ensure your topping butter is cold and the pie is baked until the juices are visibly bubbling.
Conclusion
This Apple Crumble Pie No Rolling Needed is the ultimate shortcut to a homemade dessert that tastes like you spent hours in the kitchen. By skipping the traditional pastry techniques, you can focus on the incredible flavors of fresh fruit and warm spices. Whether you serve it warm with a scoop of vanilla bean ice cream or enjoy a cold slice the next morning, this pie is sure to become a staple in your recipe collection. Give it a try today and enjoy the easiest pie you have ever made!