Follow Me On Pinterest!
Chives and Sour Cream Deviled Eggs
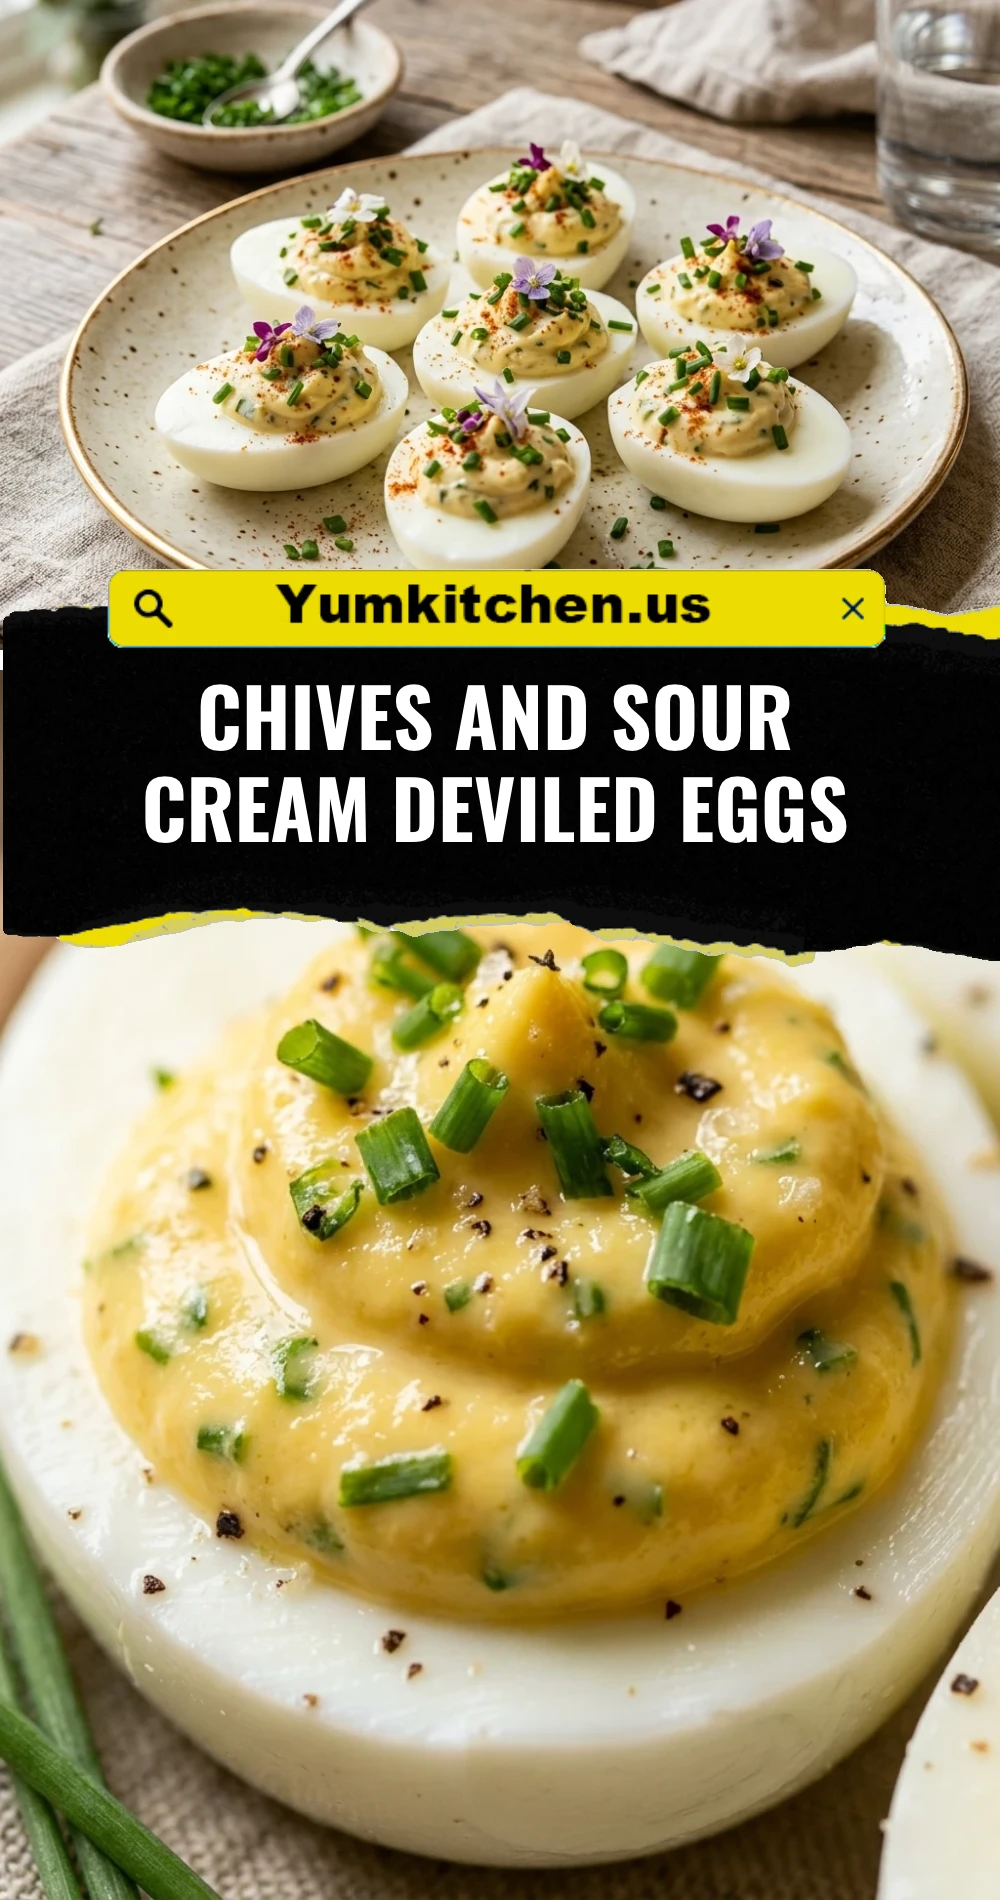
Elevate your appetizer game with these Chives and Sour Cream Deviled Eggs. While traditional deviled eggs rely heavily on mayonnaise, this version introduces tangy sour cream to create a velvety, cloud-like texture that melts in your mouth. Fresh chives add a subtle onion notes and a vibrant pop of green, making these the star of any brunch, picnic, or holiday gathering. Whether you are a seasoned host or a kitchen novice, you will find this recipe incredibly simple to master and even harder to stop eating.
Recipe Information
- Prep Time: 15 minutes
- Cook Time: 12 minutes
- Total Time: 27 minutes
- Servings: 12 halves
- Difficulty: Easy
Nutrition values
- Calories: 72 kcal per serving
- Protein: 4.5g
- Carbs: 1.2g
Why Make This Chives and Sour Cream Deviled Eggs
These deviled eggs offer a sophisticated twist on a nostalgic favorite. The addition of sour cream provides a refreshing tang that cuts through the richness of the egg yolks, while the fresh chives provide a garden-fresh aroma. They are naturally low-carb and gluten-free, making them a safe bet for guests with various dietary needs. Plus, you can easily scale the recipe up for large crowds without extra stress.
Ingredients
- 6 large eggs (preferably a week old for easier peeling)
- 3 tablespoons sour cream
- 1 tablespoon mayonnaise
- 1 teaspoon Dijon mustard
- 1 tablespoon fresh chives, finely minced (plus extra for garnish)
- 1/4 teaspoon salt
- 1/8 teaspoon black pepper
- Pinch of smoked paprika for garnish
Directions
Step 1: Boiling the Eggs
Place the eggs in a single layer in a medium saucepan. Cover them with cold water, ensuring there is at least an inch of water above the eggs. Bring the water to a rolling boil over high heat. Once boiling, turn off the heat, cover the pan with a lid, and let the eggs sit for exactly 12 minutes. Immediately transfer the eggs to a bowl filled with ice and water to stop the cooking process.
Step 2: Peeling and Slicing
Once the eggs are completely cool, gently crack the shells by tapping them on a hard surface. Peel the eggs under cool running water to help the shell slide off smoothly. Pat the eggs dry with a paper towel. Use a sharp knife to slice each egg in half lengthwise. Carefully remove the yellow yolks and place them into a small mixing bowl, setting the whites aside on a serving platter.
Step 3: Creating the Creamy Filling
Use a fork or a small whisk to mash the egg yolks until they turn into fine crumbs. Add the sour cream, mayonnaise, Dijon mustard, salt, and pepper. Mix vigorously until the filling is completely smooth and creamy. Stir in the finely minced chives by hand to ensure they are evenly distributed throughout the mixture.
Step 4: Filling and Garnishing
Spoon the yolk mixture into the empty egg white cavities. For a more professional look, transfer the filling to a piping bag fitted with a large star tip and pipe the mixture into the whites. Sprinkle a light dusting of smoked paprika over the top and garnish with a few extra snips of fresh chives. Serve immediately or chill in the refrigerator until ready to enjoy.
Expert Tips for Perfect Chives and Sour Cream Deviled Eggs
To get the smoothest filling possible, consider pressing the cooked egg yolks through a fine-mesh sieve before adding the wet ingredients. This eliminates any lumps and results in a professional, restaurant-quality texture. Always use fresh chives rather than dried ones; the moisture and color of fresh herbs are essential for this specific flavor profile. If you find your filling is too stiff, add an extra teaspoon of sour cream until you reach your desired consistency.
Delicious Variations
If you want to add some crunch, top each egg with a small piece of crispy bacon. For those who enjoy a bit of heat, add a dash of hot sauce or a tiny slice of fresh jalapeño to the garnish. You can also swap the Dijon mustard for horseradish mustard to give the eggs a spicy, sinus-clearing kick that pairs beautifully with the cooling sour cream.

Frequently Asked Questions
How far in advance can I make these?
You can boil and peel the eggs up to two days in advance. However, for the best flavor and appearance, fill the eggs no more than 6 to 12 hours before serving. Keep them tightly covered in the refrigerator.
Why is my yolk filling lumpy?
Lumpy filling usually happens if the yolks aren’t mashed thoroughly before adding the liquids. Always mash the dry yolks first, or use a food processor for a perfectly emulsified filling.
How do I stop the eggs from sliding on the plate?
If your eggs are sliding around, you can slice a tiny sliver off the bottom of the egg white to create a flat surface. This helps them sit securely on any serving tray.
Can I use Greek yogurt instead of sour cream?
Yes! Plain Greek yogurt is an excellent substitute if you want a slightly higher protein content and a sharper tang, though the texture may be slightly denser.
What is the best way to peel eggs easily?
The “shock” method is key. Moving eggs directly from boiling water to an ice bath causes the egg to contract away from the shell, making it much easier to peel without tearing the whites.
Conclusion
Chives and Sour Cream Deviled Eggs are a refreshing departure from the standard recipe. By balancing the rich yolks with tangy cream and fresh herbs, you create a snack that feels both light and indulgent. They are the perfect addition to your recipe box for any season. Give them a try at your next dinner party, and watch them disappear in minutes!