Follow Me On Pinterest!
Blue Cheese and Chives Deviled Eggs
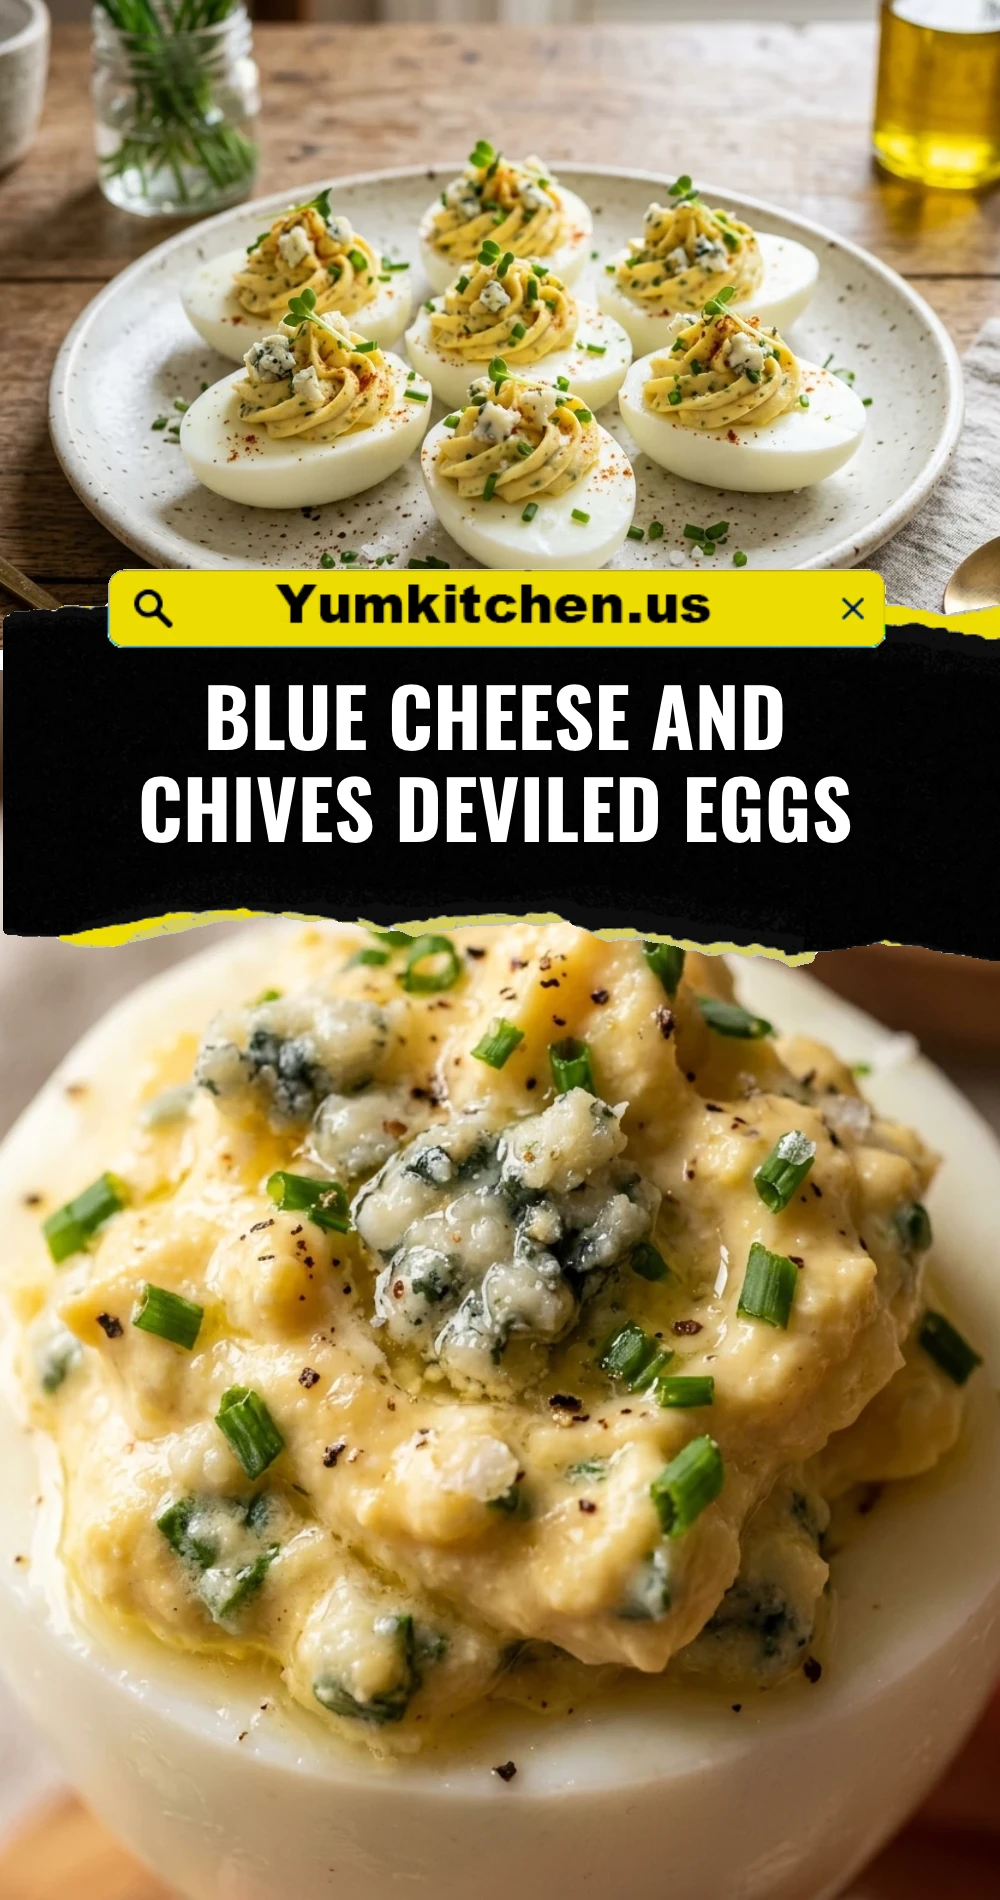
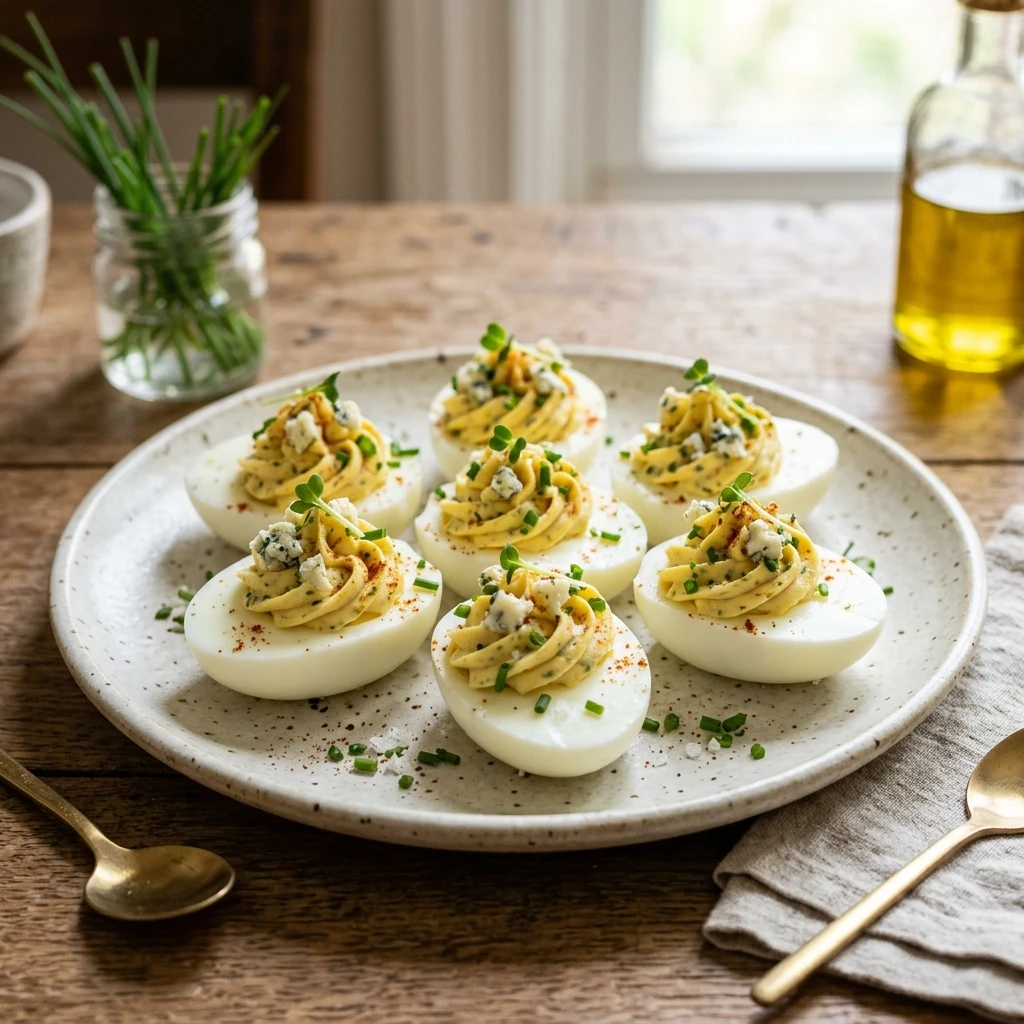
Step up your appetizer game with these Blue Cheese and Chives Deviled Eggs. While everyone loves the classic version, adding a punchy, gourmet twist makes your platter the star of any party. The creamy yolk center gets a sophisticated upgrade from the bold tang of blue cheese and the bright, oniony snap of fresh chives. Whether you are hosting a backyard barbecue or an elegant holiday brunch, these bites offer a perfect balance of rich texture and sharp flavor that will have your guests reaching for seconds and thirds.
Recipe Information
- Prep Time: 15 minutes
- Cook Time: 10 minutes
- Total Time: 25 minutes
- Servings: 12 halves
- Difficulty: Easy
Nutrition values
- Calories: 85 kcal per serving
- Protein: 6g
- Carbs: 1g
Why Make This Blue Cheese and Chives Deviled Eggs
This recipe is a game-changer for anyone tired of the same old potluck snacks. The blue cheese adds a deep, savory complexity that pairs perfectly with the rich egg yolks. It transforms a humble household staple into a high-end hors d’oeuvre with very little extra effort. Plus, these eggs are naturally low-carb and gluten-free, making them a safe and delicious option for guests with various dietary needs. They look stunning on a platter and taste even better than they look.
Ingredients
- 6 large eggs
- 3 tablespoons mayonnaise
- 1 teaspoon Dijon mustard
- 3 tablespoons blue cheese crumbles (finely mashed)
- 2 tablespoons fresh chives, finely chopped (plus extra for garnish)
- 1/4 teaspoon black pepper
- A pinch of salt (adjust based on the saltiness of your cheese)
- Smoked paprika for dusting
Directions
Step 1: Boil and Peel the Eggs
Place your eggs in a single layer in a saucepan and cover them with an inch of cold water. Bring the water to a rolling boil, then immediately remove the pan from the heat and cover it with a lid. Let the eggs sit in the hot water for 10 to 12 minutes. Prepare an ice bath while you wait. Once the time is up, transfer the eggs to the ice water for 5 minutes. Gently crack the shells and peel them under cool running water for the smoothest results.
Step 2: Create the Creamy Filling
Slice each peeled egg in half lengthwise. Carefully scoop the cooked yolks into a medium mixing bowl and set the whites aside on a serving plate. Use a fork to mash the yolks into a fine powder. Add the mayonnaise, Dijon mustard, pepper, and salt. Mix until the texture is silky smooth. Fold in the finely mashed blue cheese and the chopped chives until they are evenly distributed throughout the mixture.
Step 3: Pipe and Garnish
Transfer the yolk mixture into a piping bag fitted with a large star tip or a simple plastic storage bag with the corner cut off. Pipe the filling generously into the cavity of each egg white. For the finishing touch, sprinkle a light dusting of smoked paprika over the top and scatter a few extra fresh chives. Serve immediately or chill in the refrigerator until your guests arrive.
Expert Tips for Perfect Blue Cheese and Chives Deviled Eggs
For the best results, use eggs that have been in your fridge for a week rather than farm-fresh eggs; older eggs are much easier to peel. When mixing your filling, ensure your blue cheese is crumbled very finely or even mashed with a bit of the mayo first. Large chunks can clog your piping tip and result in an uneven flavor distribution. If you want a truly professional look, use a star-shaped piping tip to give the filling some height and texture.
Delicious Variations
- The Buffalo Twist: Add a teaspoon of buffalo hot sauce to the yolk mixture for a “Buffalo Blue” flavor profile.
- Bacon Crunch: Stir in some finely minced, crispy bacon bits for an added smoky crunch.
- Nutty Texture: Toasted, crushed walnuts make a surprising and delightful garnish that complements the blue cheese beautifully.
- Extra Zest: Grate a little bit of lemon zest into the filling to brighten the heavy flavors of the cheese and yolk.
Frequently Asked Questions
How far in advance can I make these?
You can boil and peel the eggs up to two days in advance. However, for the best texture and appearance, fill the eggs no more than 4 to 6 hours before serving. Keep them tightly covered in the refrigerator to prevent the yolks from drying out.
What type of blue cheese works best?
A creamy Gorgonzola or a classic Roquefort works beautifully. If you prefer a milder funk, look for a “creamy” blue cheese. If you love a sharp bite, go for a traditional crumbled Stilton.
My filling is too stiff. How can I fix it?
Simply add more mayonnaise, one teaspoon at a time, until you reach your desired consistency. You can also use a splash of heavy cream or even a tiny bit of olive oil to loosen the mixture without losing the flavor.
How do I stop my deviled eggs from sliding on the plate?
Slice a tiny sliver off the bottom of the egg white halves. This creates a flat “base” that allows the eggs to sit securely on your serving platter without wobbling or sliding around.
Can I freeze deviled eggs?
No, freezing is not recommended. The egg whites become rubbery and watery upon thawing, and the creamy filling will lose its texture. These are best enjoyed fresh or within two days of preparation.
Conclusion
Blue Cheese and Chives Deviled Eggs are a sophisticated yet simple way to upgrade a classic favorite. By combining the sharp, tangy notes of quality blue cheese with the herbal freshness of chives, you create an appetizer that is both comforting and impressive. They are quick to prepare, easy to customize, and guaranteed to disappear within minutes of hitting the table. Give this recipe a try at your next gathering and watch your guests discover their new favorite snack!