Follow Me On Pinterest!
Leftover Halloween Candy Dinner – Next Day Idea
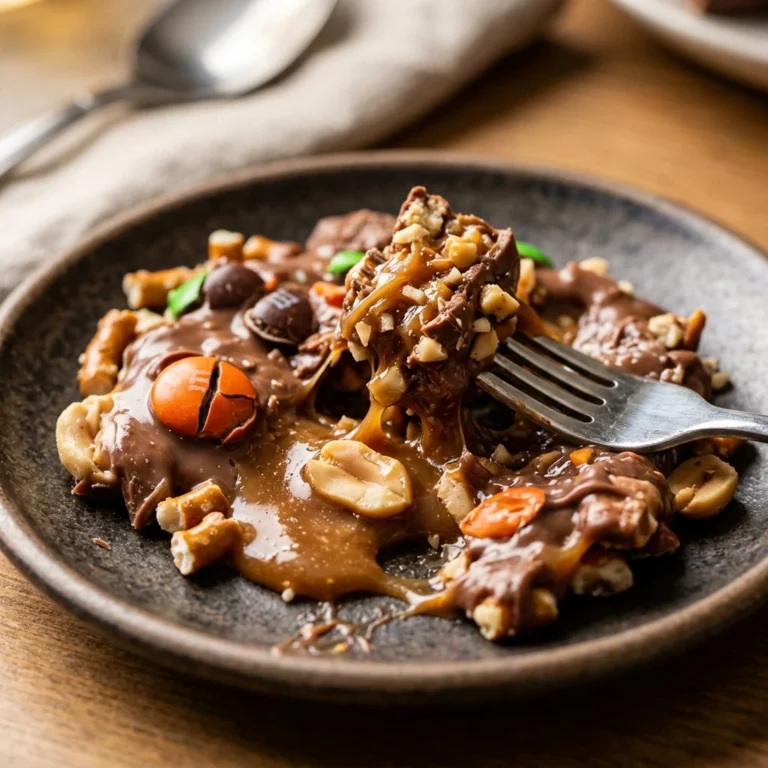
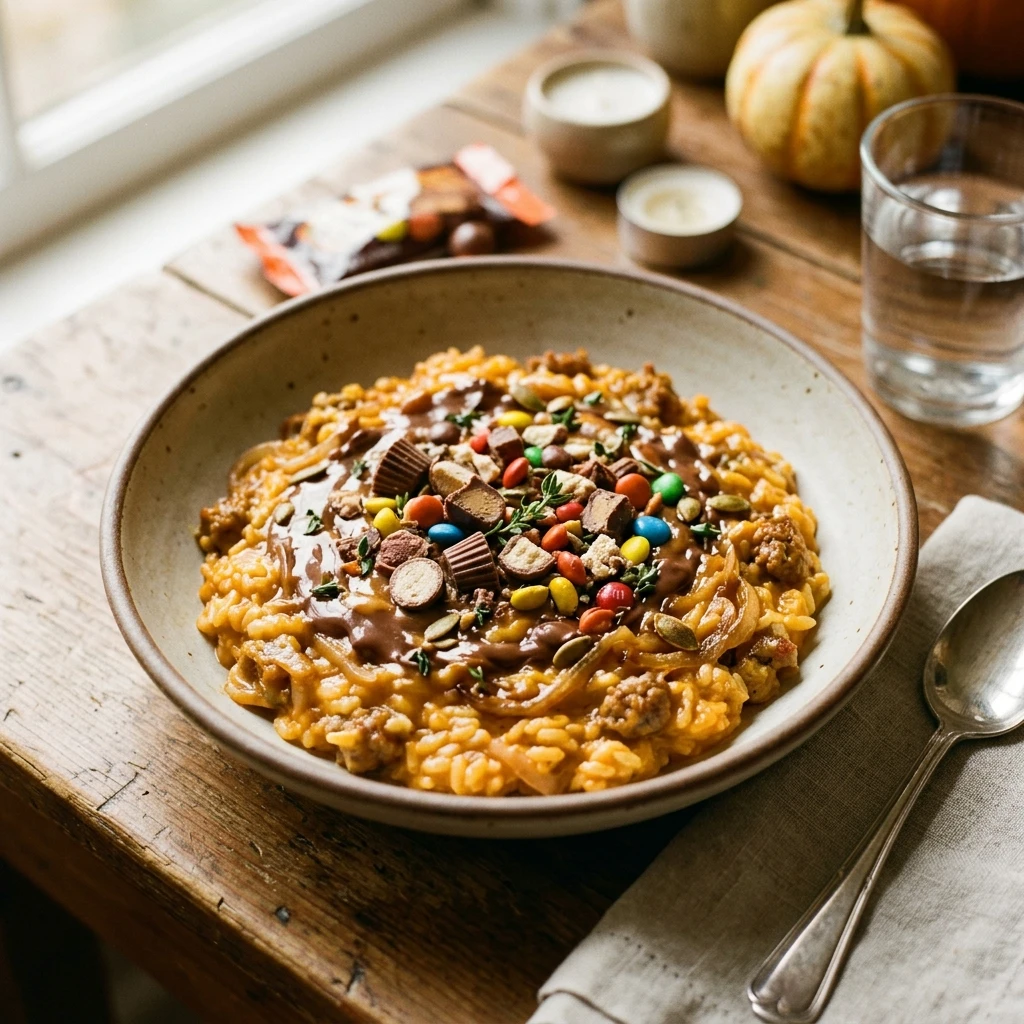
So, the jack-o’-lanterns are dimming, the costumes are in the laundry, and you are staring at a mountain of chocolate bars, peanut butter cups, and gummies. Instead of hiding the stash in the pantry or grazing on it for weeks, why not turn that loot into a legendary post-Halloween dinner? This Leftover Halloween Candy Dinner is the ultimate “cheat meal” that transforms assorted chocolates into a decadent, warm dessert pizza. It is the perfect way to gather the family one more time to celebrate the holiday spirit before the November rush begins. Kids love the novelty, and adults appreciate the clever use of leftovers.
Recipe Information
- Prep Time: 15 minutes
- Cook Time: 15 minutes
- Total Time: 30 minutes
- Servings: 6 servings
- Difficulty: Easy
Nutrition values
- Calories: 485 kcal
- Protein: 7g
- Carbs: 68g
Why Make This Leftover Halloween Candy Dinner – Next Day Idea
Making this dish solves the problem of “candy fatigue” while creating a memorable family tradition. It allows you to clear out a significant portion of the candy haul in one go. The combination of a warm, chewy pizza crust with melted chocolate and salty peanuts creates a sophisticated flavor profile that tastes much better than eating a cold candy bar straight from the wrapper. It is also an incredibly flexible recipe; you can use whatever happens to be in your trick-or-treat bag.
Ingredients
- 1 pound pre-made pizza dough (store-bought or homemade)
- 1/2 cup chocolate hazelnut spread or creamy peanut butter (the “sauce”)
- 2 cups assorted chocolate candies (Snickers, Twix, Reese’s, Milky Way), chopped
- 1/2 cup mini marshmallows
- 1/4 cup M&Ms or Reese’s Pieces for a pop of color
- 1/2 teaspoon flaky sea salt (optional, to balance the sweetness)
- 1 tablespoon melted butter
- 1 teaspoon cinnamon sugar
Directions
Step 1: Preparation
Preheat your oven to 425°F (220°C). If you are using a pizza stone, place it in the oven while it preheats. Take your pizza dough out of the refrigerator and let it sit at room temperature for about 10 minutes. While the dough rests, chop all your larger candy bars into bite-sized pieces. Set aside the smaller candies like M&Ms or gummies for later.
Step 2: Shaping and Pre-Baking
Roll out the pizza dough on a floured surface or a piece of parchment paper until it forms a 12-inch circle. Brush the edges of the dough with melted butter and sprinkle them with cinnamon sugar to create a delicious crust. Transfer the dough to a baking sheet or your hot pizza stone. Prick the center of the dough with a fork to prevent large air bubbles. Bake the crust alone for 8 to 10 minutes, or until it is lightly golden but not fully crisp.
Step 3: Topping and Final Melt
Remove the crust from the oven. Spread the chocolate hazelnut spread or peanut butter evenly over the warm crust, leaving a small border for the handle. Generously scatter your chopped candy bars and marshmallows over the top. Return the pizza to the oven for another 3 to 5 minutes, or just until the chocolates begin to soften and the marshmallows turn golden brown. Remove from the oven and immediately sprinkle with sea salt and the remaining M&Ms. Let it sit for 2 minutes before slicing into wedges.
Expert Tips for Perfect Leftover Halloween Candy Dinner – Next Day Idea
For the best results, chill your candy in the freezer for 20 minutes before chopping. This prevents the chocolate from smearing and keeps the pieces intact until they hit the oven. Always use a mix of “melters” (like plain chocolate) and “crunchers” (like Kit Kats or Twix) to provide variety in every bite. If you find the pizza too sweet, add a dollop of mascarpone cheese or a drizzle of salted caramel to add depth to the flavor. Lastly, do not overbake the candy; most chocolate loses its shine and turns chalky if exposed to high heat for too long.
Delicious Variations
- The Tropical Twist: Use white chocolate bars and top with shredded coconut and dried pineapple pieces.
- The Salted Pretzel: Add a layer of crushed pretzels over the peanut butter base before adding the candy for a major crunch.
- Fruit Fusion: Slice fresh strawberries or bananas and add them to the pizza after it comes out of the oven to freshen up the palate.
- S’mores Style: Focus on Hershey’s bars and graham cracker crumbs with extra marshmallows for a campfire vibe.
Frequently Asked Questions
Can I use gummy candies on this pizza?
It is better to add gummy candies after the pizza comes out of the oven. If you bake gummies, they tend to melt into a sticky liquid that can become very hard once it cools down.
How do I store leftovers?
You can store leftover slices in an airtight container at room temperature for up to 2 days. For longer storage, keep them in the refrigerator, but the crust may become slightly chewy.
What is the best way to reheat the candy pizza?
Reheat individual slices in a toaster oven or a dry frying pan over medium-low heat. Avoid the microwave, as it will make the crust soggy and might seize the chocolate.
Can I make this gluten-free?
Yes! Simply swap the standard pizza dough for your favorite gluten-free pizza crust. Ensure your candy choices are also gluten-free, as some wafer-based candies contain wheat.
Is this actually a “dinner”?
While it is technically a dessert, many families enjoy it as a special “event dinner” on November 1st to celebrate the end of the Halloween season. You can always serve it alongside a big bowl of fruit or a glass of milk to balance it out!
Conclusion
The Leftover Halloween Candy Dinner is more than just a meal; it is a fun, creative way to wrap up the holiday festivities. It transforms a random pile of snacks into a cohesive, delicious treat that the whole family can enjoy together. By following these simple steps, you turn the “day-after” sugar crash into a gourmet experience. Grab your favorite candy bars, roll out that dough, and enjoy the ultimate sweet celebration!