Follow Me On Pinterest!
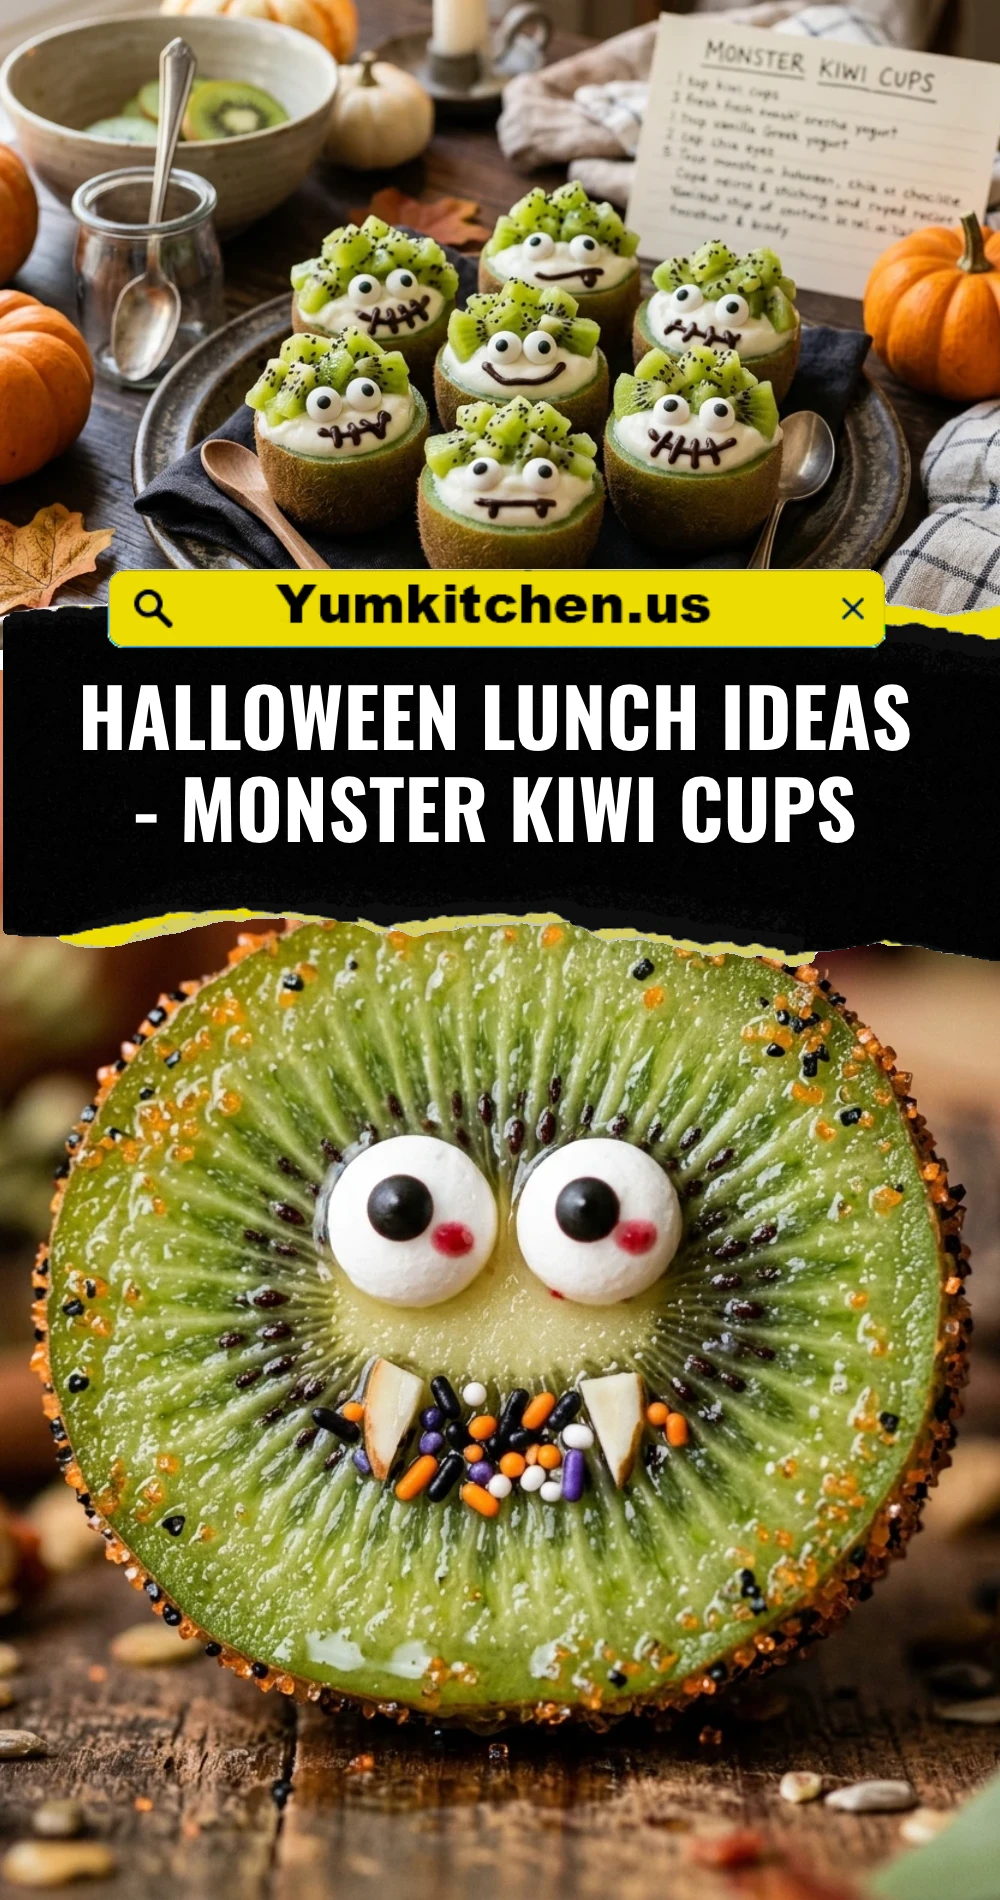
Halloween Lunch Ideas – Monster Kiwi Cups
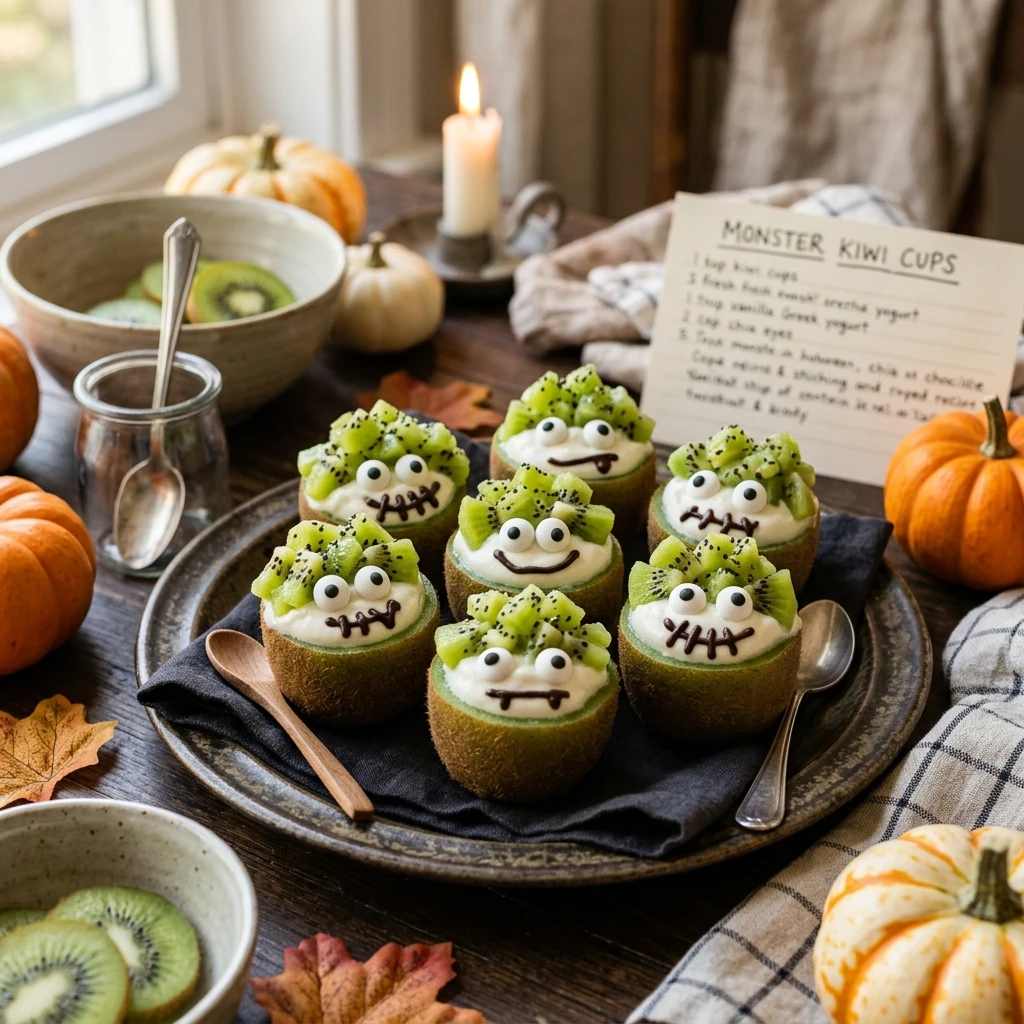
Spooking up your child’s lunchbox doesn’t have to involve high-fructose corn syrup or hours of intricate carving. These Monster Kiwi Cups are the ultimate solution for a healthy, vibrant, and undeniably cute Halloween treat. With their fuzzy brown exteriors and bright green “faces,” kiwis naturally mimic the look of little woodland monsters. They are packed with vitamin C, easy to assemble, and guaranteed to be the star of the cafeteria table. Let’s turn an ordinary fruit into a spooky lunch memory that your kids will actually want to eat!
Recipe Information
- Prep Time: 15 minutes
- Cook Time: 0 minutes
- Total Time: 15 minutes
- Servings: 4 monsters
- Difficulty: Easy
Nutrition values
- Calories: 55 kcal
- Protein: 1g
- Carbs: 13g
Why Make This Halloween Lunch Ideas – Monster Kiwi Cups
Finding a balance between festive fun and nutritional value is a struggle during the sugar-heavy Halloween season. These Monster Kiwi Cups offer a refreshing, fiber-rich alternative to traditional candy. They require zero cooking, making them a perfect last-minute addition to a busy morning routine. Plus, the interactive nature of “monstrizing” the fruit encourages children to try new textures and flavors. It is a creative way to ensure they get their daily fruit intake while staying in the holiday spirit.
Ingredients
- 4 ripe but firm kiwis
- 1 small strawberry, thinly sliced (for tongues)
- 8 edible candy eyes
- 1 tablespoon sunflower seeds or slivered almonds (for teeth)
- A small amount of honey or nut butter (to act as “glue”)
Directions
Step 1: Preparing the Kiwi Bases
Wash the kiwis thoroughly and pat them dry. Use a sharp knife to slice a small, flat piece off the bottom of each kiwi so they can stand upright on a plate or inside a lunchbox. Do not peel the fruit; the fuzzy skin adds to the “monster” texture and helps hold the structure together.
Step 2: Carving the Mouths
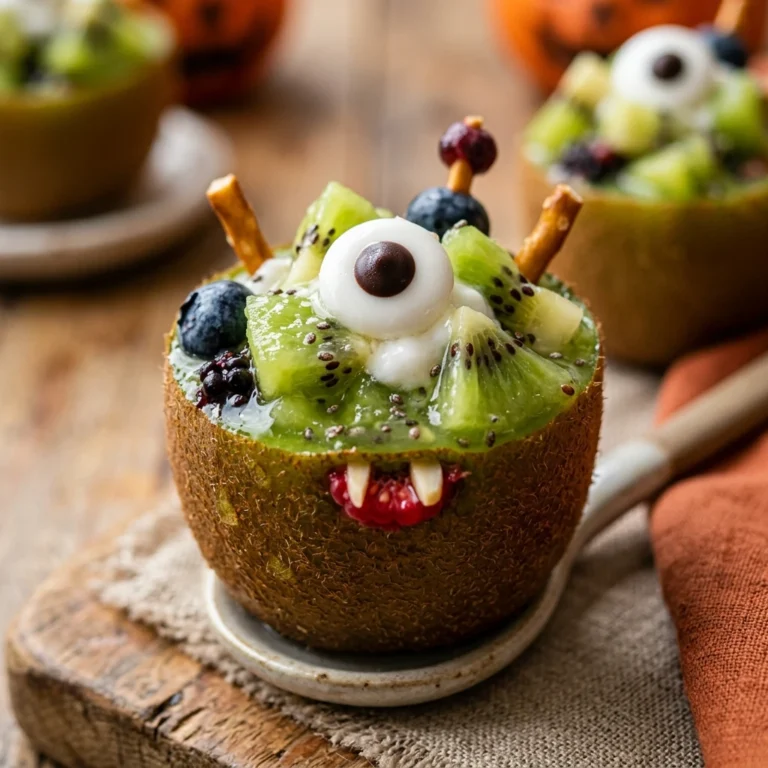
Carefully cut a horizontal wedge out of the middle of each kiwi, about one-third of the way down. This wedge creates the “mouth” of your monster. Be sure not to cut all the way through to the back. Remove the wedge and set it aside—you can snack on these scraps later!
Step 3: Adding the Teeth and Tongues
Take your sunflower seeds or almond slivers and press them into the top “lip” of the kiwi mouth. Arrange them randomly to give the monster a goofy, jagged smile. Place a thin slice of strawberry inside the mouth to serve as a protruding tongue.
Step 4: Attaching the Eyes
Dab a tiny amount of honey or nut butter onto the back of your edible candy eyes. Press two eyes onto the upper half of each kiwi, just above the mouth. Hold them for a few seconds to ensure they stick securely to the fuzzy skin.
Expert Tips for Perfect Halloween Lunch Ideas – Monster Kiwi Cups
- Choose Firm Fruit: Soft, overripe kiwis will collapse when you try to carve the mouth. Look for fruit that gives just slightly under gentle pressure.
- Dry the Surface: If the kiwi skin is damp, the candy eyes will slide right off. Use a paper towel to blot the area where you plan to stick the eyes.
- Use Tweezers: If you find it difficult to place small seeds or eyes, use a clean pair of kitchen tweezers for precision.
- Scale the Teeth: For a scarier look, use slivered almonds for long, fangs. For a “baby monster” look, use smaller sunflower seeds.
Delicious Variations
- Fruit Leather Tongues: If you don’t have strawberries, use a small strip of red fruit leather for a long, floppy tongue.
- Yogurt Filling: Fill the mouth cavity with a little Greek yogurt before adding the teeth to make it look like the monster is foaming at the mouth.
- Chocolate Hair: Melt a little dark chocolate and drizzle it over the top of the kiwi to create “messy hair.”
- Peel for Texture: You can partially peel the kiwi in zig-zag patterns to give the monster “clothes” or stripes.
Frequently Asked Questions
Can I make these the night before?
It is best to assemble these the morning of the lunch. The candy eyes may start to melt or bleed their color if they sit on the moist fruit in the refrigerator overnight. However, you can carve the mouths ahead of time and store the kiwis in an airtight container.
What if my school is nut-free?
If you need to avoid nuts, use sunflower seeds or pieces of white mini-marshmallows for the teeth instead of almond slivers. Both options provide a great “toothy” look without the allergen risk.
How do I keep the strawberry tongue from sliding out?
Cut the strawberry slice thin and wedge it deeply into the back of the mouth cavity. The natural stickiness of the kiwi fruit should hold it in place. If it still slides, a tiny dab of honey works as a natural adhesive.
Are the candy eyes safe for toddlers?
Edible candy eyes are generally safe, but they are hard. For very young children, you can substitute the eyes with small dots of Greek yogurt topped with a tiny piece of raisin or a blueberry.
Do I have to eat the kiwi skin?
While the skin is perfectly edible and full of nutrients, many people prefer not to eat it. The “cup” design allows kids to scoop the green fruit out with a spoon, leaving the fuzzy skin behind like a bowl.
Conclusion
Monster Kiwi Cups are a delightful way to bring the magic of Halloween into a healthy lunch routine. They prove that you don’t need fancy tools or sugary ingredients to create something memorable. Whether you’re packing these for a school lunch or serving them at a spooky afternoon playdate, they are sure to bring smiles to everyone’s faces. Grab a few kiwis and start carving—your little monsters are waiting for their treat!