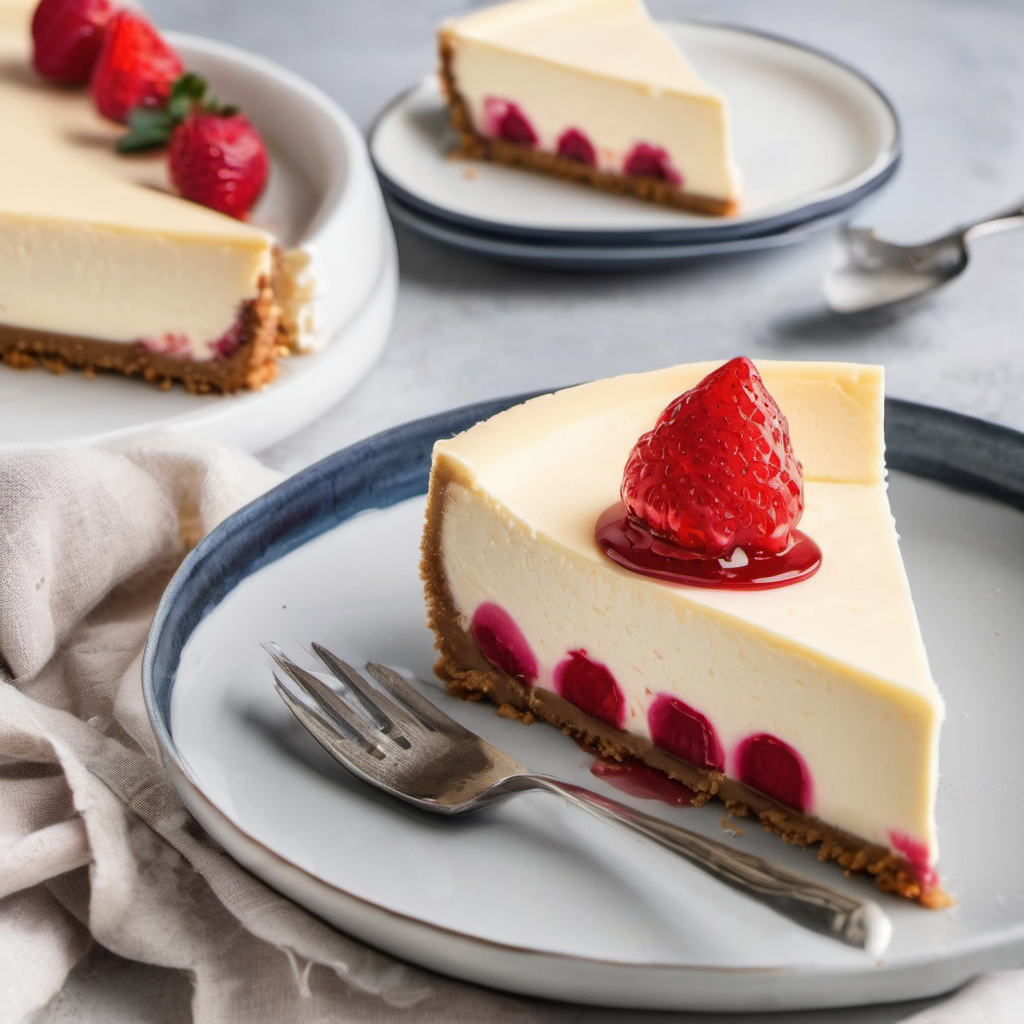
Welcome to Afterka’s kitchen! If you’ve ever wondered how to achieve that velvety smooth texture in your cheesecakes, mastering the water bath technique is essential. This method ensures even baking and prevents cracking, resulting in a cheesecake that’s as visually stunning as it is deliciously creamy. Let’s dive into the secrets of mastering the cheesecake water bath for your next baking adventure.
Why Use a Water Bath?
A water bath, also known as a bain-marie, involves placing your cheesecake pan in a larger pan filled with hot water before baking. This gentle heat helps the cheesecake bake evenly, reducing the risk of overcooking or cracking on the surface. The moisture in the oven also prevents the cheesecake from drying out, resulting in a silky, creamy texture.
Ingredients You’ll Need
- Your favorite cheesecake recipe (e.g., New York-style, chocolate, or fruity variations)
- Springform pan (typically used for cheesecakes)
- Aluminum foil (to wrap the springform pan)
- Larger baking pan (for the water bath)
- Hot water (for filling the larger pan)
Step-by-Step Guide
Step 1: Prepare Your Cheesecake Batter
- Follow your chosen cheesecake recipe to prepare the batter. Ensure it’s smooth and well-combined without overmixing, which can introduce air bubbles.
Step 2: Preheat Your Oven
- Preheat your oven to the temperature specified in your recipe.
Step 3: Prepare the Springform Pan
- Wrap the bottom and sides of your springform pan with a double layer of aluminum foil. This prevents water from seeping into the pan during baking.
Step 4: Place the Springform Pan in a Larger Pan
- Set the wrapped springform pan inside a larger baking pan. The sides of the larger pan should be at least as tall as the springform pan.
Step 5: Fill the Springform Pan with Cheesecake Batter
- Pour the prepared cheesecake batter into the springform pan, spreading it evenly with a spatula.
Step 6: Prepare the Water Bath
- Carefully pour hot water into the larger pan, around the springform pan. The water should reach about halfway up the sides of the springform pan.
Step 7: Bake Your Cheesecake
- Place the water bath setup carefully into the preheated oven.
- Bake according to your recipe’s instructions. The water bath will ensure gentle, even heat distribution around the cheesecake.
Step 8: Cool and Chill
- Once baked, remove the cheesecake from the oven and carefully lift it out of the water bath.
- Allow the cheesecake to cool completely at room temperature before refrigerating it for several hours or overnight. This chilling step helps the cheesecake set properly.
Tips for Success
- Secure Wrapping: Ensure the aluminum foil is tightly wrapped around the springform pan to prevent water from leaking in.
- Water Level: Check the water level halfway through baking and add more hot water if needed.
- Slow Cooling: Avoid rapid temperature changes to prevent cracking. Let the cheesecake cool gradually.
Troubleshooting Cracks
- If your cheesecake still cracks despite using a water bath, try reducing the oven temperature slightly or baking for a shorter time.
- Some minor cracks can be hidden with toppings like fruit compote or whipped cream.
Experiment with Variations
- Once you’ve mastered the basic water bath technique, try experimenting with different cheesecake flavors and toppings. From classic New York-style to decadent chocolate or fruity variations, the possibilities are endless!
Mastering the cheesecake water bath technique takes practice, but the silky smooth texture and perfect presentation are well worth the effort. Whether you’re baking for a special occasion or simply treating yourself, your cheesecakes will be a hit every time with this foolproof method.
We hope this guide helps you achieve cheesecake perfection in your own kitchen! Share your cheesecake baking adventures with us in the comments below or tag us on social media.

